Welcome to my Spring Kitchen Tour! I have added not one, but 3 DIY projects to this space that are part of my Spring Must-Haves! If you’ve come to me from Roxanne over at The Honey Comb Home and her post on Spring Table decorations and Table settings, welcome, I’m so happy to have you!
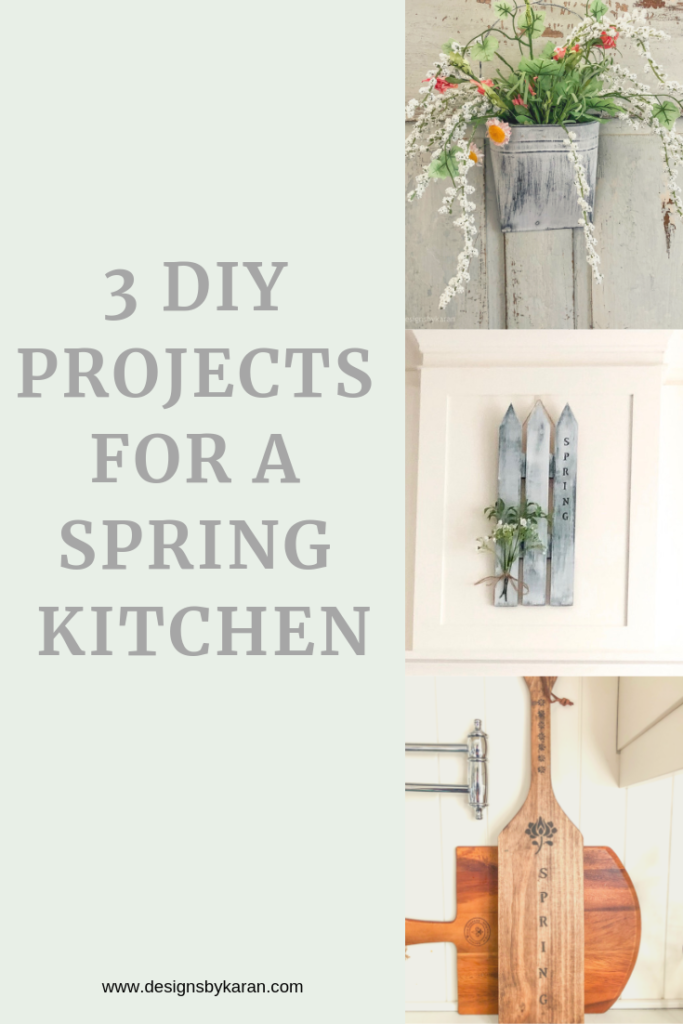
Who doesn’t like Spring, when all the cold and sometimes dreariness of winter is behind you? What a wonderful time to be creative and put some Spring into your home with a few fun DIY projects. Come and take a Spring Kitchen Tour with me.
You can check out my Fall Tour here and my Christmas Tour Here
My kitchen is a neutral background for pretty colours. In the spring, I like to bring in some blues and greens and, of course, some plants and flowers. But I also like to create, I’d say I was cheap but hubby would say I’m frugal, potatoes, potato…
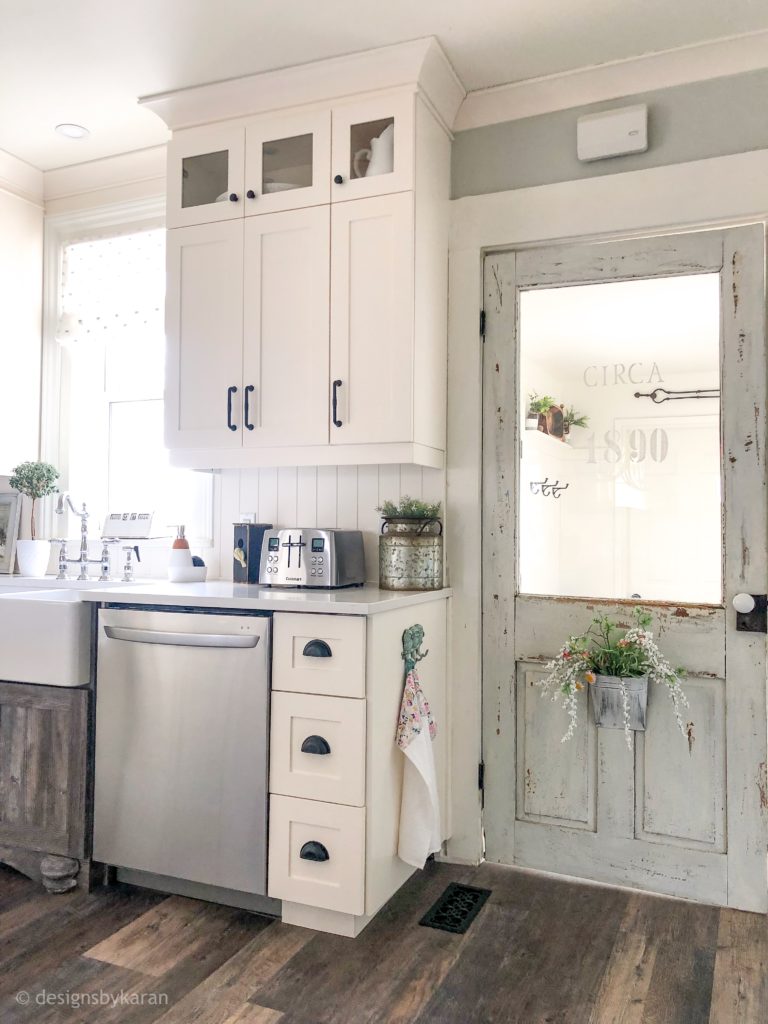
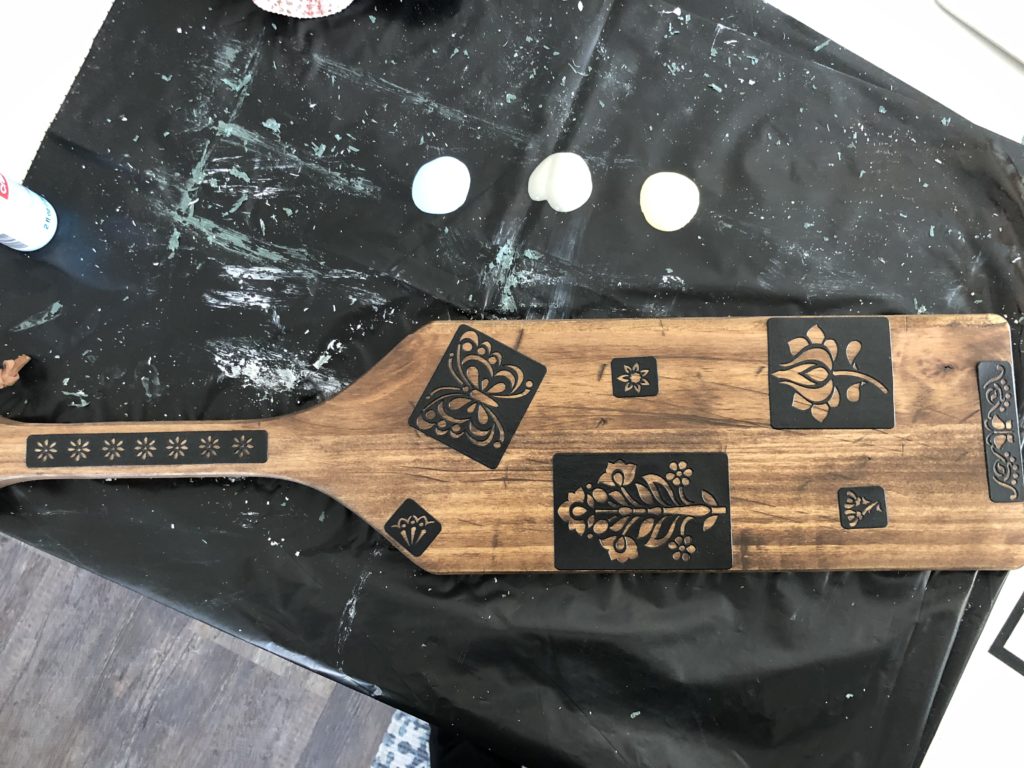
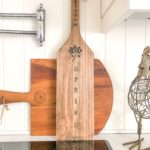
Every kitchen (I think) needs some pretty cutting boards and I might have one or two (or possibly more, but this is a no judge zone, lol). I decided to add a little bit of personality to one of mine. This year, I thought I would do some stencilling on a raw wood cutting board that I purchased at Michaels for 40% off. That brought it to around the $8 mark. I stained it a dark walnut to go with the rest of the space.
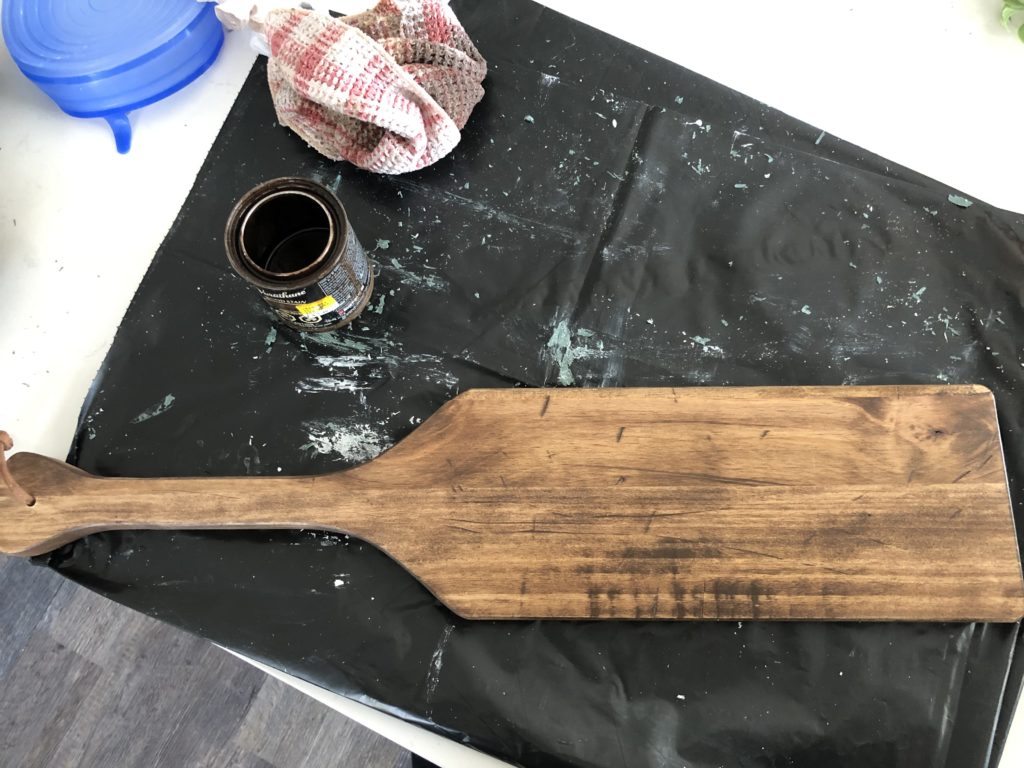
On one side, I did a simple black stencil.
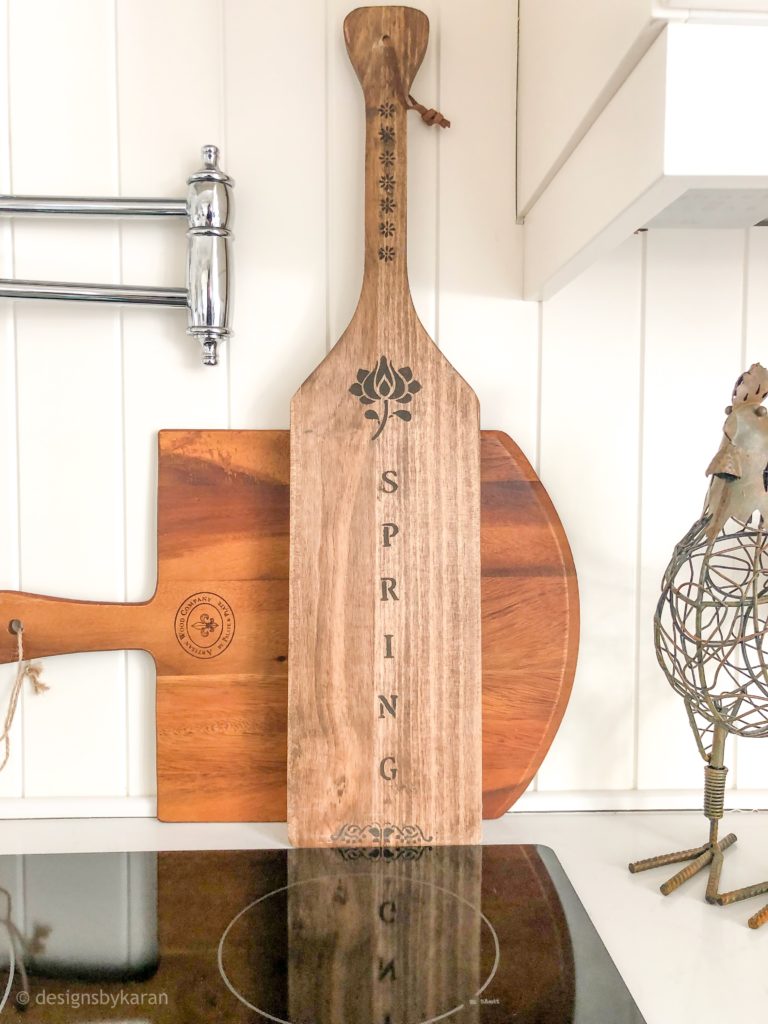
On the other side, I decided I would add a little colour.
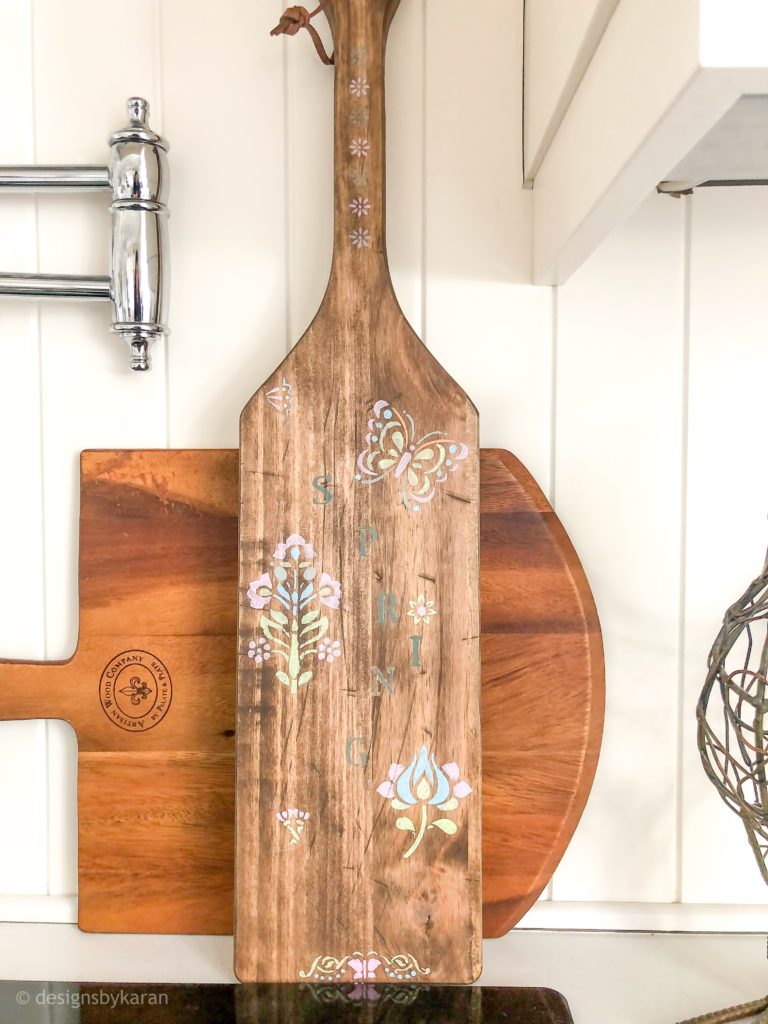
I think it adds a pretty touch to the kitchen…and a little bit of me. And stencilling is such an easy way to add a little bit of personality to any piece – big or small. I love to work with the adhesive stencils that stick to whatever surface you’re using. They make stencilling so easy! I finished with some Old Barn Wax to seal it. This one is strictly for display and not for use, so I wasn’t worried about how it was sealed as there wouldn’t be any food prep on it.
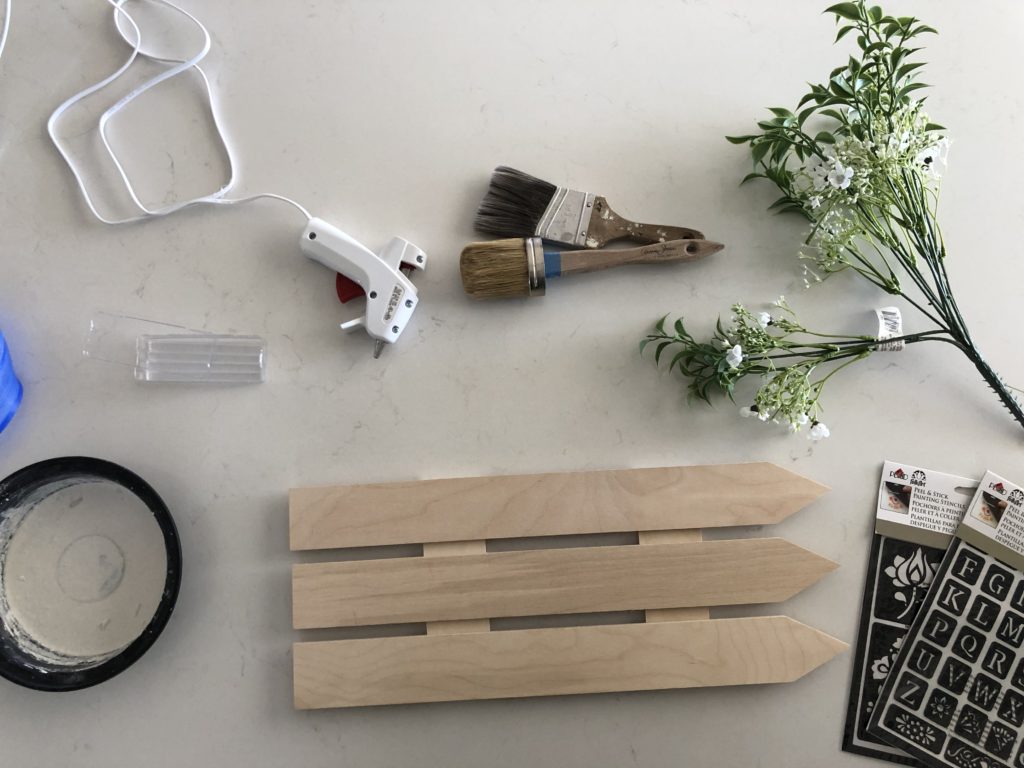
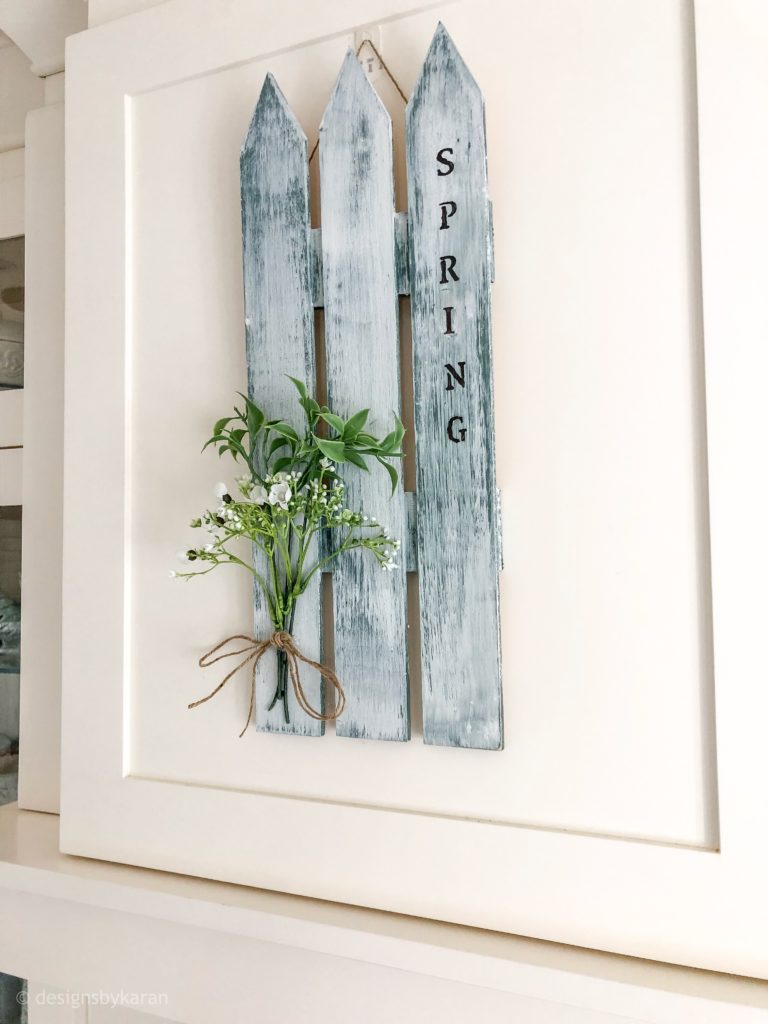
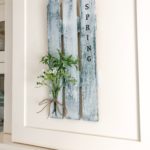
The next thing I decided to make was something for my range-hood. I always like to have something pretty hanging on it and, you guessed it, I also like to change them out regularly. I mean, who doesn’t like playing with decor in a space. And if by chance you don’t, it’s okay, I’ll still be your friend. I found this really cute, raw wood picket fence at Michaels and with the sale, it was around $6. Win, win right?
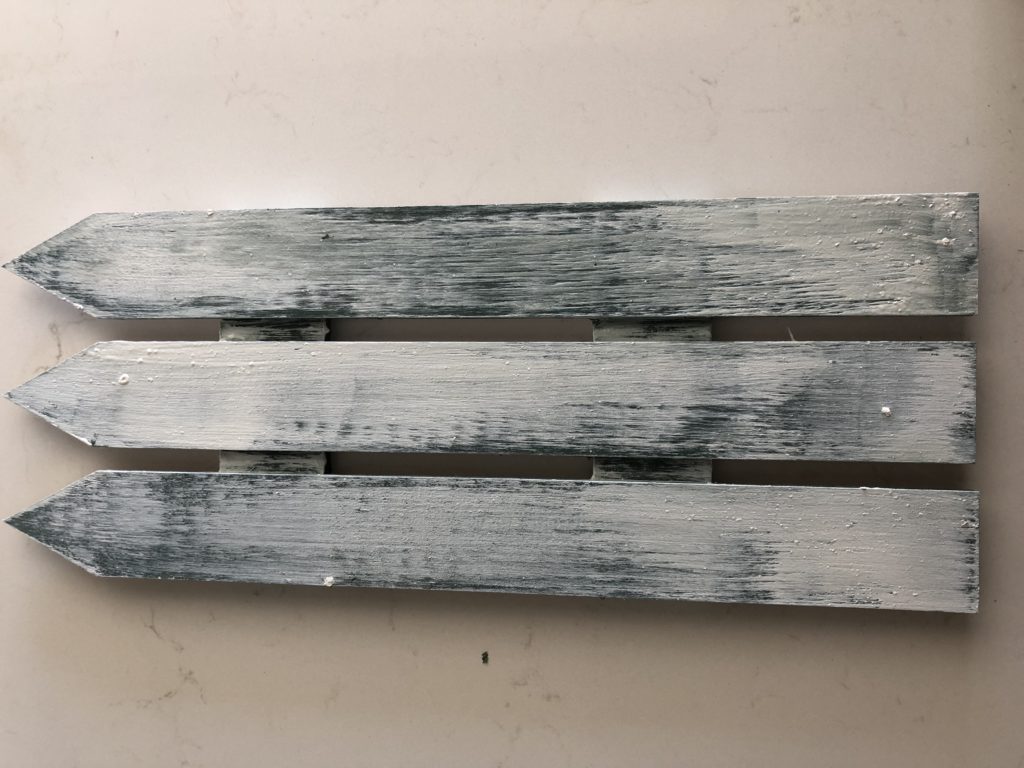
I used Old Barn Mild Paint in two different colours to achieve the rustic look I was aiming for. The first layer was a solid coat in a pretty blue/green called Farmstead and the top coat was dry brushed on and is called Picket Fence.
I added the word SPRING to one side using stencils and then I just glue-gunned some simple flowers to it. You’ll be impressed to know I didn’t glue my fingers together, a first for me!
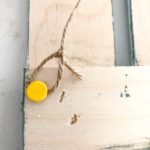
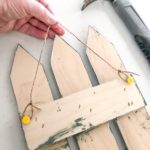
Next, I added some tags and twine to the back so I could hang it easily.
I’m feeling pretty good about the little bit of spring it brings to the range-hood.
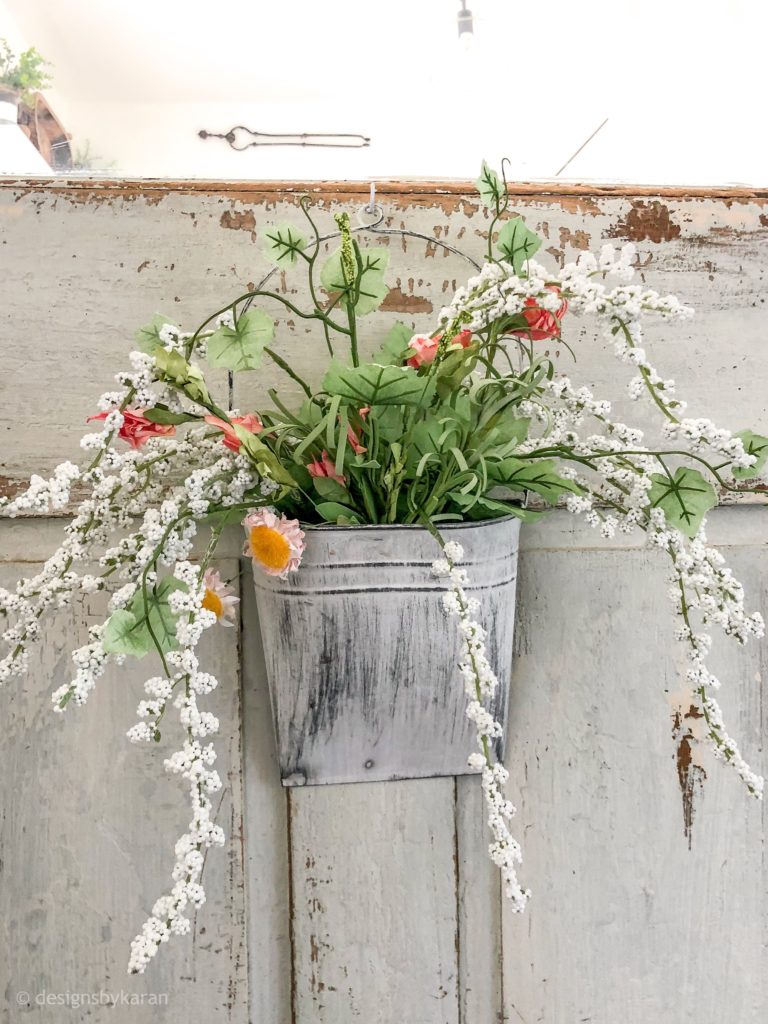
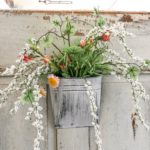
Now, let us talk about Flowers. Everyone needs flowers in their lives as far as I’m concerned, amiright! They bring sunshine, even on those rainy spring days. I used faux flowers for this project and created a simple bouquet out of a fun metal basket I already had on hand.
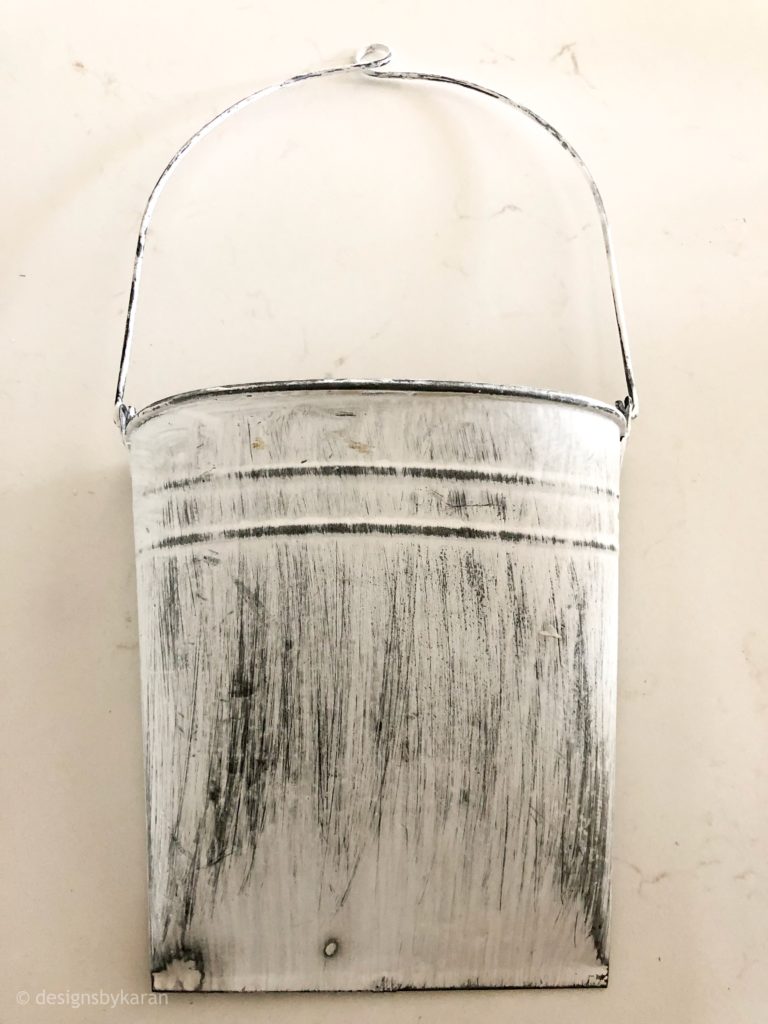
The Faux flowers are from Michaels and were also 40% off. I wanted white and a little bit of colour. I started with the hanging white mini flowers and layered them in. I then added in a little bit of colour with the paper flowers. My best advice: just play around with them until you love how they look. I always start with the larger piece and then add the smaller ones next.
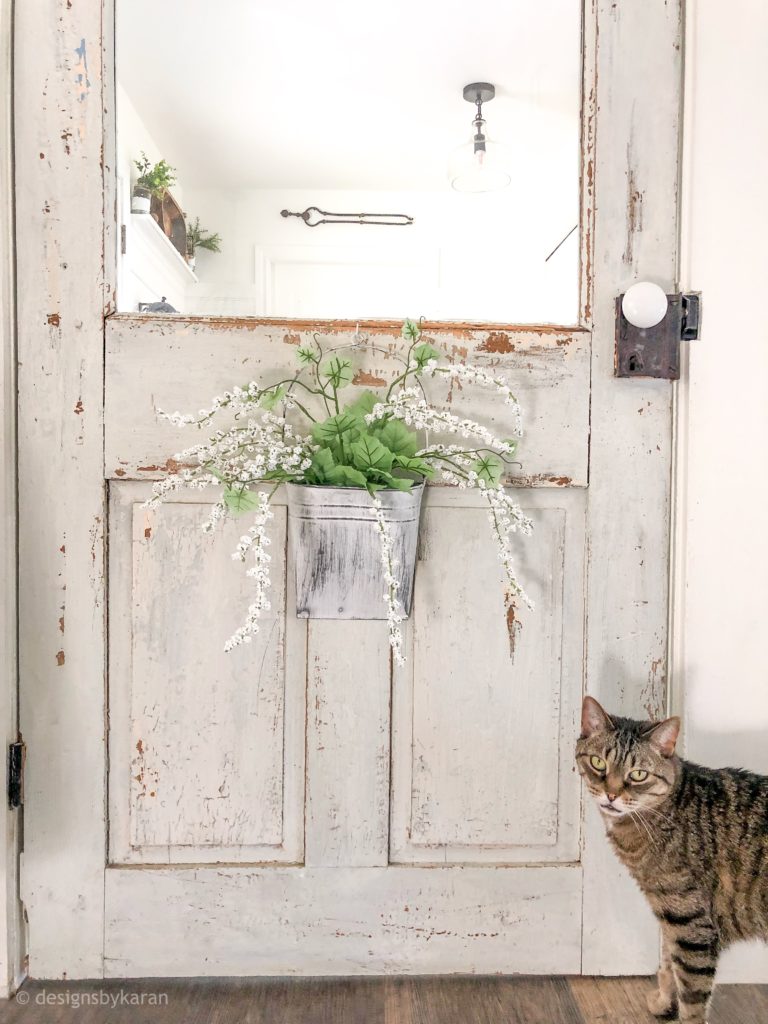
Even Veto seems to be pleased!
The other spring touches I added are simple ones, some faux and real plants to bring some life to the space. I’m enjoying the wood tones and will likely keep those throughout the season, for a little bit of warmth.
So, there you have it – a simple spring kitchen with 3 simple spring DIY projects, all done on a budget of less then 40.
I hope you enjoyed the little tour and the DIY additions. Please be sure to head on over to Heather’s blog Beauty For Ashes Home for her Mini Moss Ball Topiary DIY. A huge thank you to Jennifer At Noting Grace for putting all of this together!
If you have any questions, just leave it in the comments below as I love to hear what you all think. And don’t forget to subscribe so you don’t miss my posts!
Here are the other talented ladies on this tour. Be sure to go on by and check them out for some amazing DIY Spring Projects.

I DIY-ed That Spring Blog Hop

MONDAY
Repurpose & Upcycle | Thrify and Chic | A Blue Nest | Noting Grace
TUESDAY

My 100 Year Old Home | The Tattered Pew The Homemaking Momma | She Holds Dearly | Seeking Lavender Lane
WEDNESDAY

Worthing Court Blog | Joy In Our Home | White Arrows Home Uniquely Taylor Made | Making It In The Mountains
THURSDAY

Beauty For Ashes Home | Cuter Tudor | The Red Painted Cottage The Honeycomb Home | Designs By Karan
FRIDAY

Deeply Southern Home | Rocky Hedge Farm Twelve on Main | Life On Summerhill


Karan – your home is always such an inspiration to me! I adore the way you ushered in the season with these beautiful DIYs. Thanks so much for joining us for I DIYed that!
Jen,
Thank you so much for your kindness and for having me today! It is such am inspiring group of ladies.
Karan
I love these DIY’s Karen! You’re so creative. The cutting board is gorgeous!!
Thanks Taylor, I love finding budget friendly things that anyone could do.
Appreciate you stopping by.
Xox
I love these projects, Karan!! Such a sweet way to bring in some Spring!
Thank you Jordan, it was such a pleasure to join this group.
Xxo
Absolutely gorgeous. I’ve enjoyed following you over the years, you always have great content.
Thank you! That means a lot!
Karan