Farmhouse Bathroom Update on A budget.
I recently updated my farmhouse bathroom/laundry room in my 120 year old school house, all on a very tight budget. If you are updating an area in your home and have a tight budget, this post is for you! You don’t have to spend a ton of money to update. All you need is some paint and some creativity.
If you don’t believe me just look at the “before” of my space.
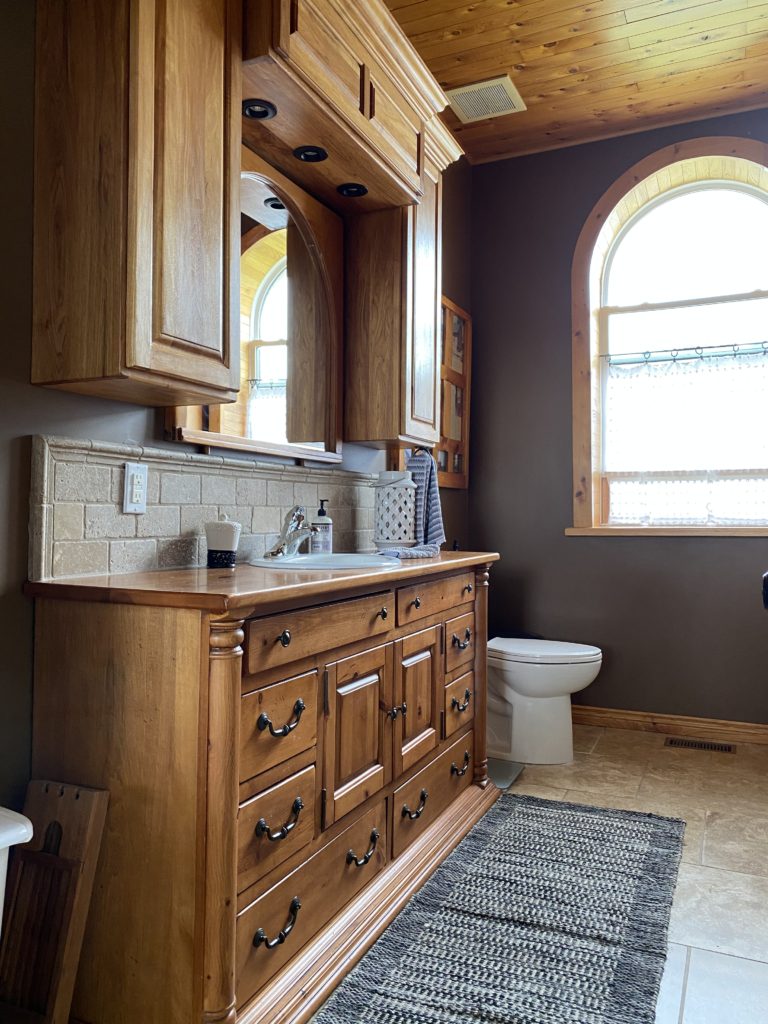
Now for the “after”…. are you ready?
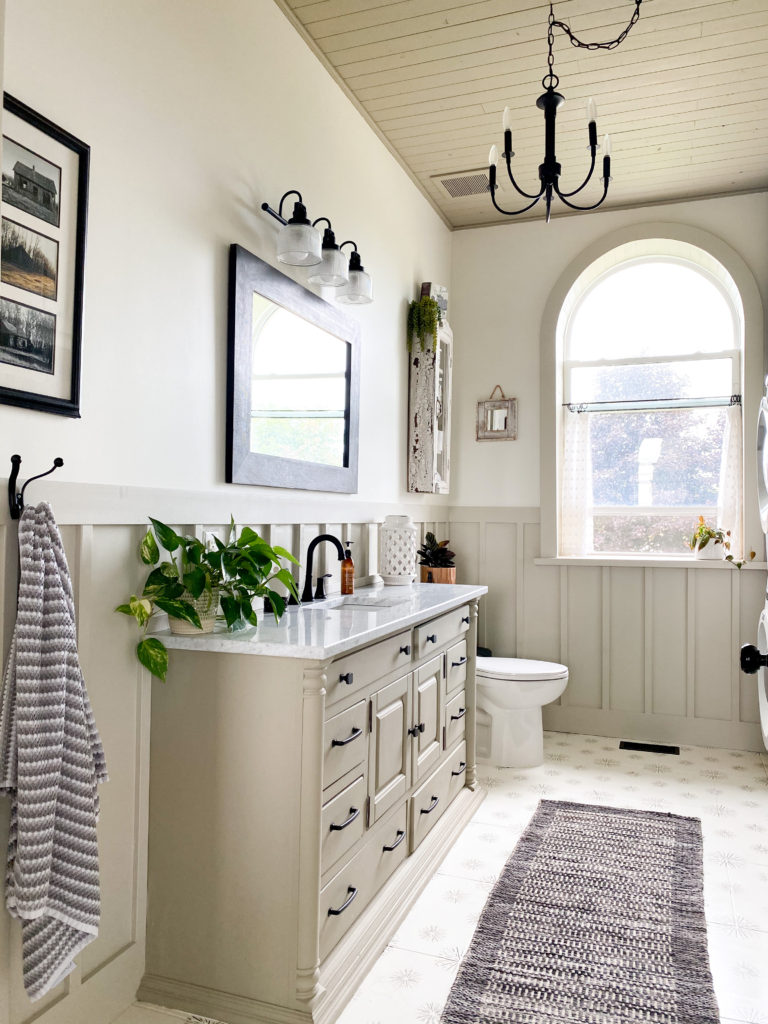 After – bright and airy.
Yes, that is the same room and we did this all for under $500!
Let me walk you through what we did in this space and my thought process behind it.
This post contains some affiliate links to the products I used in my bathroom update. I get a small commision on these products, which enables me to do what I love with every sale. I never share a product I do not love!
First things first, the backsplash above the vanity was removed. To do that we began by scoring the grout (we used an exacto knife) then used a scraper and a hammer to remove each tile.
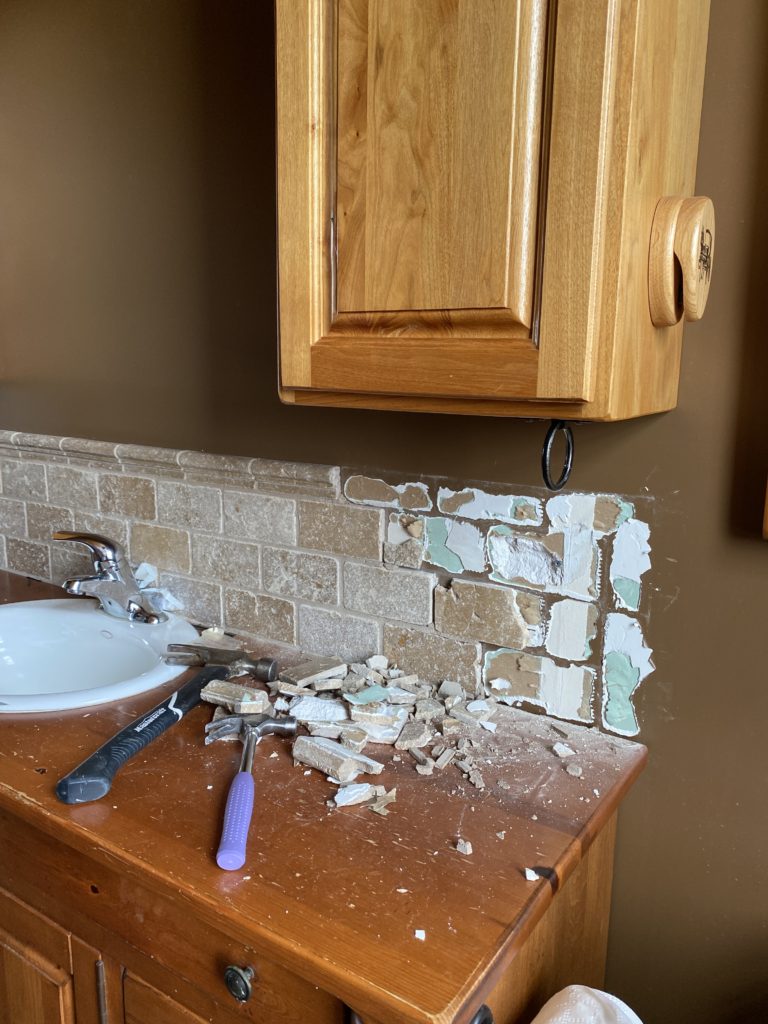
If the tile is too stuck to the wall, you can just cut out the piece of drywall and replace it.
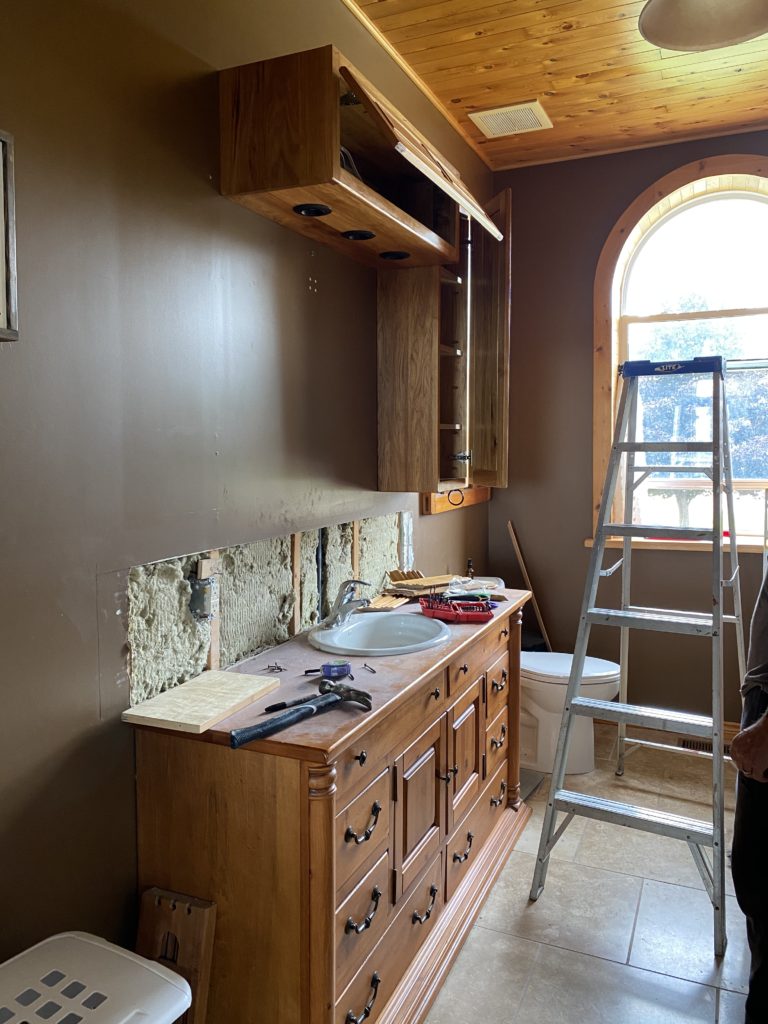
That is what we ended up doing as the thinset was pretty strong on these tiles and I was a little aggressive with the hammering part of it.
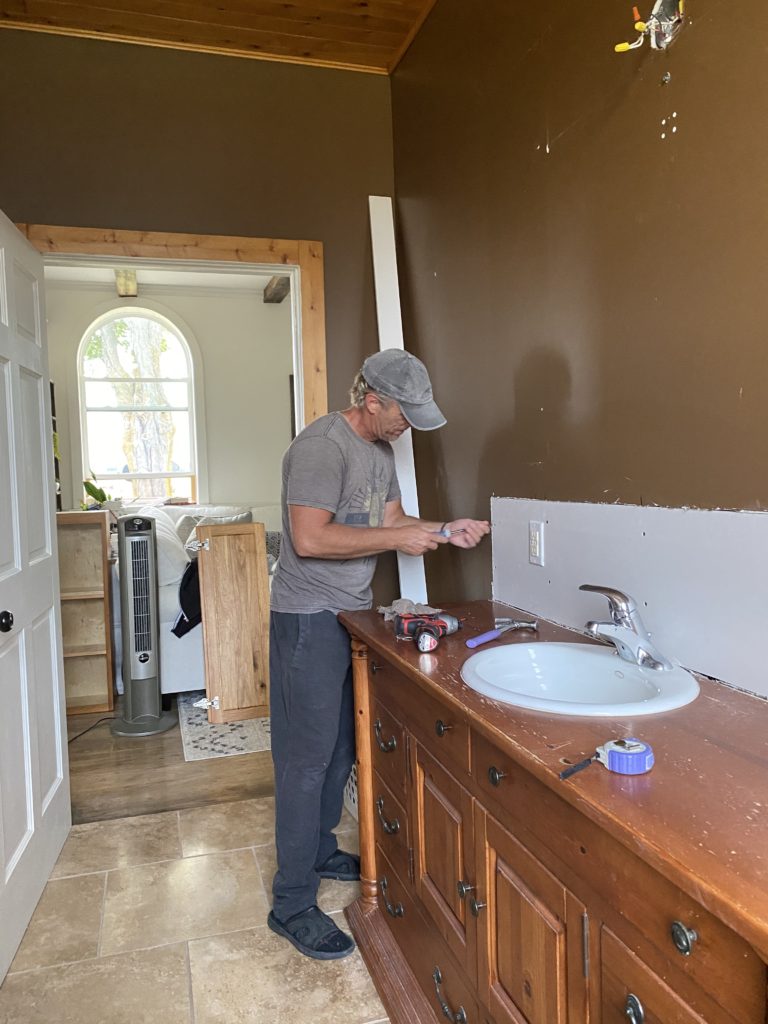
Next we needed to take down those heavy upper cabinets to lighten up this space.

Taking down cabinets, if installed correctly is actually very easy.
Now before you I get messages saying, “how can you get rid of storage?!” Well, let me tell you, my amazing husband refurbished those same cabinets to give me storage beside the washer and dryer.
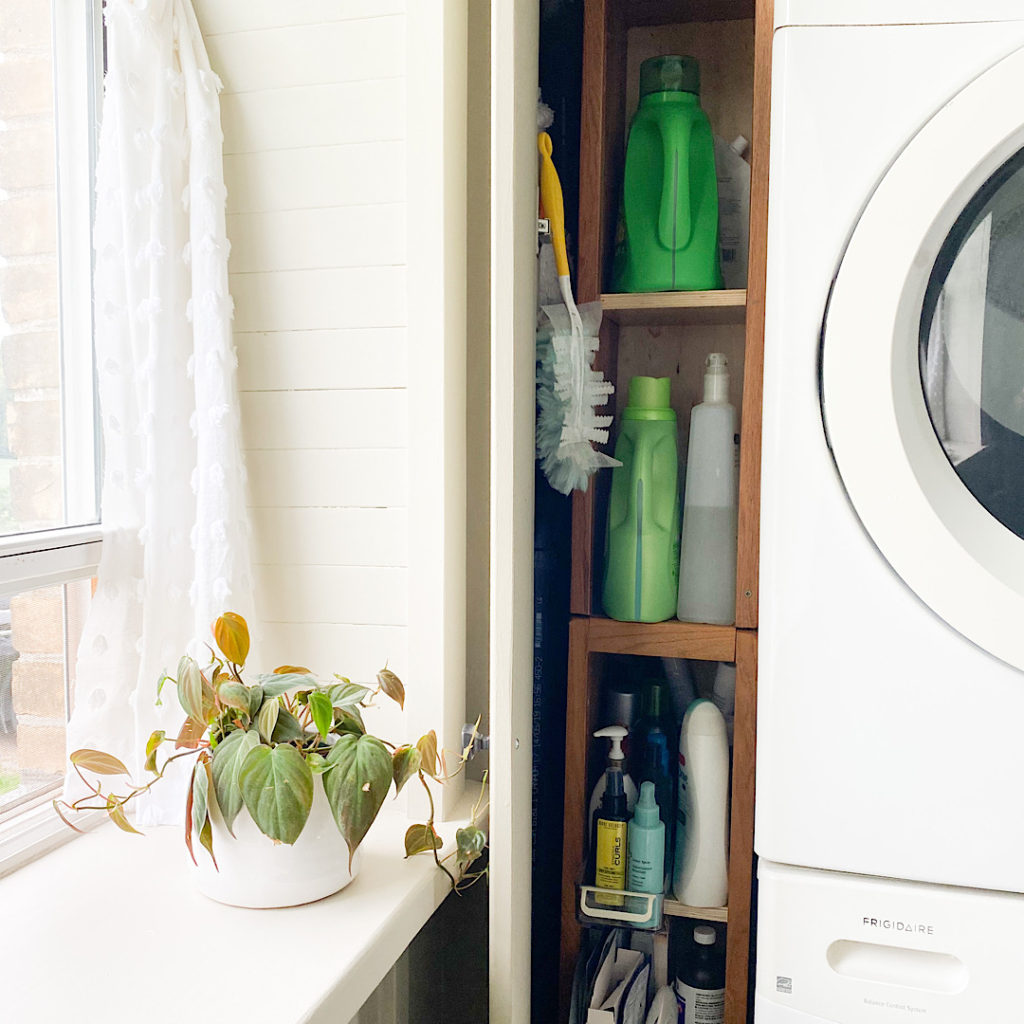
Removing the Cabinets
First thing thing we did was remove the crown moulding, we used a small crow bar to pull the crown up and off. Next, we removed the screws holding the cabinets up – these are usually in the back and sides of the cabinet. This takes two people, one to unscrew and one to hold the cabinet and lift it down once the screws are removed. (Writing that, all I could think about is the “how many people?” jokes)
Once the uppers were taken down, I could already see a glimpse of where this space was going.
Now the fun and magic of paint begins!
We lightly sanded the vanity as it will get a lot of wear and tear.
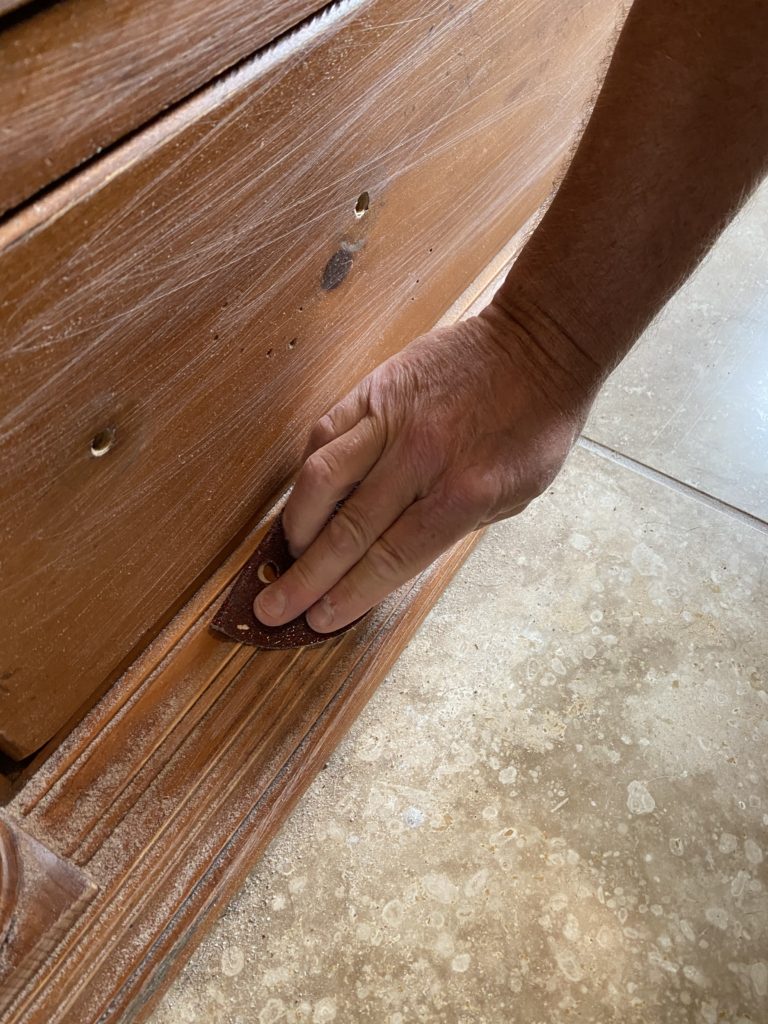
Next, I cleaned the surface of any dust and then I used a primer to ensure that there wouldn’t be any paint bubbling and that there would be good paint adhesion.
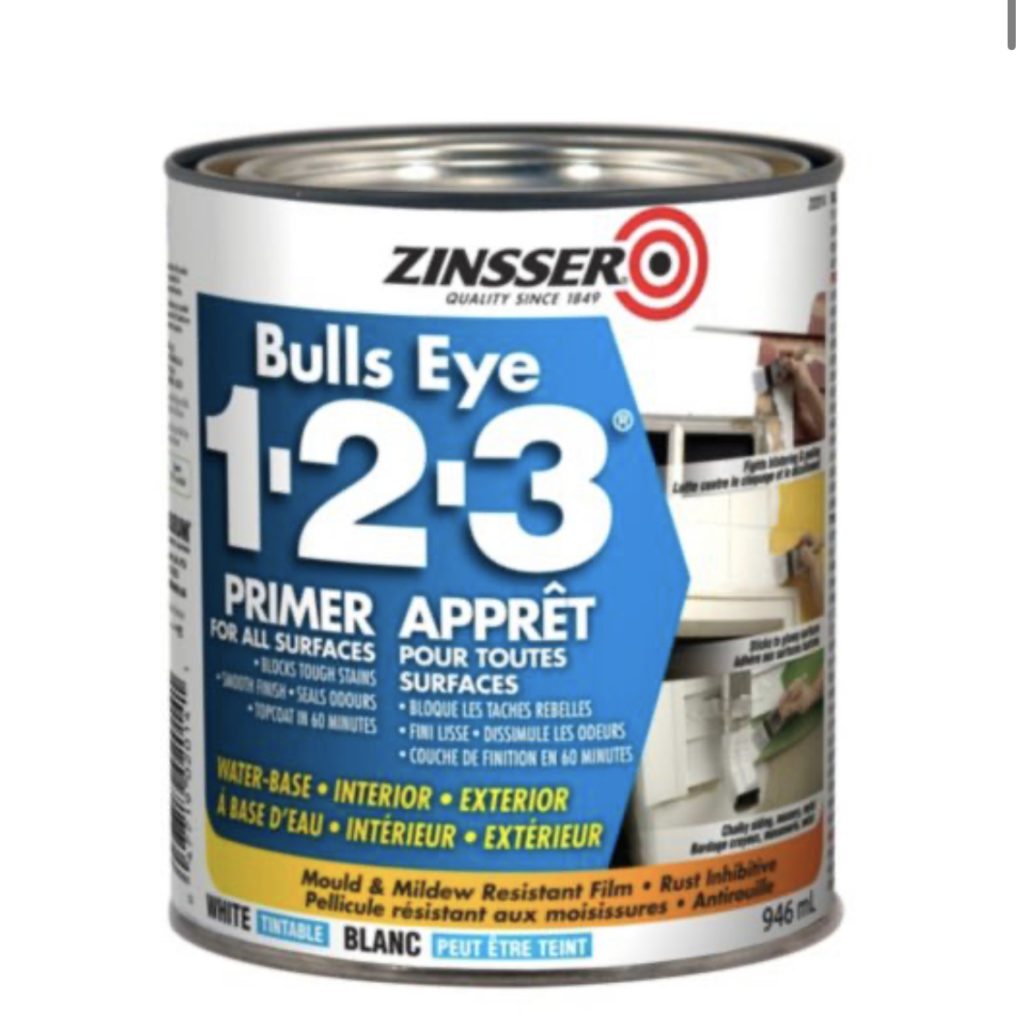
You can find the primer at most hardware stores, primer.
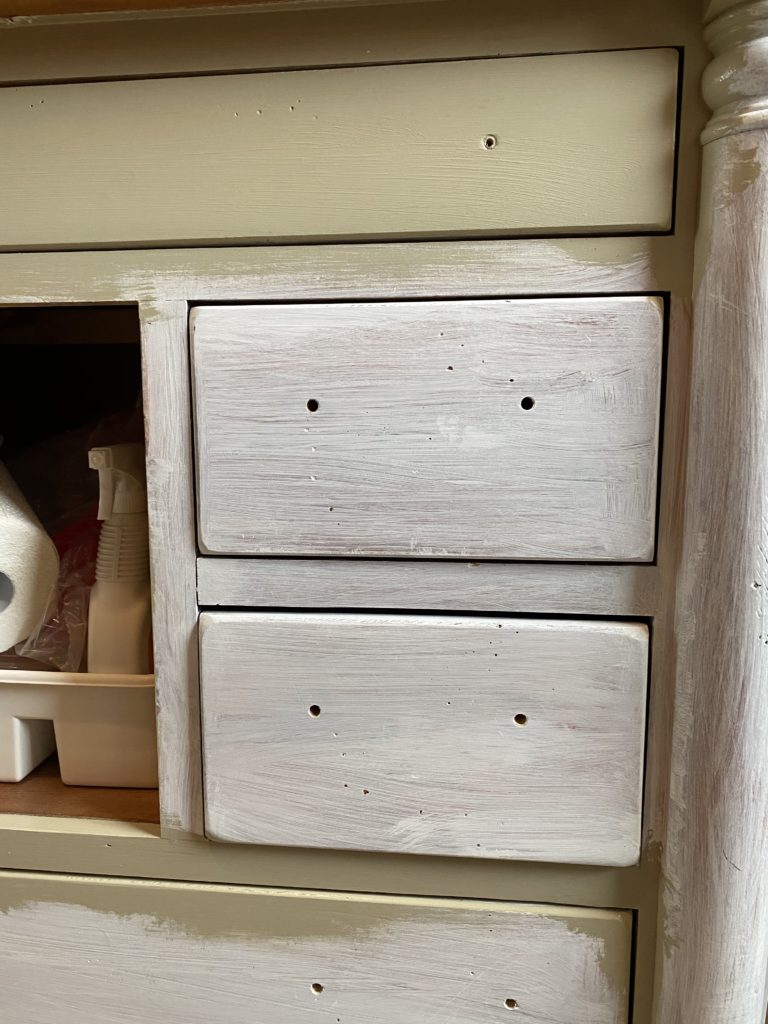
Once the primer dried I painted using Behr paint.
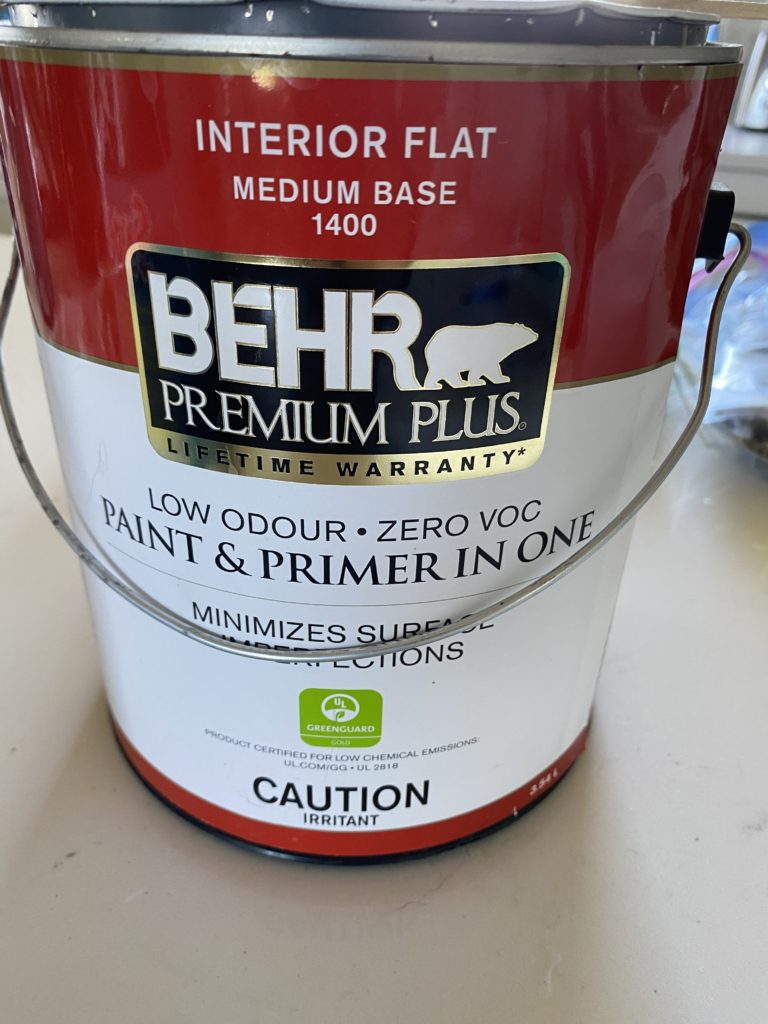
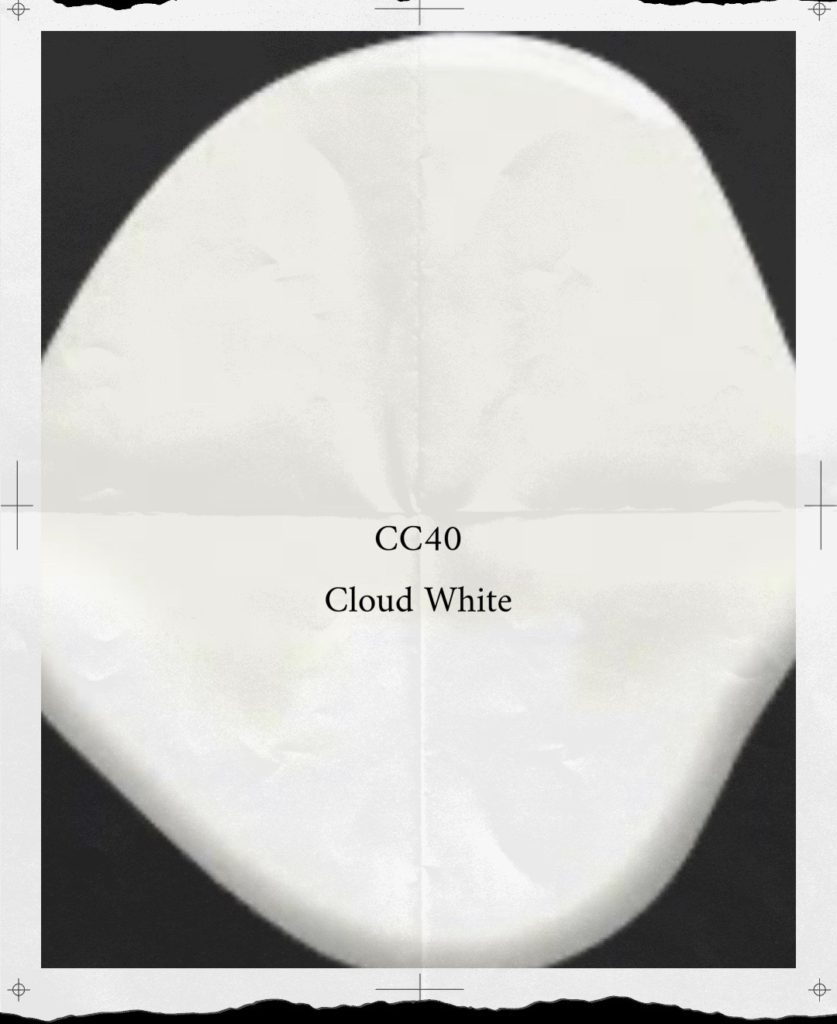
In order to save money, I used paint I had on hand to create the colour for the vanity. I mixed Behr Safari Vest with basic black and cloud white, creating a creamy grey green.
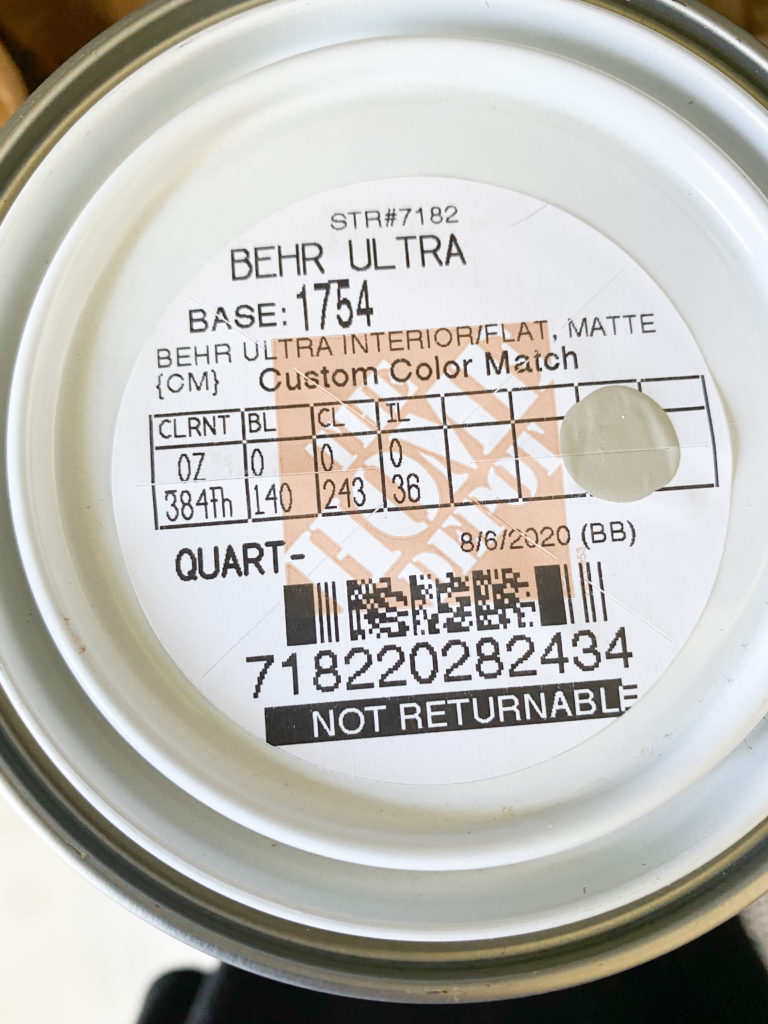
Here is the colour match code, it is scannable.
I used the primer and that same colour on all of the cabinets for this space as well as the ceiling.
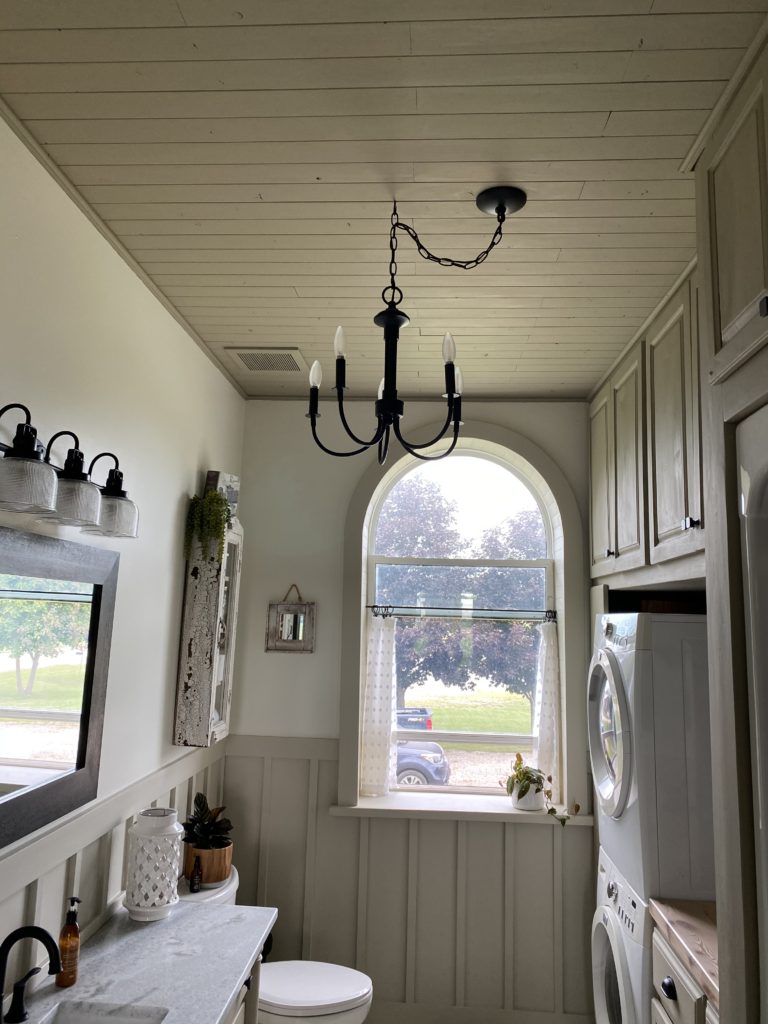
Once the cabinets were completed, I started on the floor. For a full tutorial on how I stencilled the staggered tile on my floor, you can check out this post.
I took the old tiles from this:
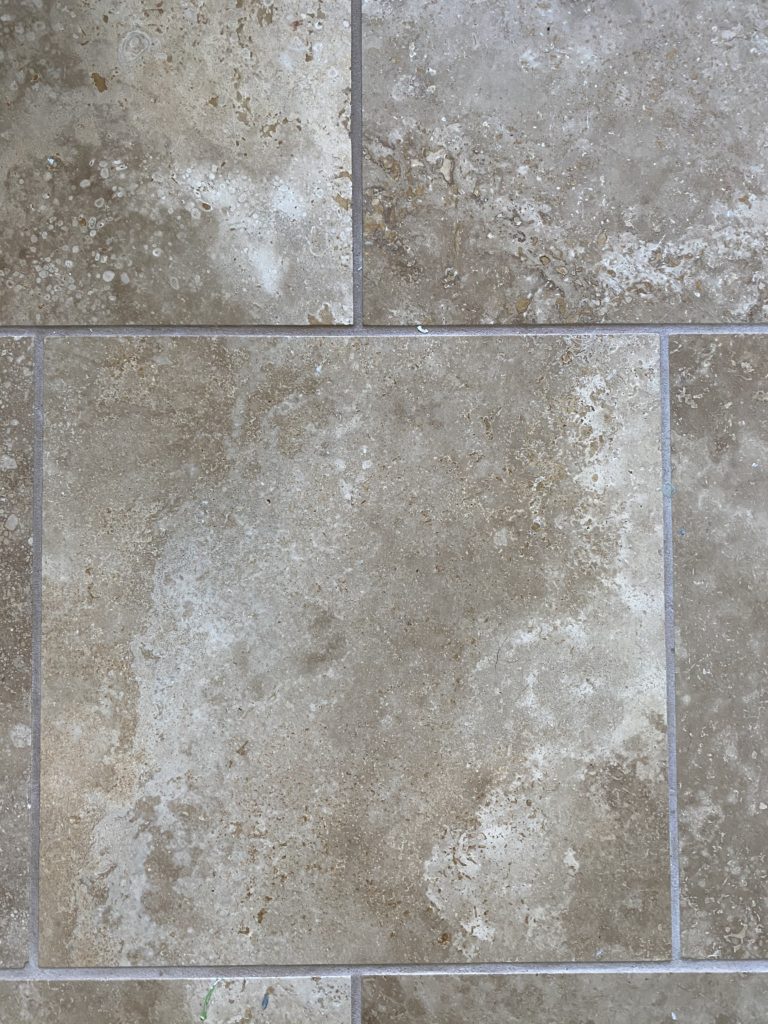
To this:
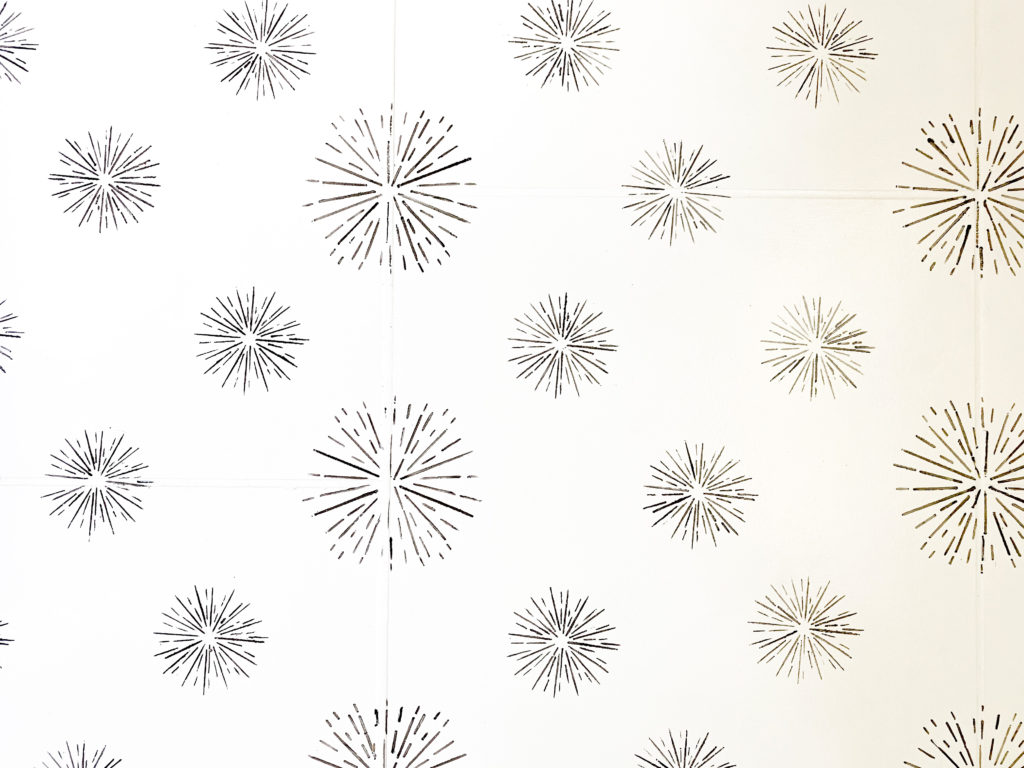
I wanted something fun and I already had the stencil on hand. Full tutorial here.
We added board and batten to the walls – stay tuned, there will be a tutorial coming soon and trust me, it is so easy to install.
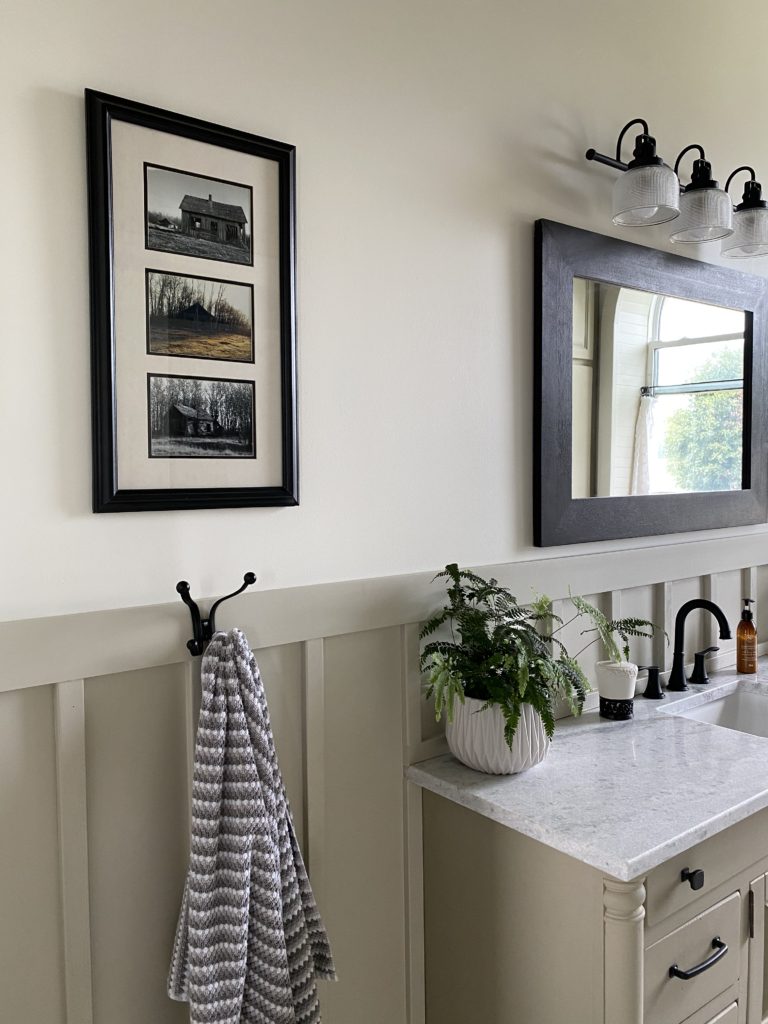
I mixed a custom colour for the board and batten, as well. Here is the custom colour match code:
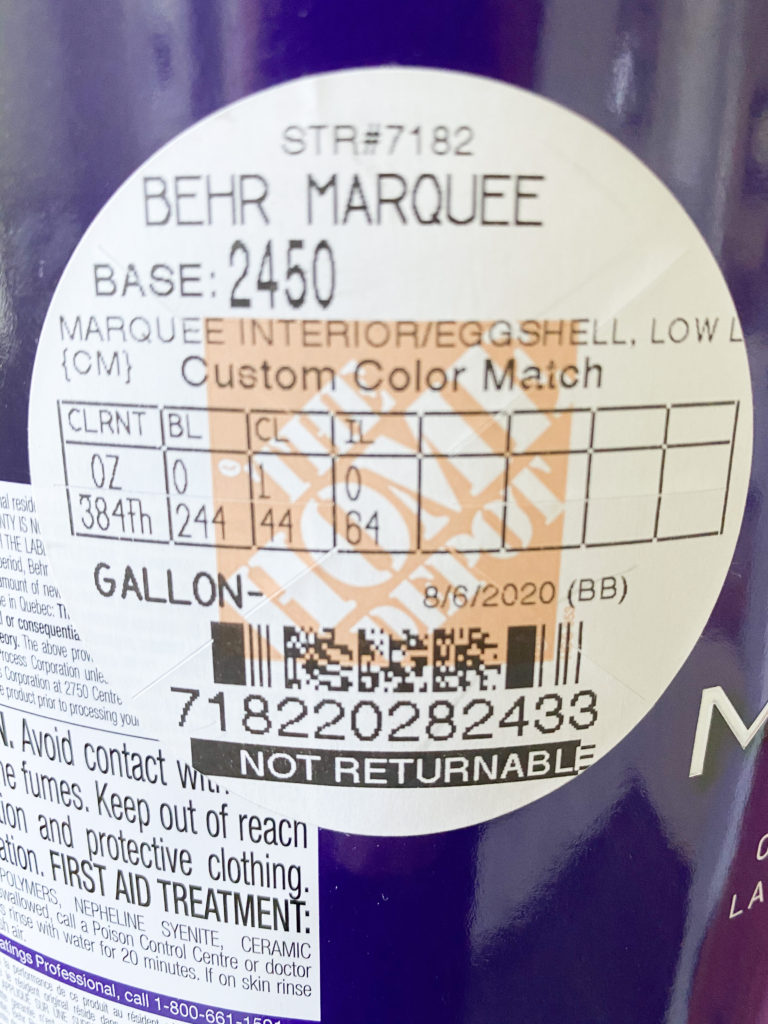
Walls are Cloud white in an eggshell finish.
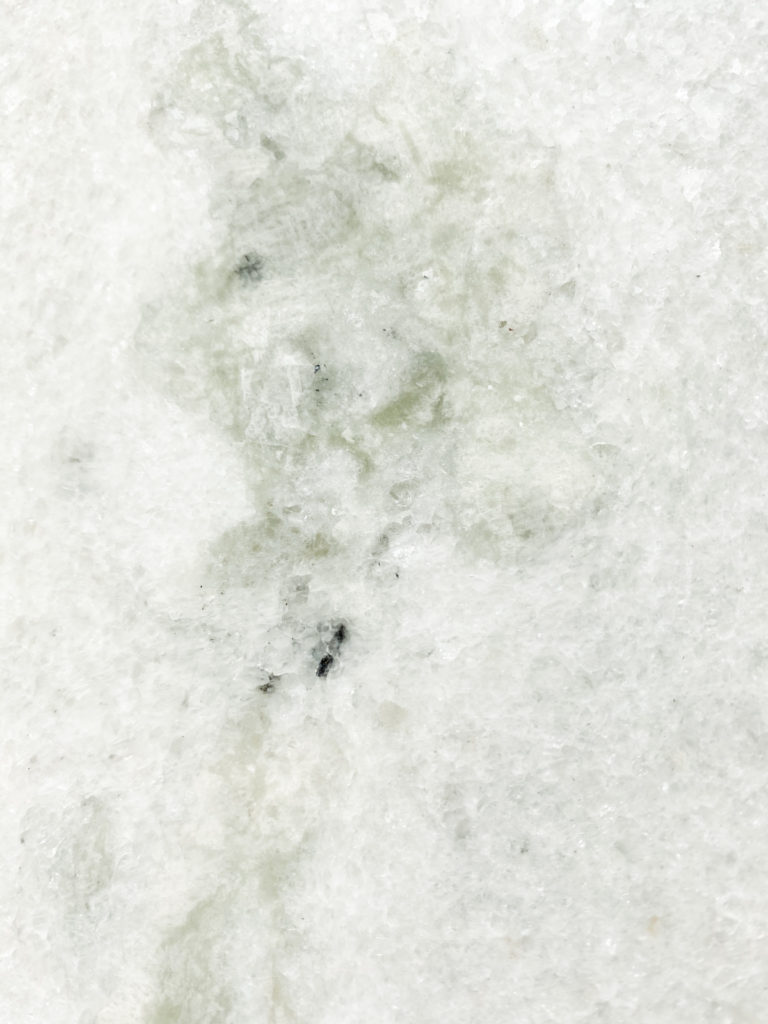
Countertop and sink are from Progressive Countertops out of Strathroy, Ontario. Countertop is Quartzite in Fantasy White. It has the perfect creamy, grey-green viening. Using a remnant will save you money, so always ask to see them.
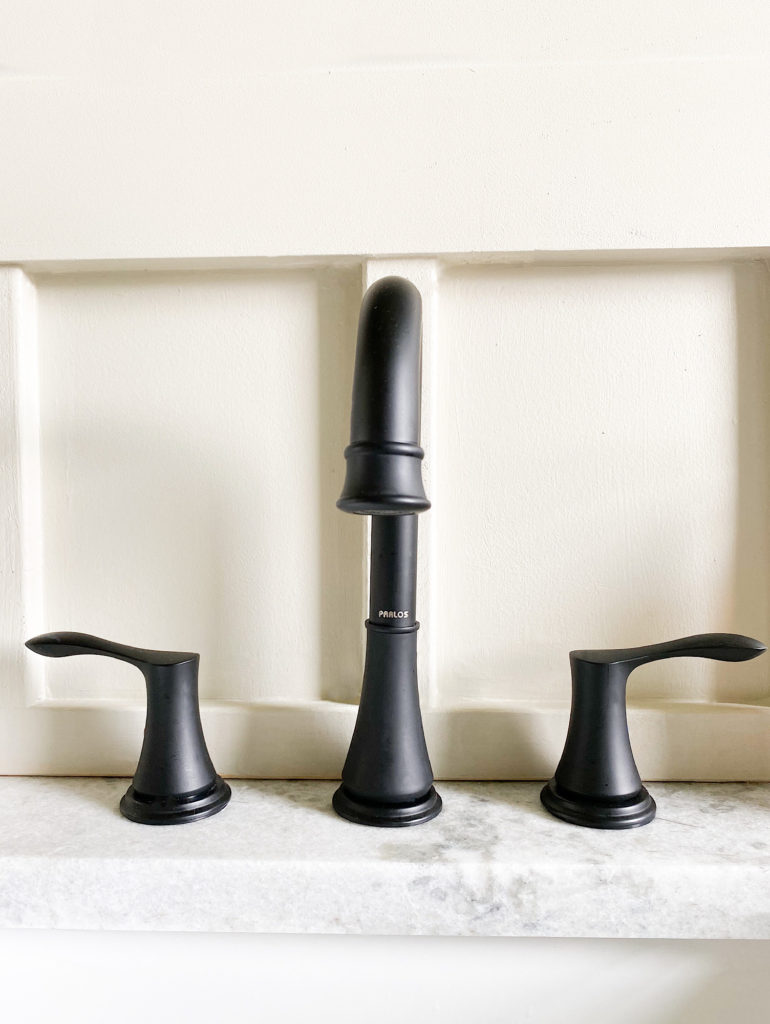
I wanted a black faucet to tie it all together and found this awesome deal for this one.
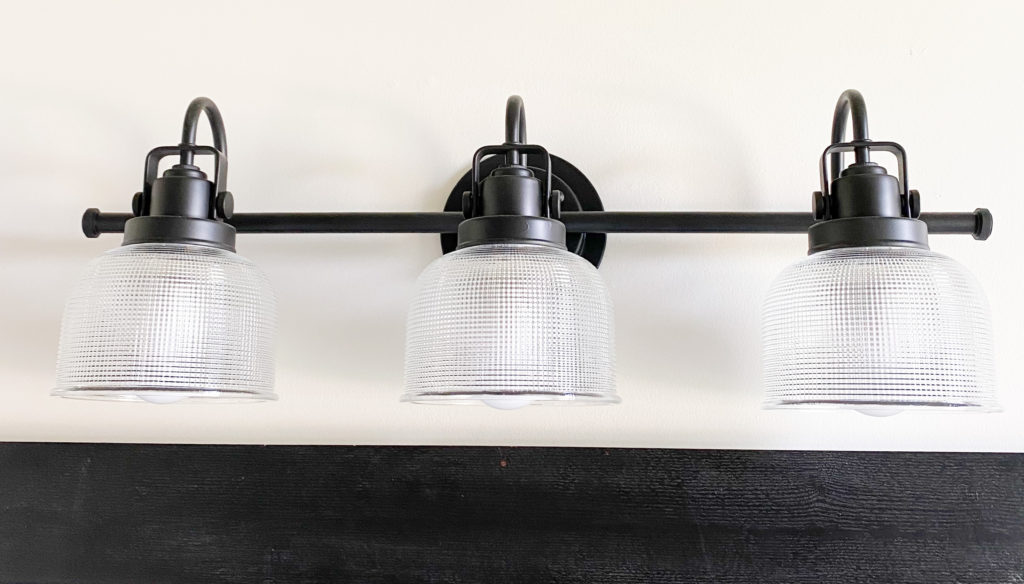
Now for Lighting
I added new over the counter lights that you can find here find here.
I could only get the silver where I live so I spray painted mine black.
I added a chandelier for a little bit of ambiance.
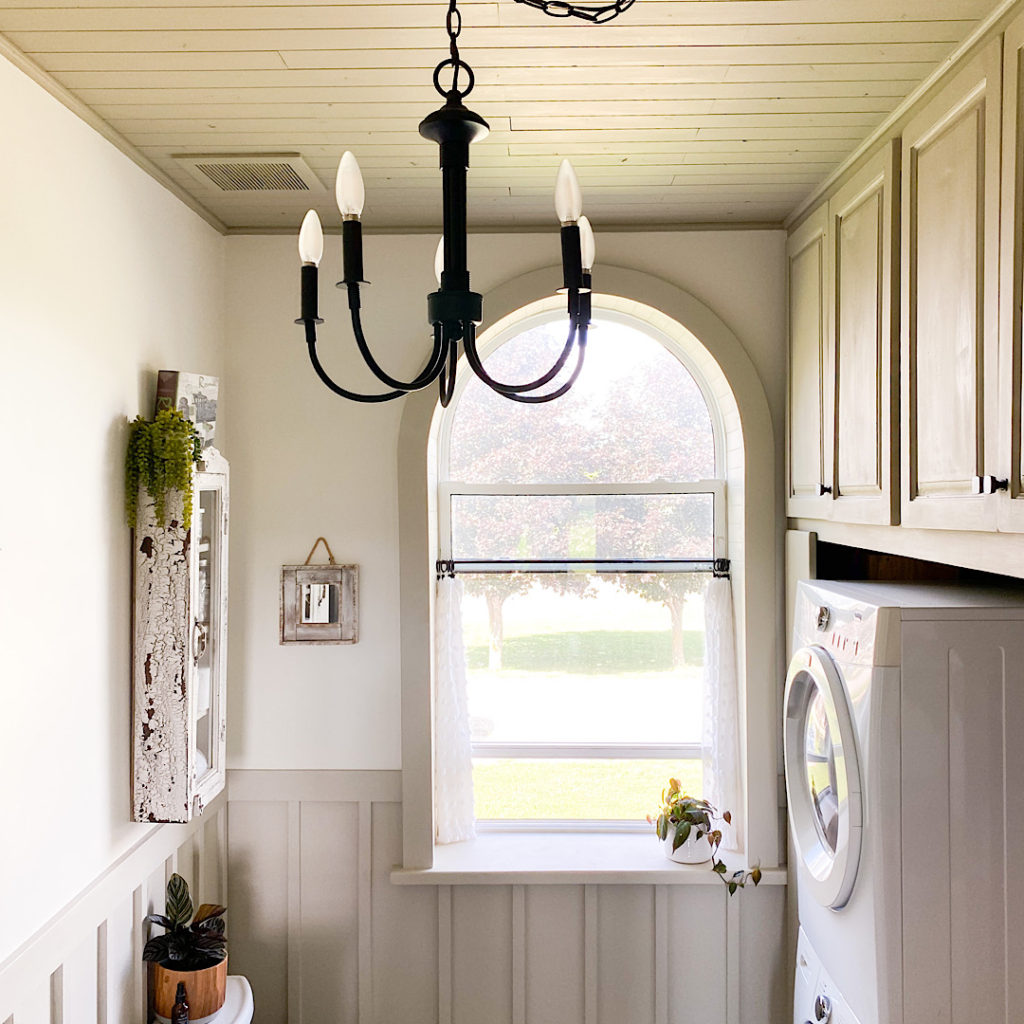
Adding Some Accent Pieces
Then I added a nice chunky farmhouse mirror. I also spray painted this hardware and will have a blog post up on how you can refinish hardware to get the look you want in your space! Such a great way to save a little money.
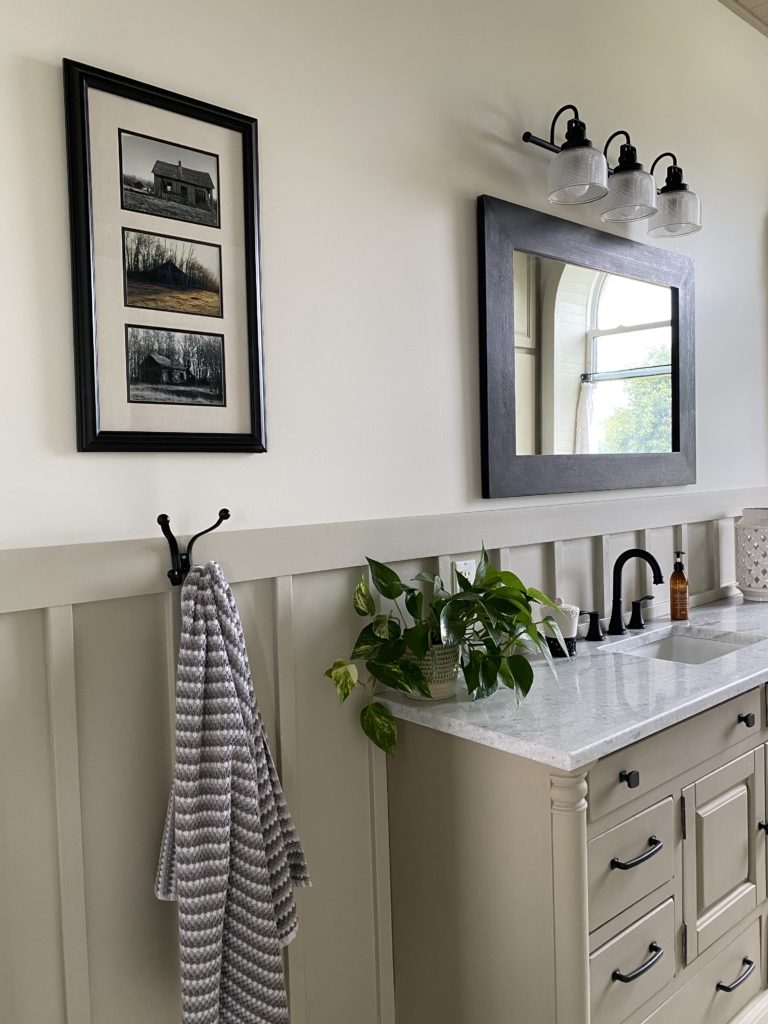
The prints in the above photo were taken by my husband Tom https://www.instagram.com/tbbarton_productions/
So there you have it! My farmhouse bathroom update on a very tight budget.
I think it suits this 120 year old school house, don’t you?
For a great tutorial on chalk painting you can check out this post!
Karan


The bathroom looks fabulous! And I’m glad to see your blog through my email…Susan
Thank you so much Susan!!!
Karan
Oh WOW! This looks amazing… and for $500?! Your talents always amaze me.
Tana, you are the absolute best, thank you.
karan
I absolutely love your towels and rugs. Where did you purchase them? I also love the textiles (rugs, pillow covers, drapes, towels) in your photos of other spaces/rooms. Where do you shop for such unique finds?! Thank you so much for your inspiring work.
Towels were from Homesense Canada and rug rona. I have a LIKEtoKNOW.it page where I link things.
Love it and your style. Looks amazing.
Thank you so much Joanne.