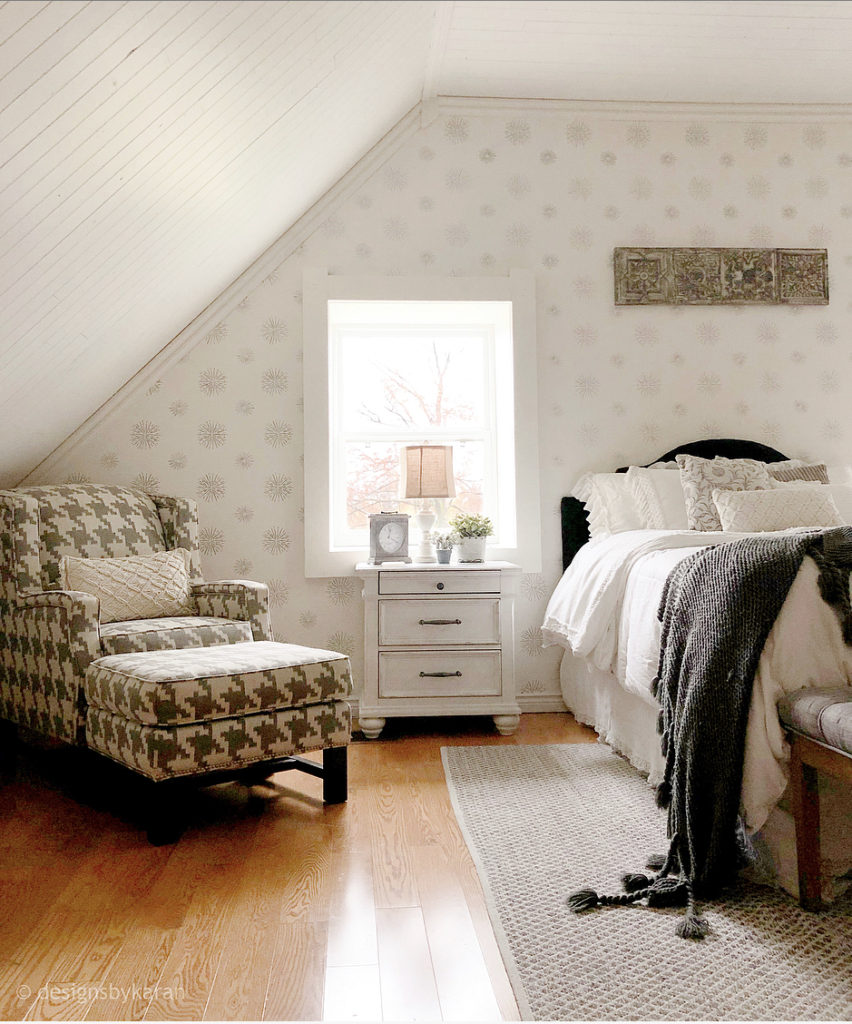
A wall stencil will win every time over wallpaper when it comes to being budget friendly. I love anything that doesn’t hit me too hard in the pocketbook and this Stencilled wall is so much cheaper than Wallpaper and…so easy to do! What is not to love? I would even go so far as to say I’m kinda cheap… Not that I don’t like pretty things, but, if there is a way to get the look I’m going for and save some money, I’m all on that. The wallpaper I was looking at was $139.00 per small role! In other words, this look would have cost me over 1K!
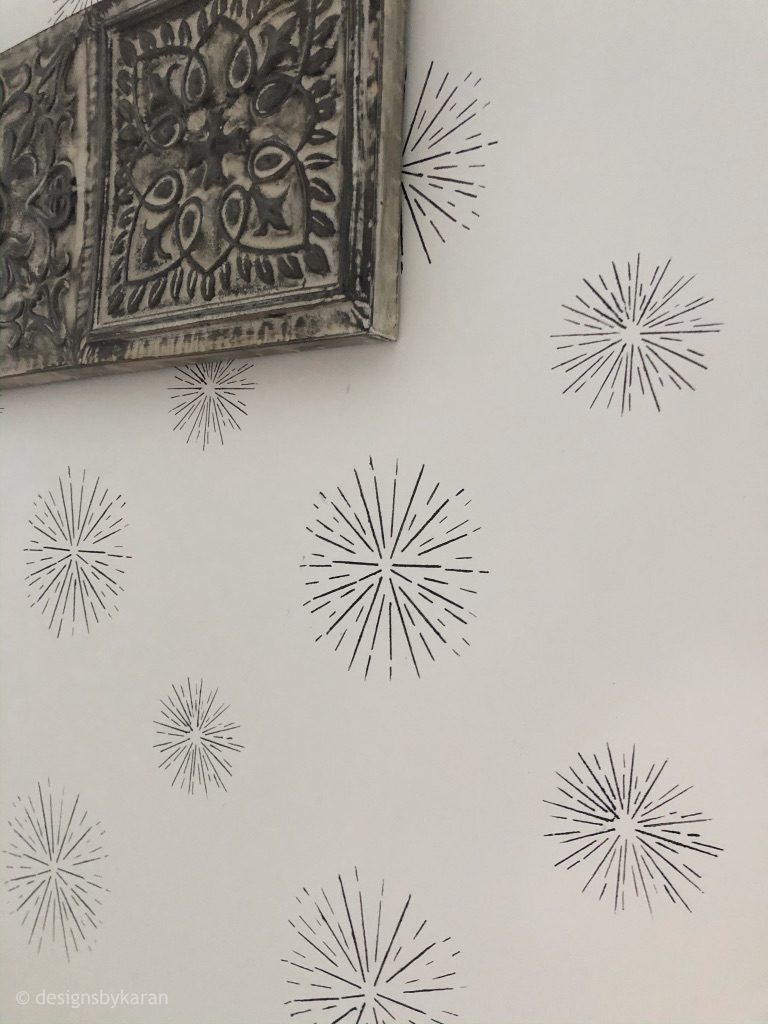
When I first started revamping my Master Bedroom, I knew I wanted something pretty on the main wall. You can check out a master bedroom revamp from my old home here.
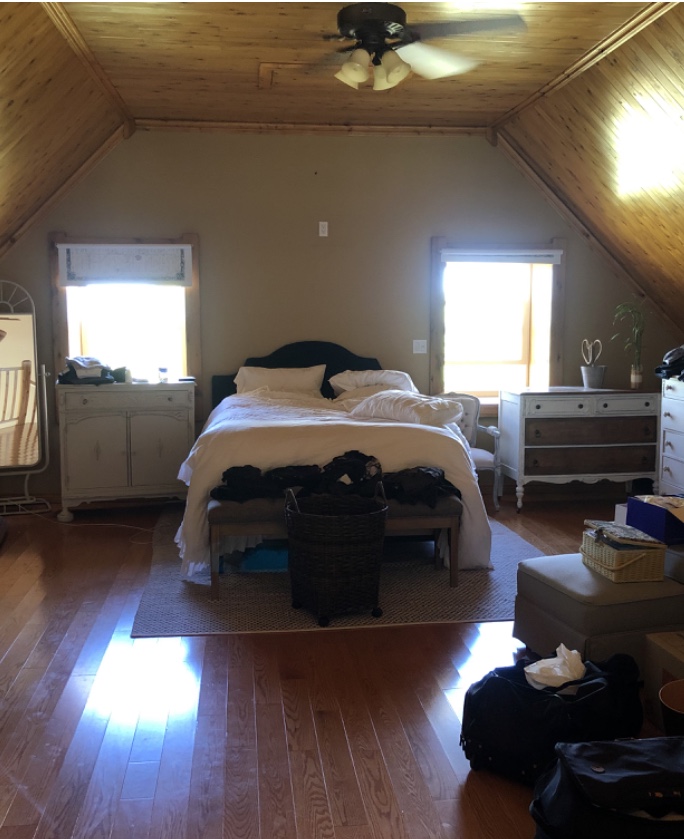
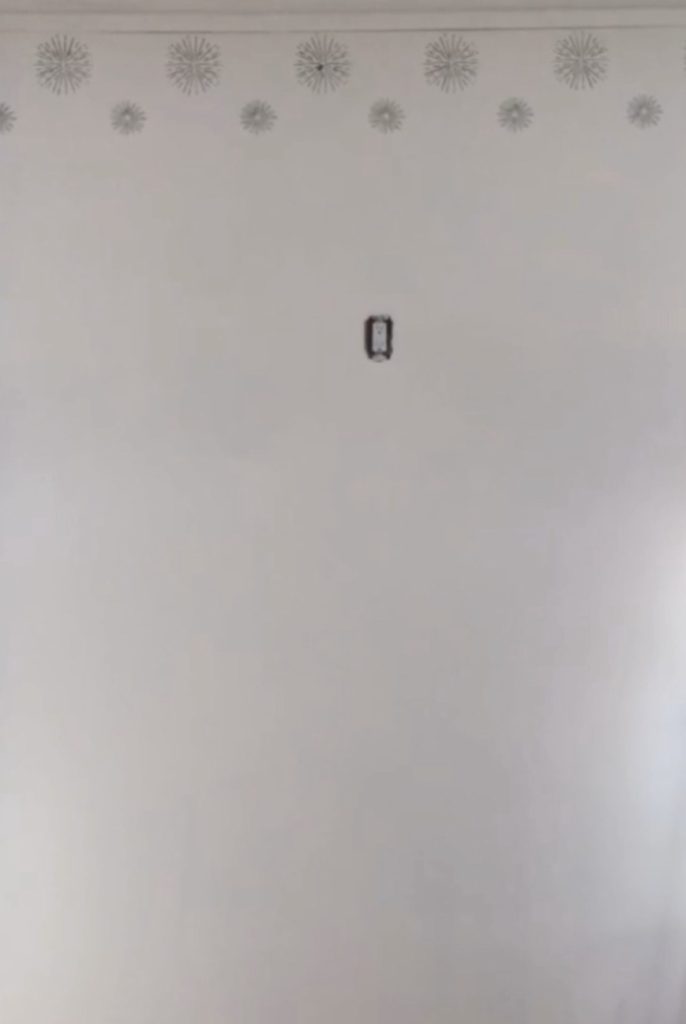
Here is the ‘before’ of this space. One of these days I’ll actually think about taking a good ‘before’ pic!

What You Will Need
Stencil of choice
Stencil Brush
Small Brush for touch ups
Paint
Small level
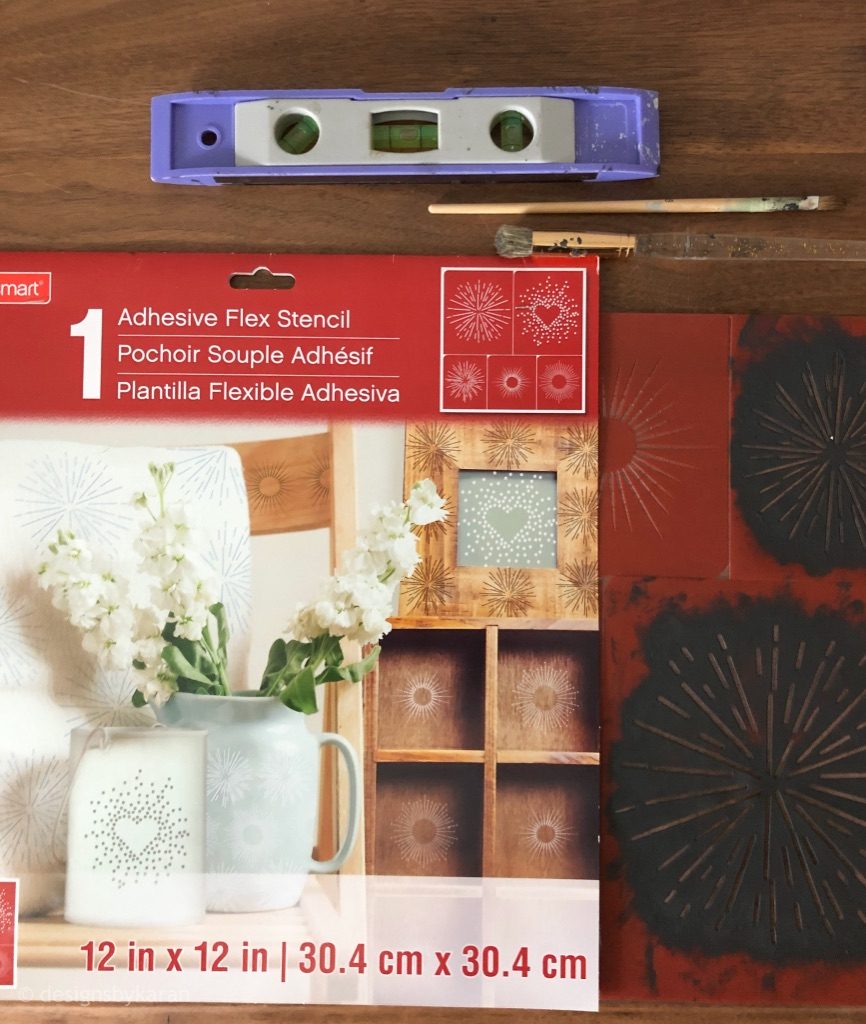

I picked up the stencil at Michaels. You can find it here in the States and here in Canada. The stencil brush can be found here in the States and here in Canada.
Michaels has a wonderful selection of stencils to choose from. Personally, I like the self-adhesive ones. That way, you don’t have to worry about it moving and there is no tape needed.
How to Stencil a Wall
One of the things I did totally wrong was having only one of each stencil. When one of them broke, it meant a trip to the store. I ended up buying two packages of the stencil I was using and discovered that, by using doubles, my work was cut in half! It was also much easier to line up the stencils.
To begin, I used the top of the wall as a starting point and did a faint level line to follow.

Then I continued the pattern using my little hand level.
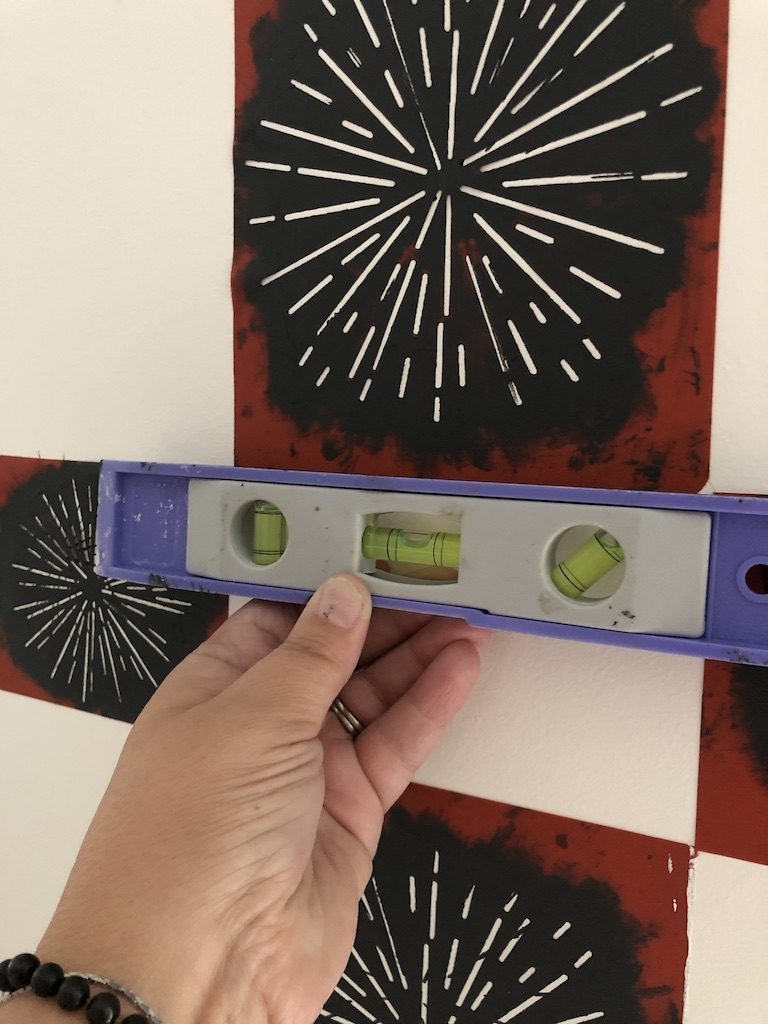

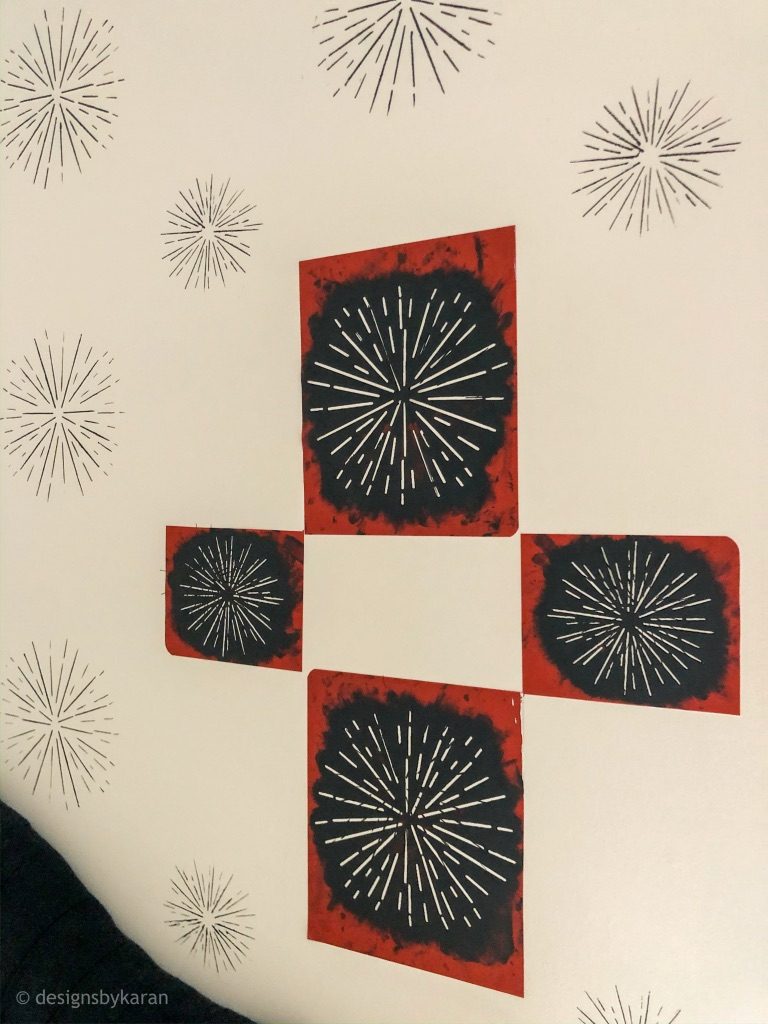

I used the corners of the stencils as a guide and then used the level to ensure everything was straight.
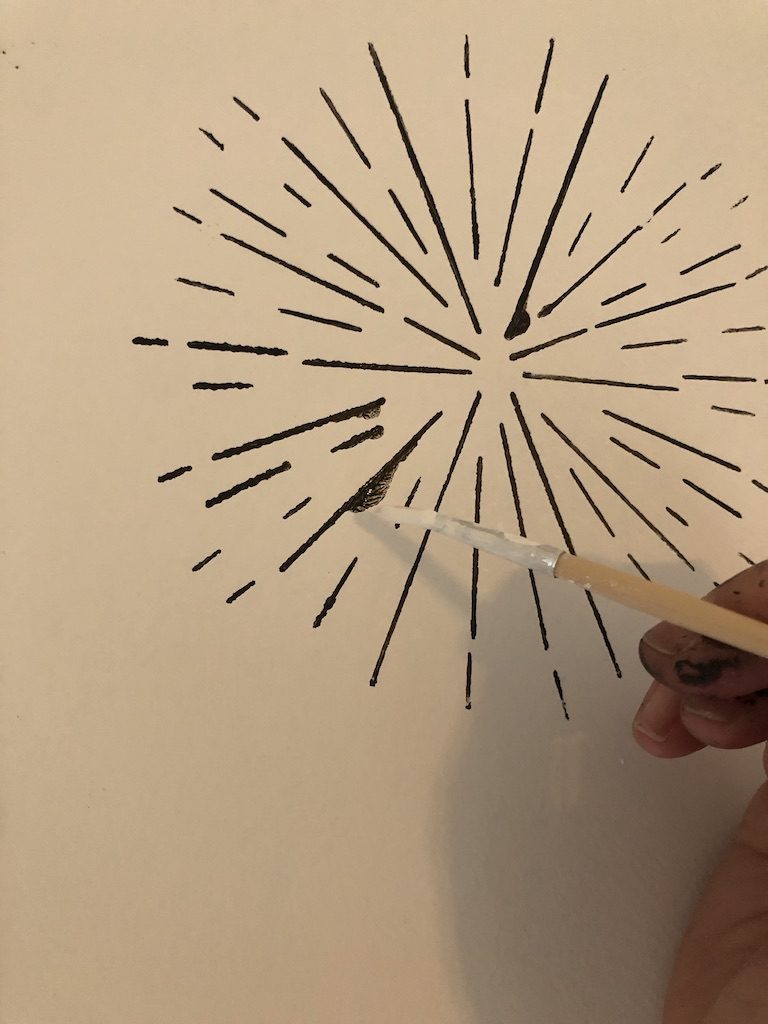
These self-adhesive ones are great – just peel and re-stick. I washed them about every 15 applications. I used the stencil brush to add the paint being sure to go with the stencil not back and forth to prevent any bleed through.
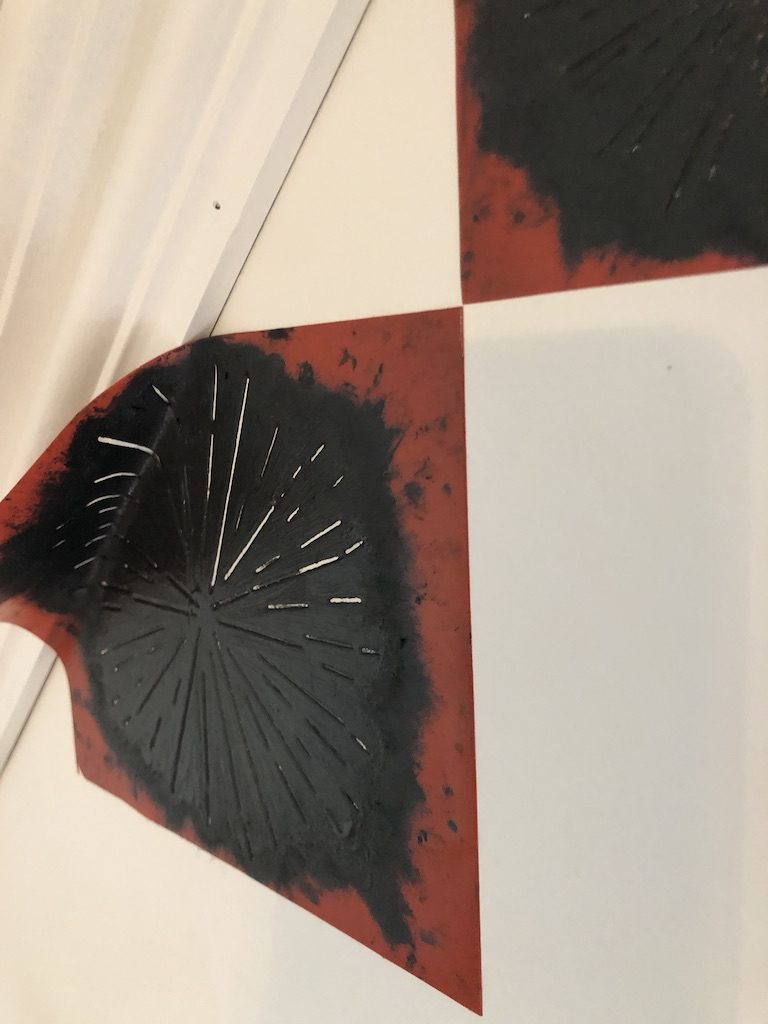

I then used a small brush to touch up any bleed through.

My Tips
- I would recommend you buy at least 2 of each stencil, makes it go a lot quicker and you have a back up if something breaks. This happened to me and it meant a 4 hour round trip to pick up another one!
- Keep the stencils clean.
- Use the level on each one, it is easy to get off track
- Take your time and enjoy the process.
The Final Look


I love how the stencil is imperfectly perfect!
This wall took me approximately 2 days to complete. What I love most, no peeling wallpaper if I ever want to change it out. It is as simple as painting a wall. Another fun feature wall idea can be found here.
Please post any questions below, I’m always feel as if I miss something.
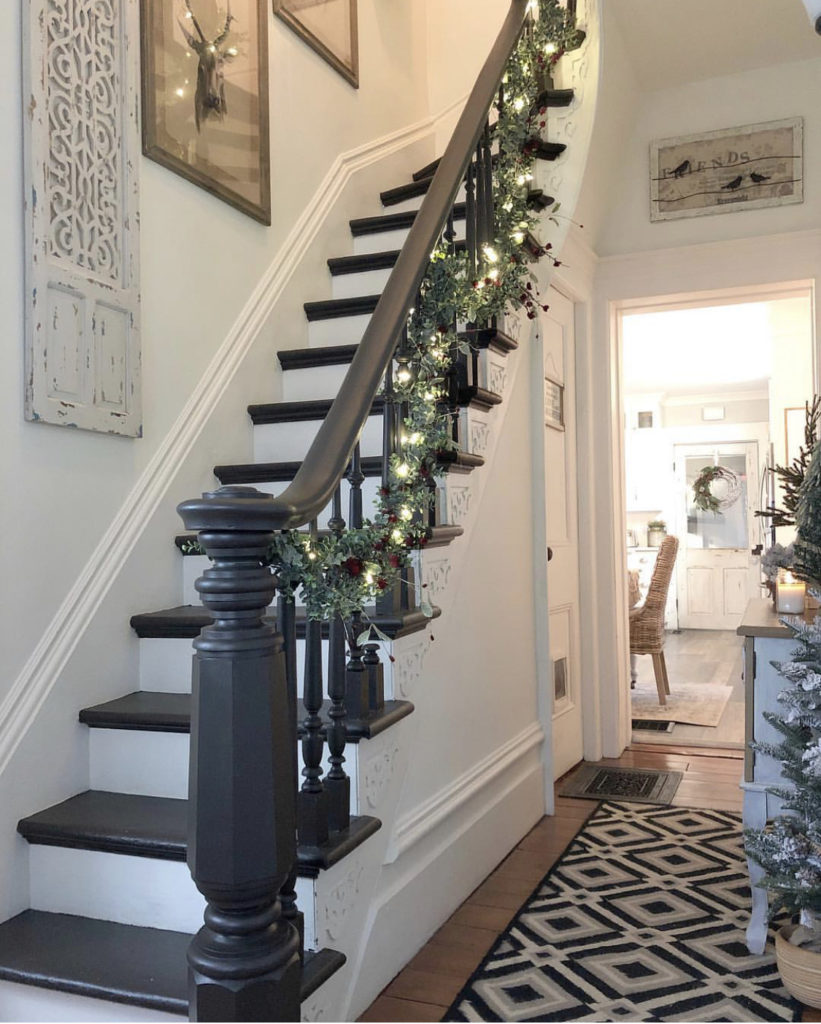
For another fun painting project check out how I painted my stairs here. Here is how they turned out.

Or you can see how this dresser went from this:
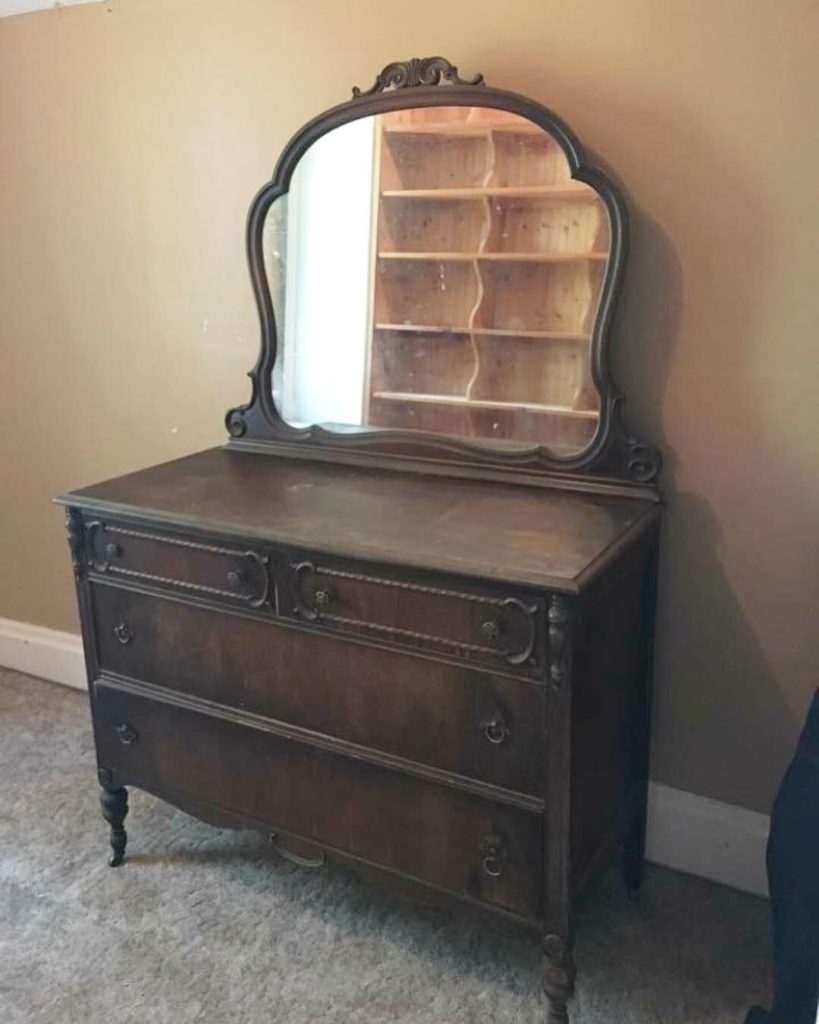

To this
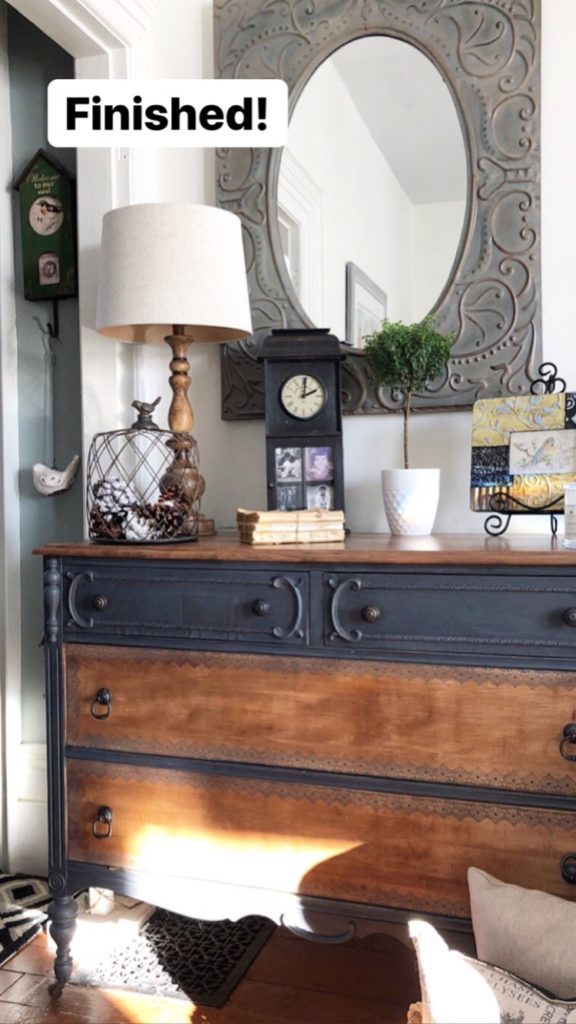

Check out the post here.
Thanks for stopping by!
Karan


I have been toying with the idea of stencilling my bedroom walls instead of wallpaper!!! This has given me the push to do so! Looks wonderful!!! Now I know what my January project is going to be!
I can not wait to see what you do!! I absolutely love how this came out. It gives that old vintage feel that I love. I’m so glad I’ve inspired!
Xxo
Karan
This wall treatment is so cool. Has a vintage vibe without being overpowering.
The whole room is lovely.
Thank you! That is exactly how I wanted it to feel!
Karan
Just gorgeous. I bought a brick stencil. It’s the regular kind I will have to tape. I want to brick one wall in my master bathroom. I just have to figure out the color
Can’t wait to see what you do.