Budget friendly Shiplap – Easy to Install is always the best! I love shiplap, I mean who doesn’t love shiplap right? I really wanted to create a budget friendly shiplap wall in by bedroom, it is one of those rooms with a sloped ceiling and it really needed something on that wall.
I didn’t want it to appear heavy and thought this would work perfectly. But I’m on a budget here and it just wasn’t in the budget to do your traditional plank wall. My walls are also plaster and I didn’t want a thousand nail holes, so cutting down plywood and nailing it up, although economical, would not have done my plaster walls any favours. I was out shopping one day at Home Depot and came across some old school wood panelling, you know that type that was so popular back in the 70’s.
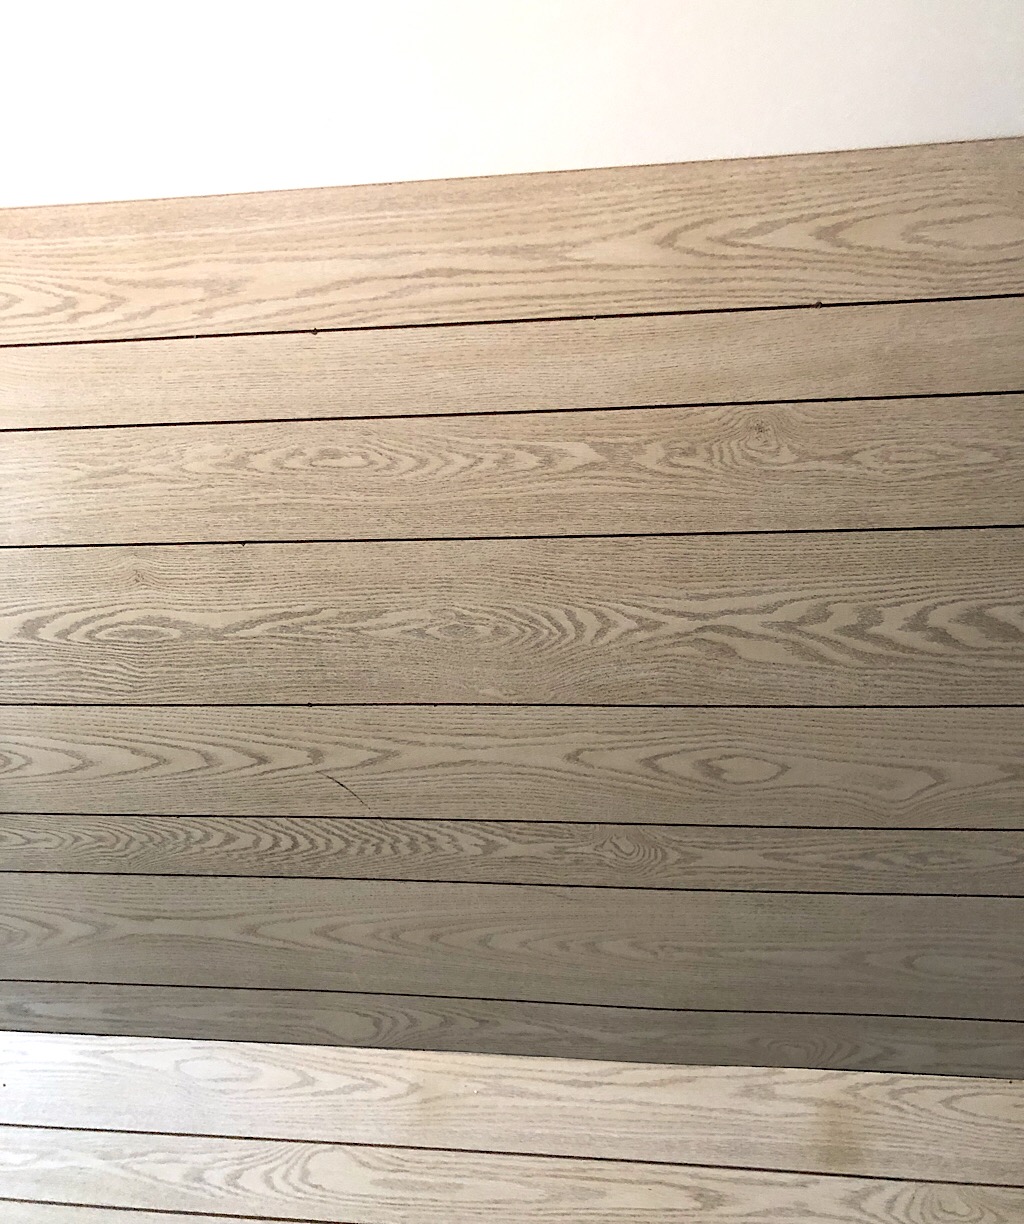

Well didn’t the wheels start churning and you know it is dangerous when that happens. It looks like shiplap when turned on its side, but is so inexpensive, like under $50 per 4’ by 8’ sheet and I wouldn’t have to nail each individual plank piece. This meant less cutting for me and a lot less nail wholes for my plaster walls. That’s a win win as far as I’m concerned. I figured I would need 3, 4’ by 8’ sheets for my wall. So, we loaded them into the truck and I had my project for the week all laid out!
I debated running it vertically and initially thought I would go that way, but I would have had to use twice as many panels as doing it horizontal, so horizontal it was.
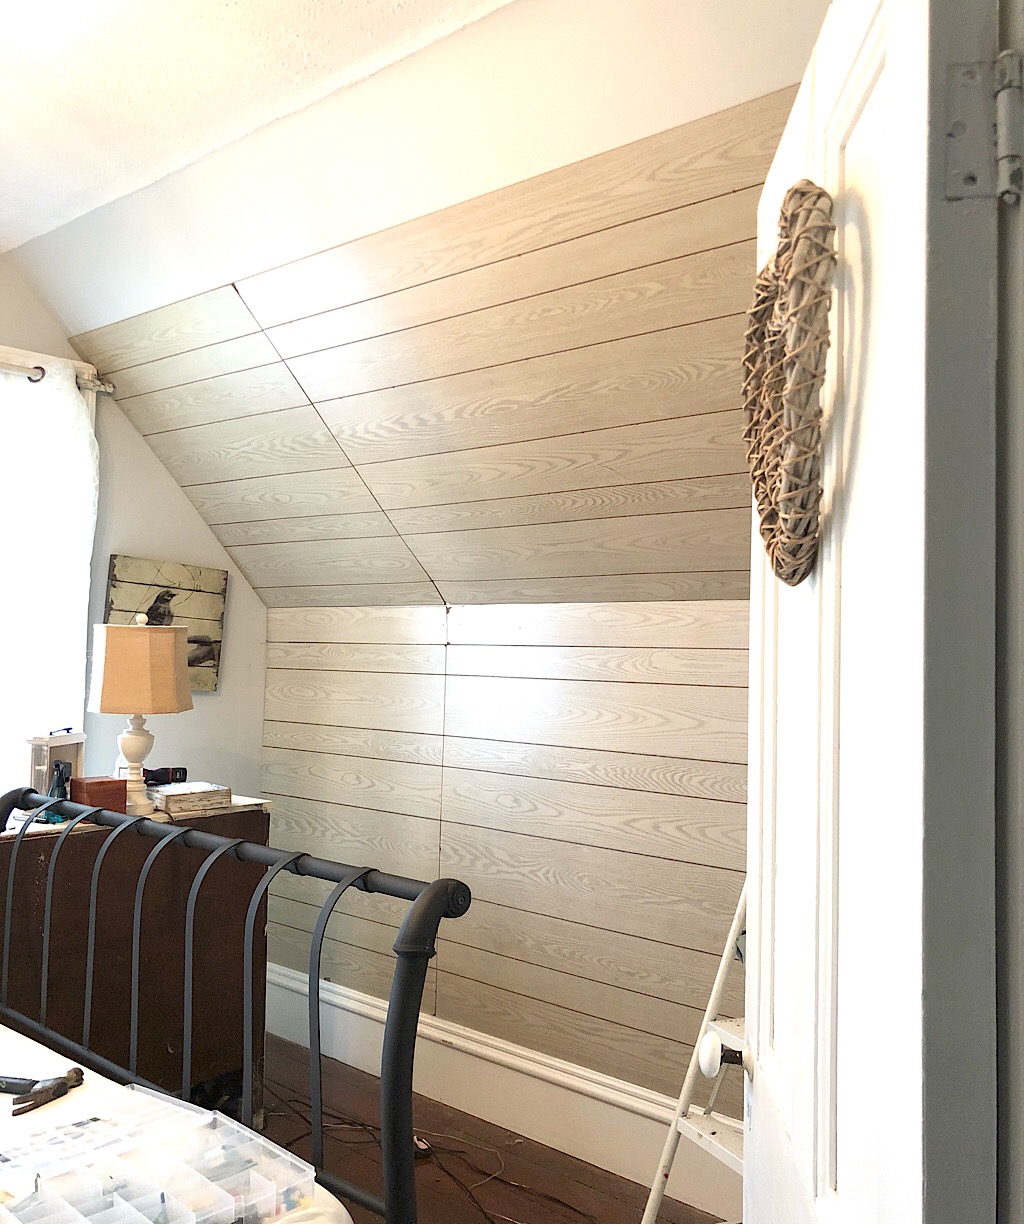

I used 2” panelling nails to secure it to the wall and put approximately 9 into each piece. I didn’t want to glue it as I wanted the option of an easy removal down the line if I tired of it or heaven forbid it goes out of style. I used a circular saw for my cuts and trust me I measured twice and cut once! My dad taught his 4 girls right.
I ended up with one seam that would be visible and here is where I made my mistake. I figured I would caulk the seam and all would be good. Well guys… big mistake! I mean BIG mistake.
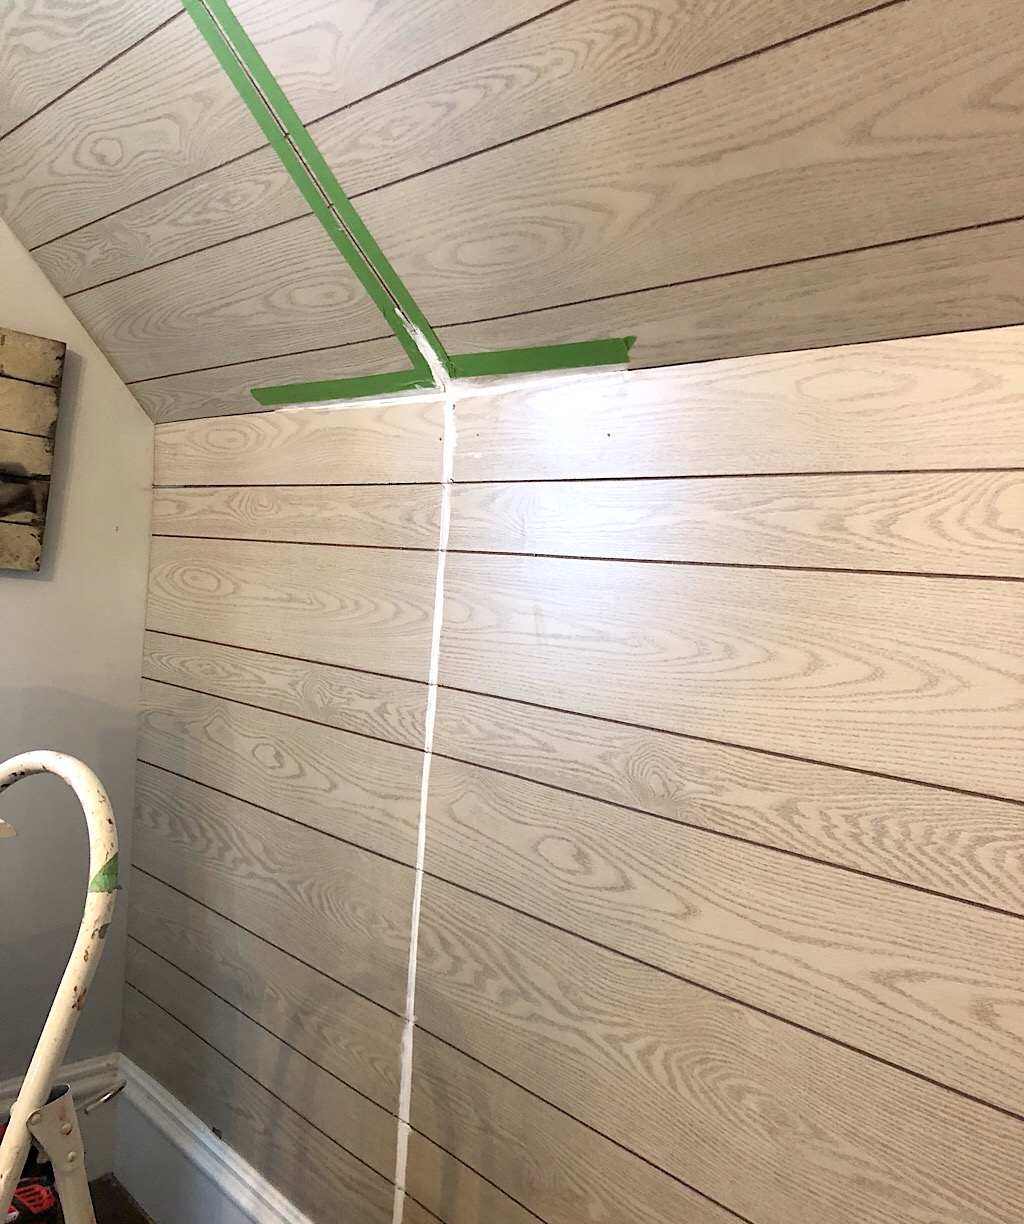

This is what it ended up looking like.
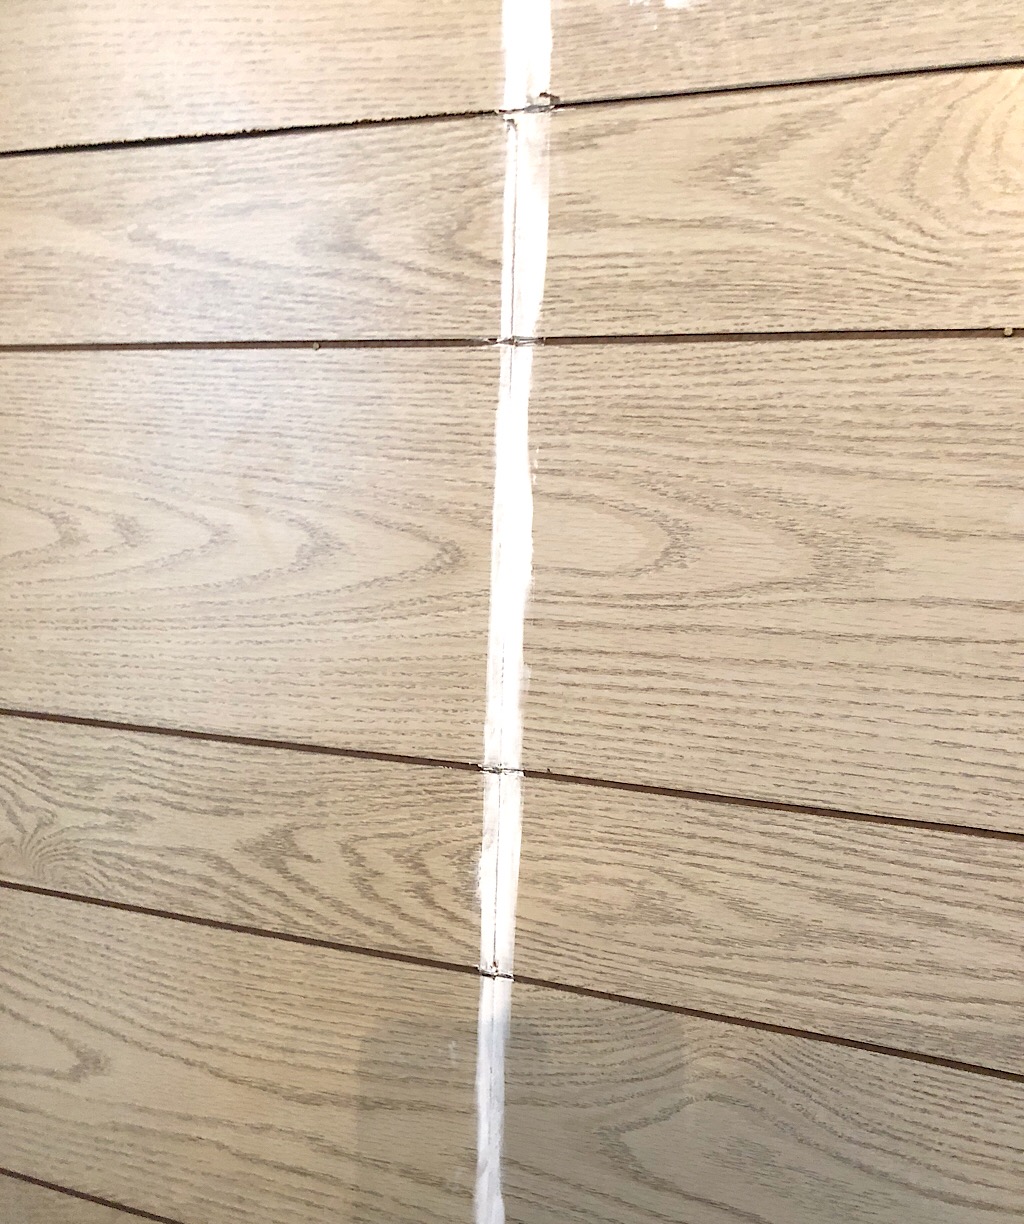

I’m not proud of that and it was a lot of work to correct it and it is not as smooth as I could have gotten it, if I’d done it the right way the first time. Sorry DAD…
But the best part is, you all can learn from my mistake!
Use DryDex sparkling.

Apply it to the crack and do a thin coat on either side. Then sand, simple as that! Had I actually thought this through I would have saved myself a ton of extra work and ended up with a much better finished seam.
The next thing I did was I took a black crayon and followed all of the vertical lines to ensure those lines would still stand out once painted. I then painted the shiplap wall. I used Behr Paint and Primer in one. I chose to use Cloud White by Benjamin more as it is the colour of the trim and the walls in this space.
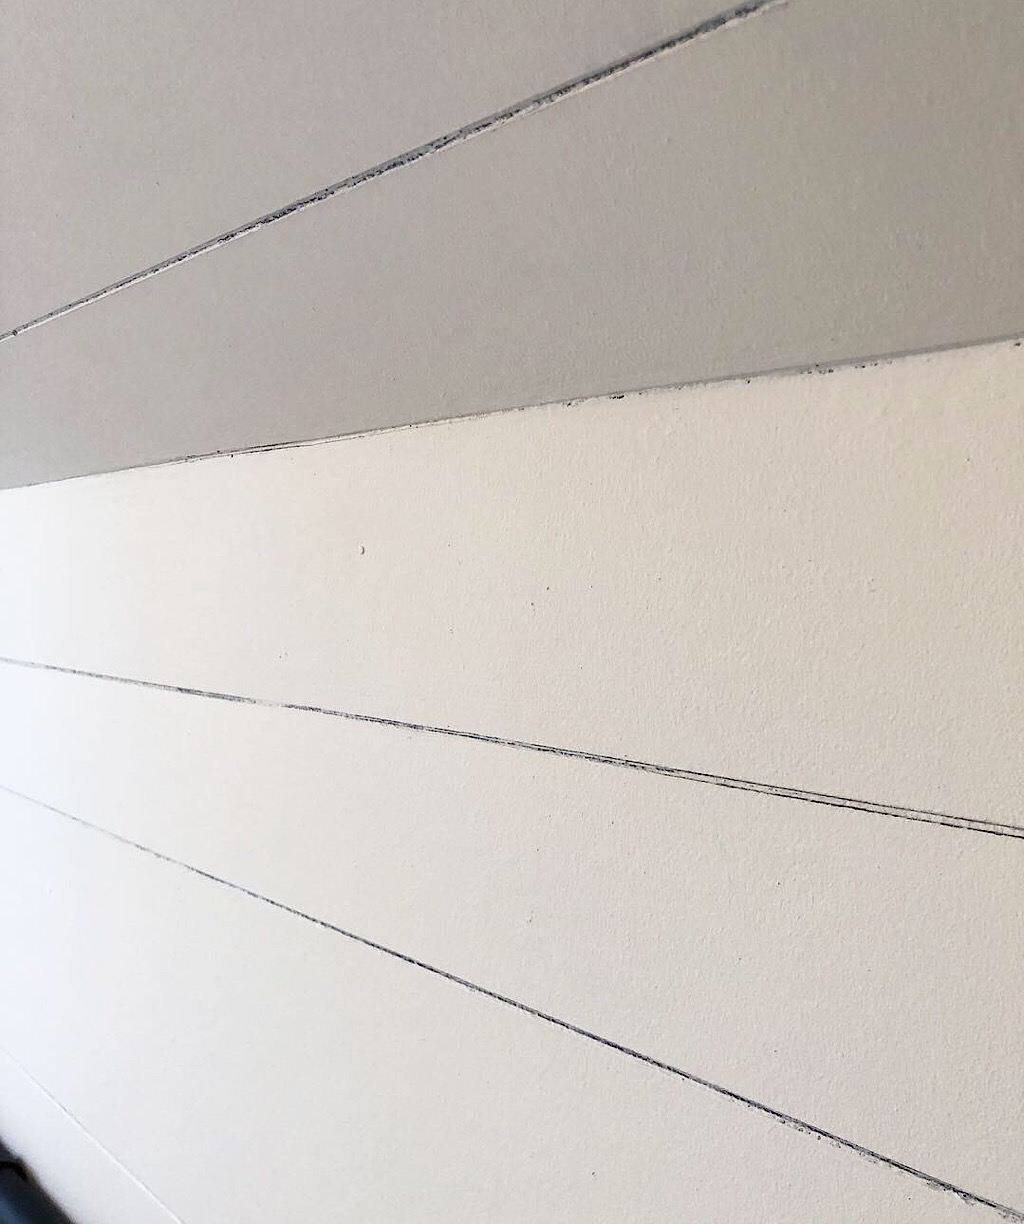

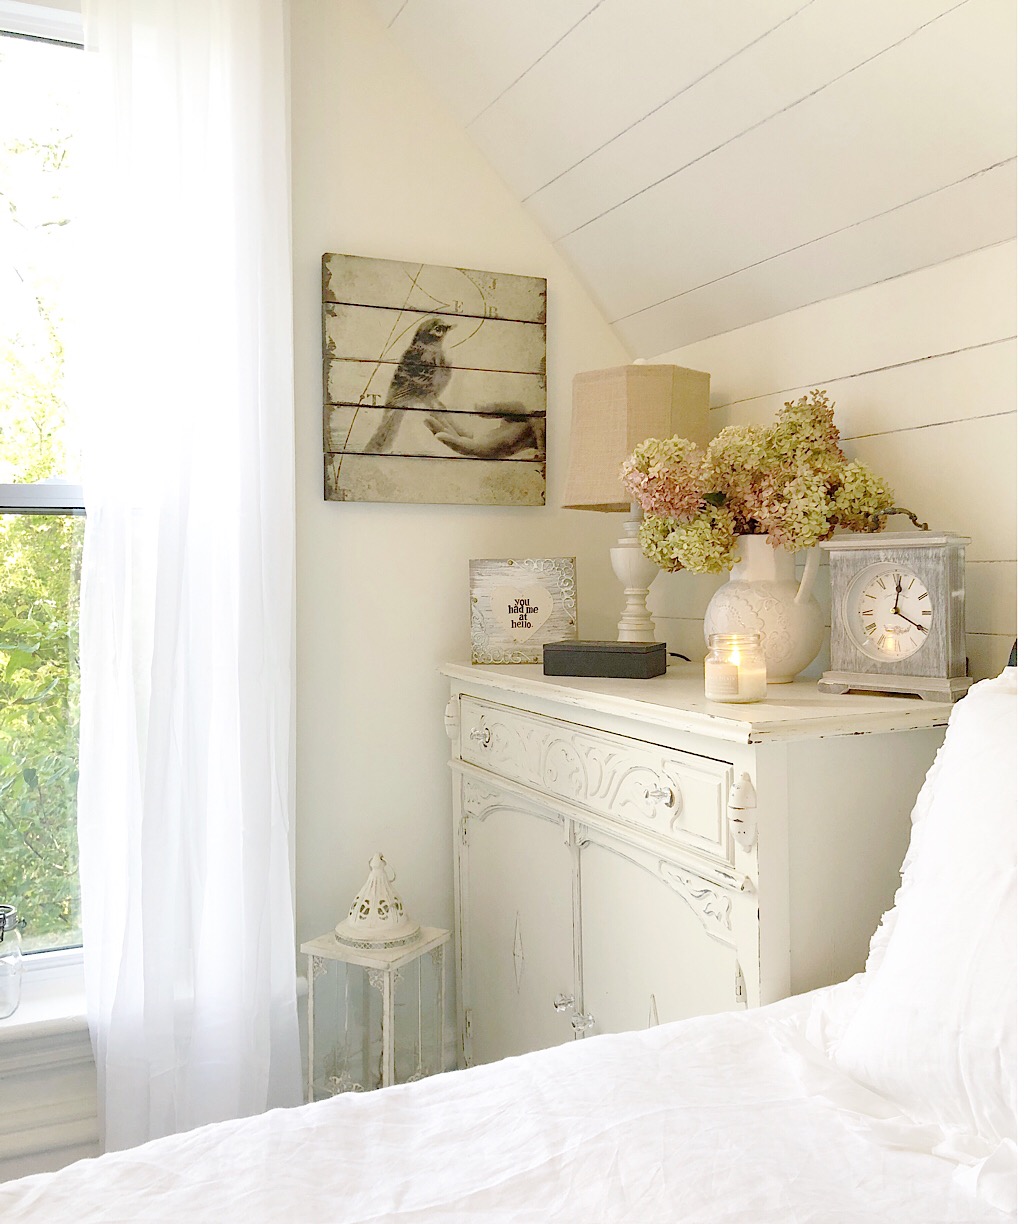
This is what it turned out like and I have to say, I’m really happy. It was under $200 to finish and paint that wall. If you want to know about my home made chalk paint you can go here, I used it to refinish that side table.


Here is the space all decked out for the holidays!
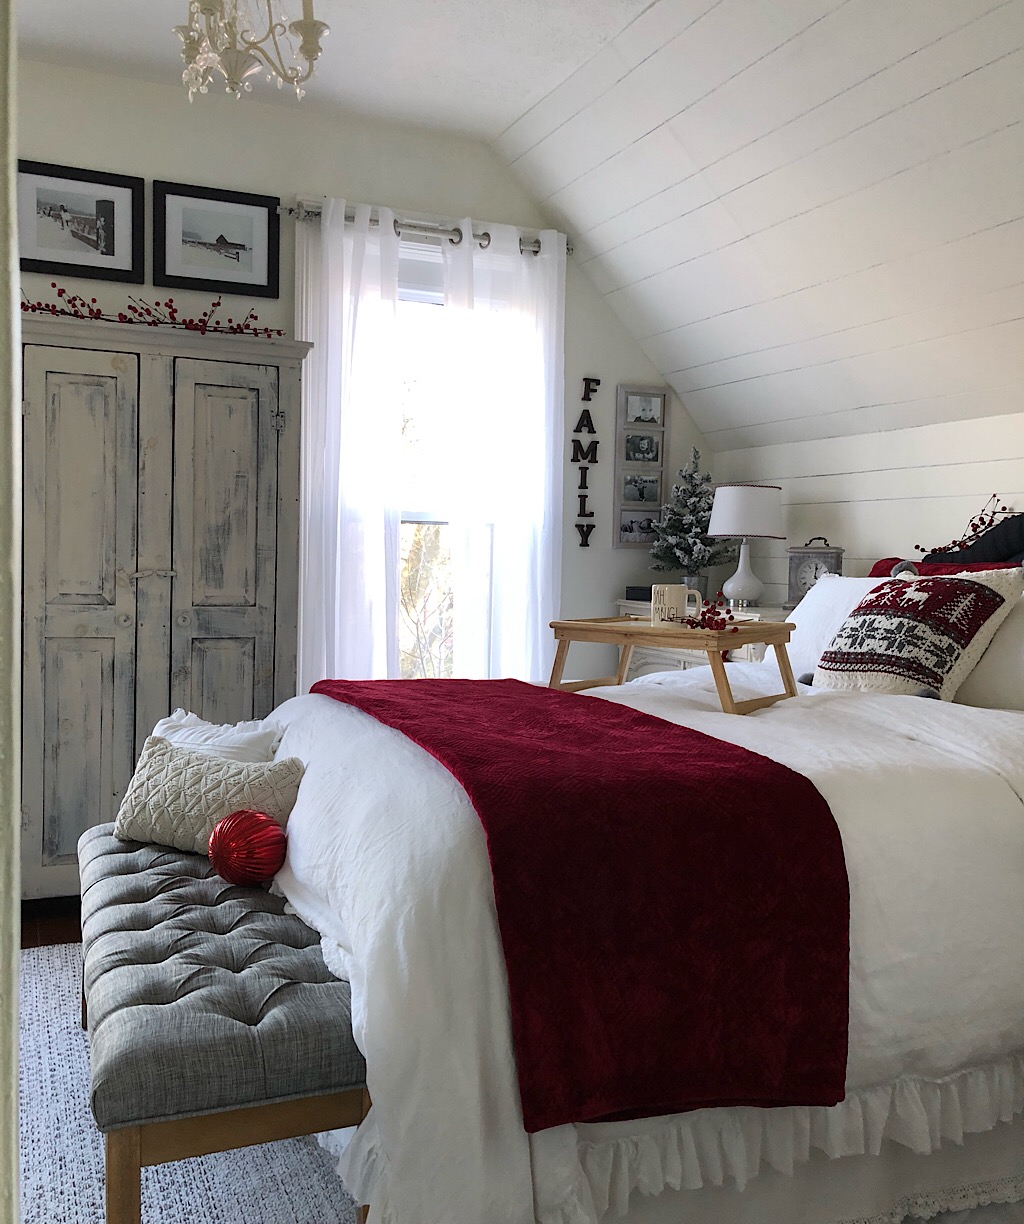

I hope you enjoyed the tutorial and please leave any comments below. Let me know if you use this method and if so tag me in any photos on Instagram.
To learn a little bit more about the face behind this page you can go here.
Thank you so much for stopping by.


You did an amazing job with this shiplap and the entire room.
You never cease to amaze me with your talent.
Wendy,
You my friend never cease to amaze me! Thank you so much for your support and friendship.
xxox
Karan
Great tutorial! I have the curved walls and plaster in our upstairs rooms as well. I think this would be perfect for our grands bedroom!!
I’m so glad you enjoyed it. It works so well on those plaster walls.
Please share a picture of you do it!
Karan
I love this idea. Would it work in a bathroom? I wasn’t sure if the moisture would grow mold behind the panels.
We use wood wainscotting all the time in bathrooms so I think it would be fine. Here is a link to more info. https://www.doityourself.com/stry/bathroom-wall-paneling-tips–tricks
Karan
Love it
Thanks Annette!
It was super easy!
karan