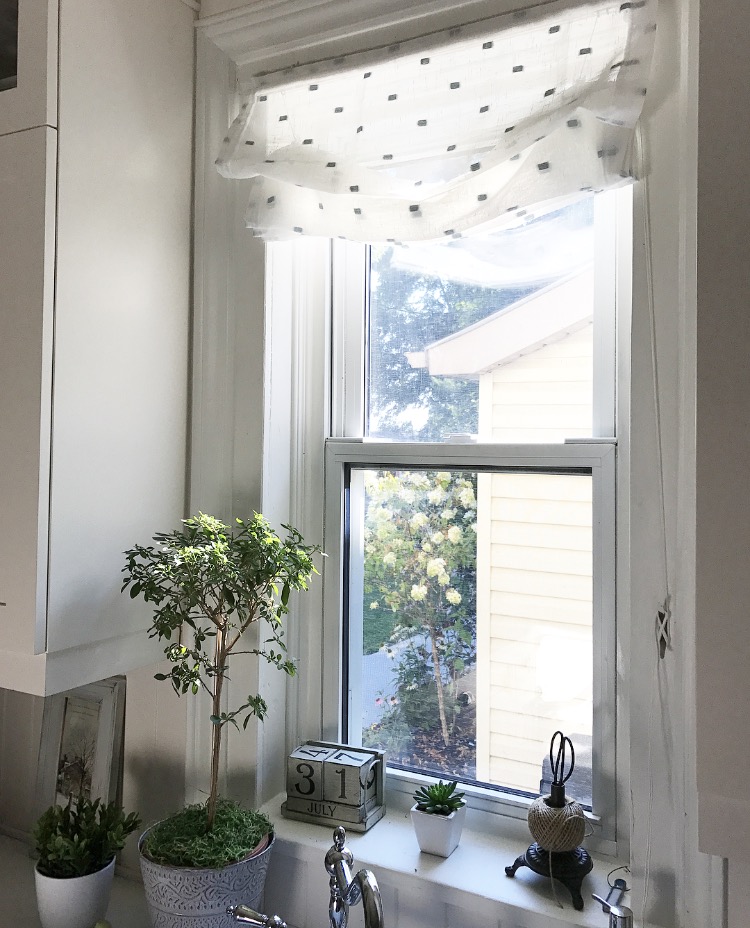
One of the things I enjoy doing is creating a space that is warm and inviting. Adding texture through window treatments is an important aspect of this. Here is my easy Roman Blind Tutorial.
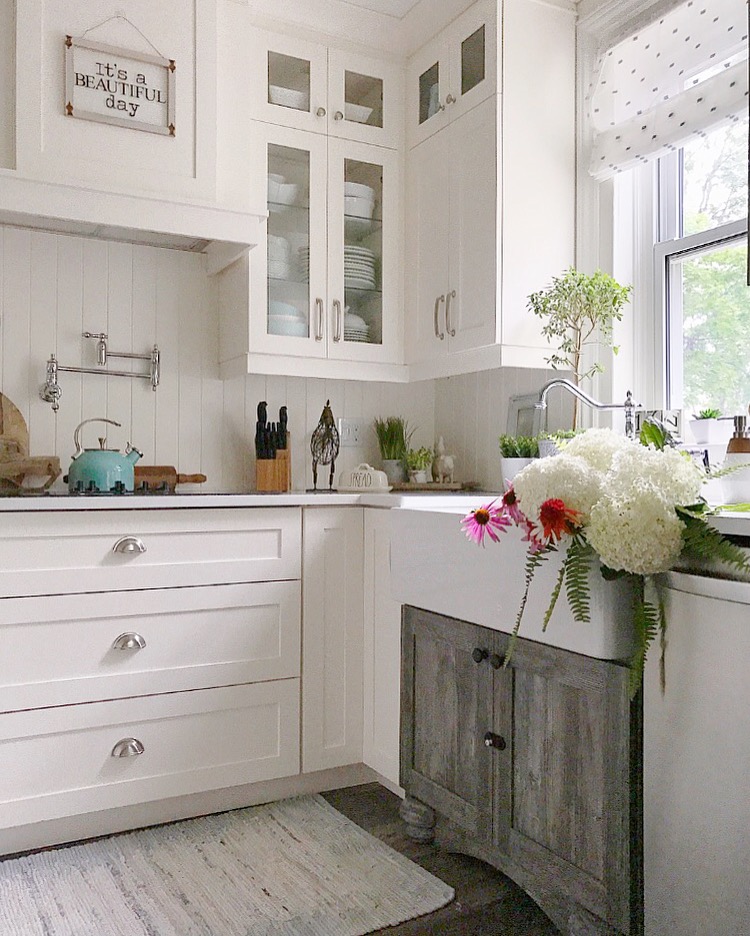
This blind is in my kitchen and only took me a couple of hours to make. When I am searching for the right material, I don’t leave any option unturned. I am always searching for a bargain. This blind is made out of a curtain panel from a set of two I purchased on sale for only $24.99! A total score! I’ve also used table cloths to make these blinds in the past. For this space specifically I wanted something that would not block out the natural light. I love a bright, open and well lit kitchen. I went with a transparent sheer to achieve the look I wanted.
Here are the items you will need to create this blind:
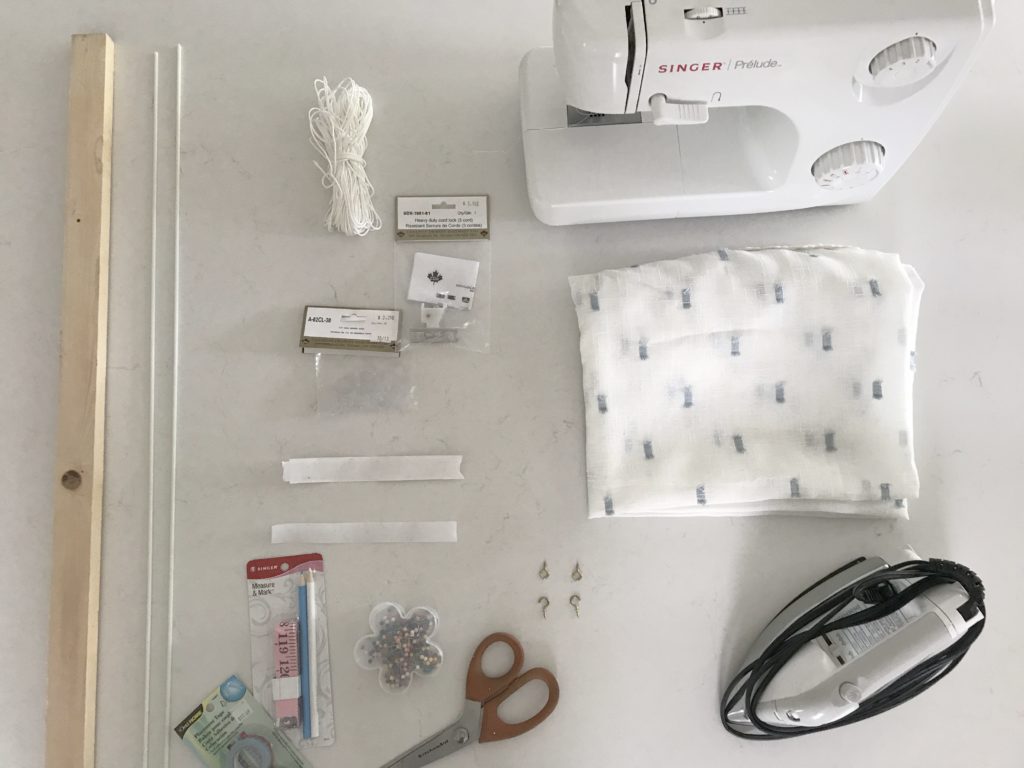
- Pre-cut 1/2″ by 1″ piece of wood to fit your window.
- Metal dowel – I picked mine up at Fabricland.
- Blind String.
- Clear plastic blind rings.
- Heavy duty cord lock – I used a two cord but they come in a variety of sizes depending on your needs.
- Velcro – I like the sew on variety but you can also get stick on.
- Marking pencil and measuring tape.
- Pins and scissors.
- Eye and hooks.
- Iron.
- Sewing machines or sewing tape.
1) My first step is to measure the window. I wanted this one to sit just outside of the window so I measured two inches beyond the inside window dimensions. Here is an example of my window.
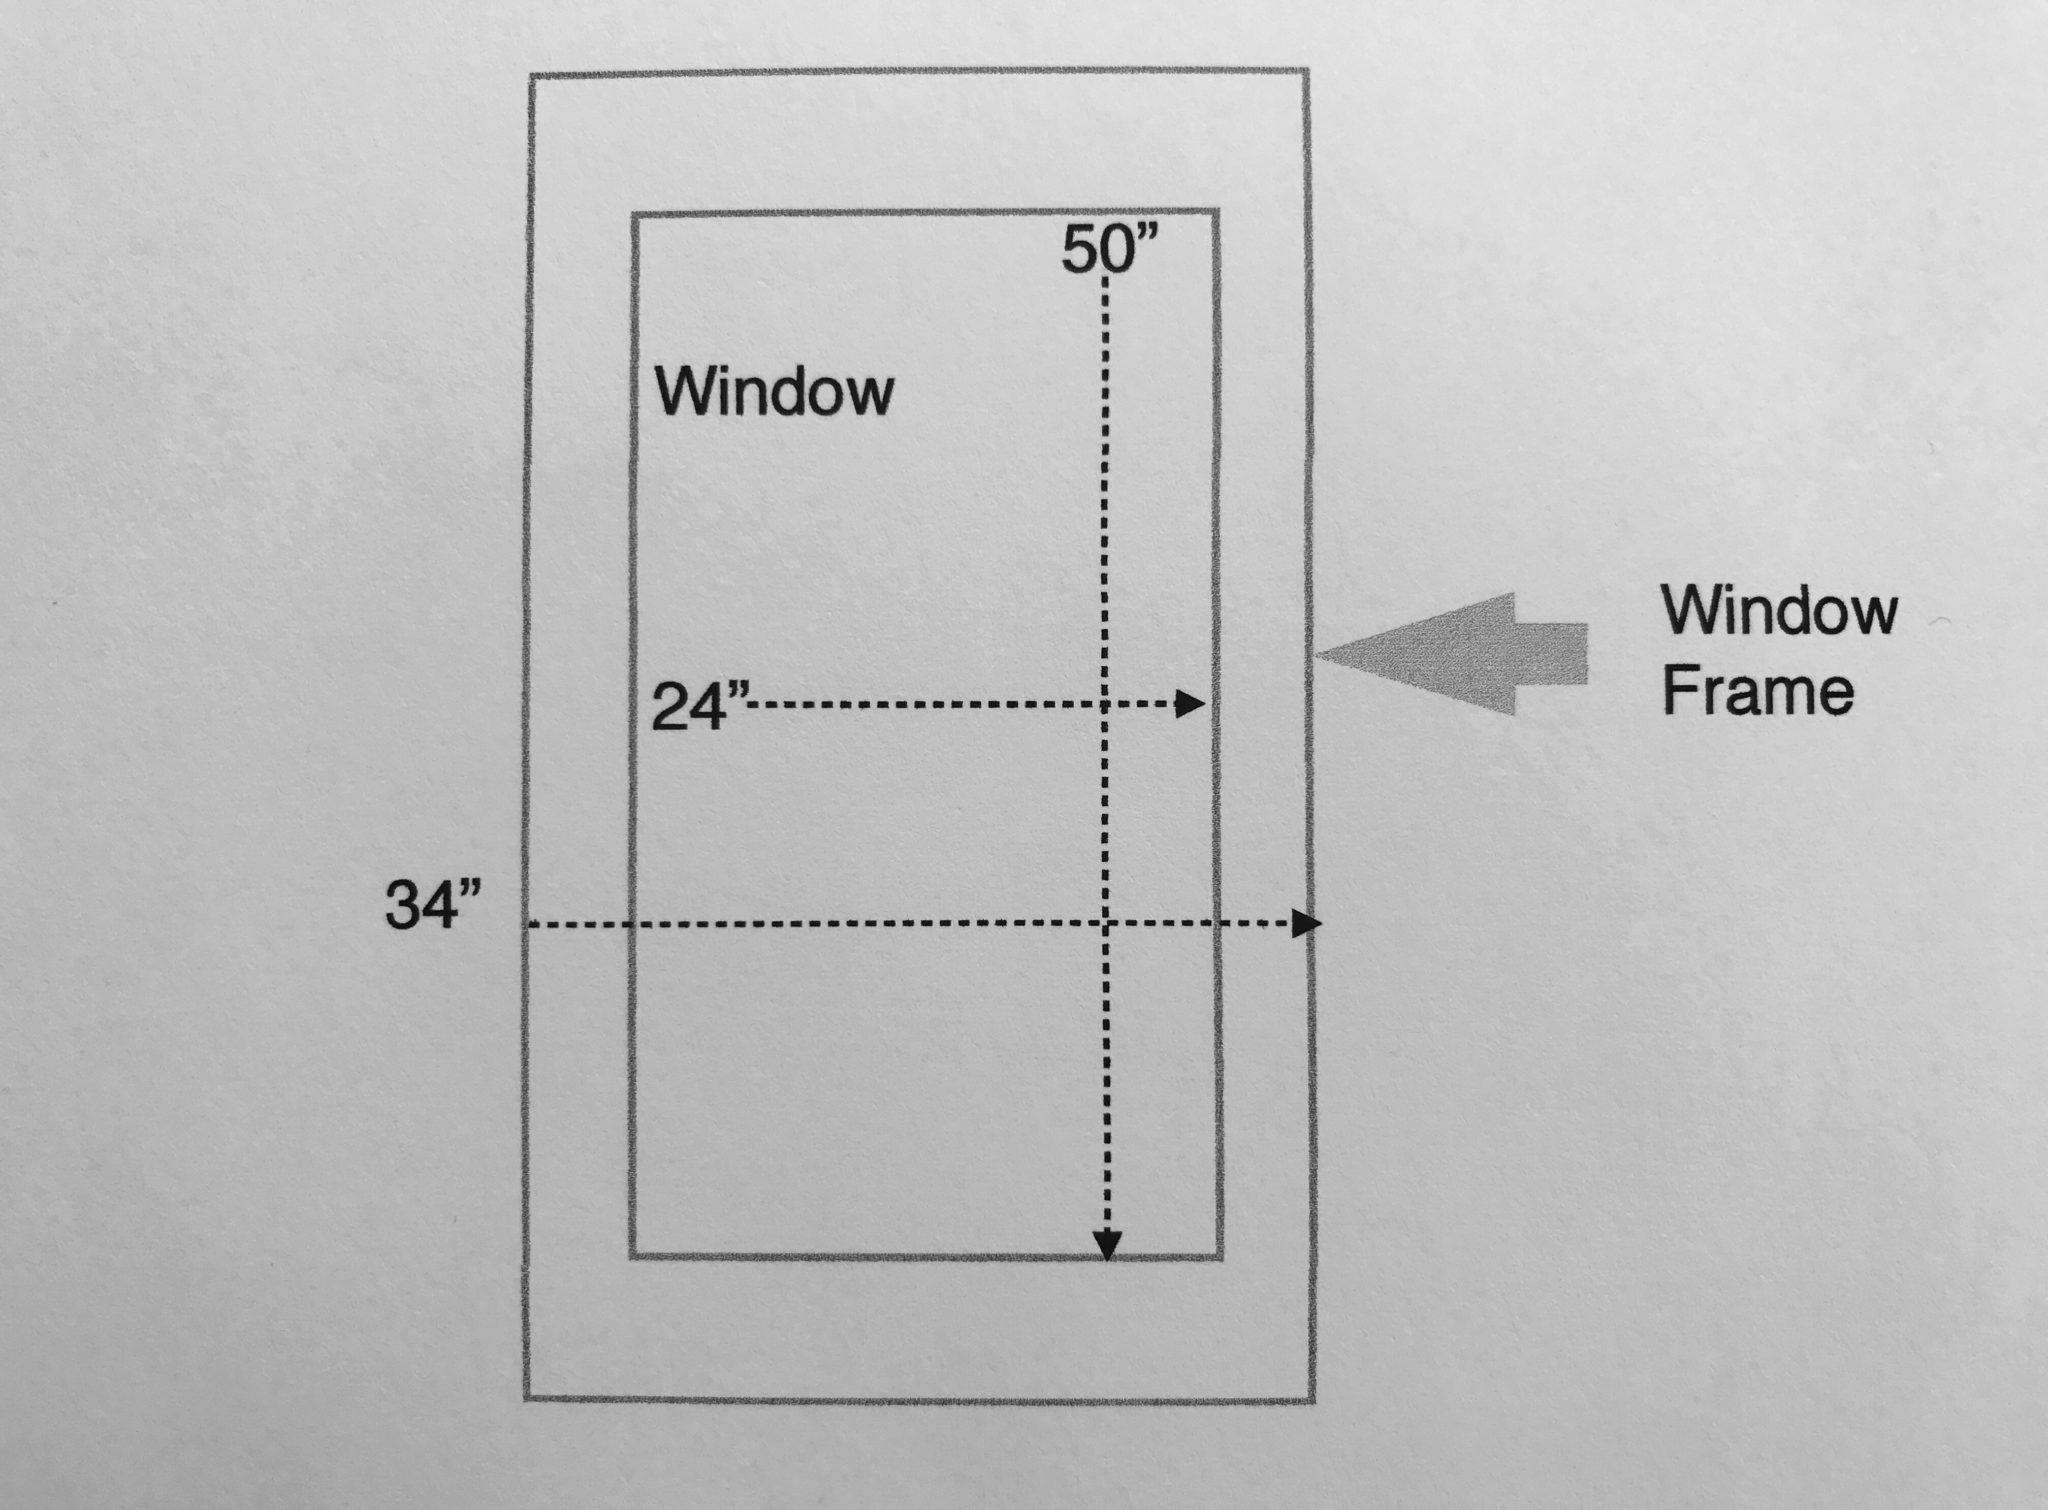
2) I cut the fabric one inche bigger than the inside window dimensions – 25” for my width, which will give me a 1/2” overhang onto the frame itself. If I was to do this so it fit within the window frame, I would only go 1/2” bigger. I do not cut the length until I am totally done my blind, and then I hang and pin it.
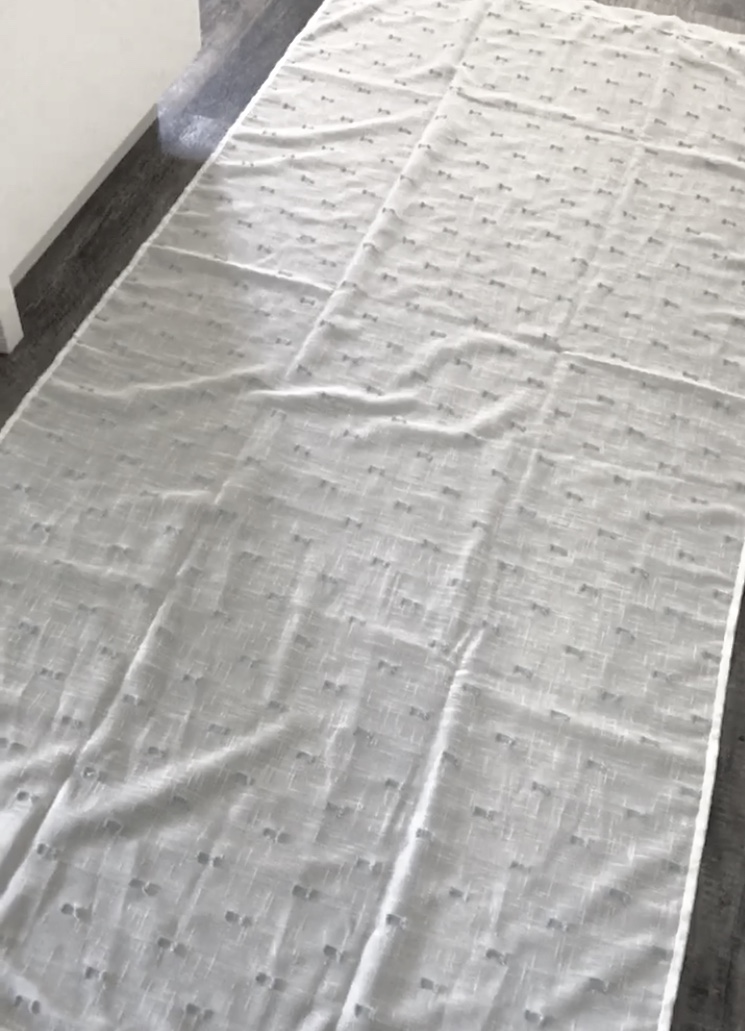
3) Once you’ve cut your fabric to fit the width of the window, you will then measure and press a 1/4 inch seam on the two sides and the top of the blind. I then fold and press another 1/4 inch seam and pin it, giving a double seam to prevent any fraying.
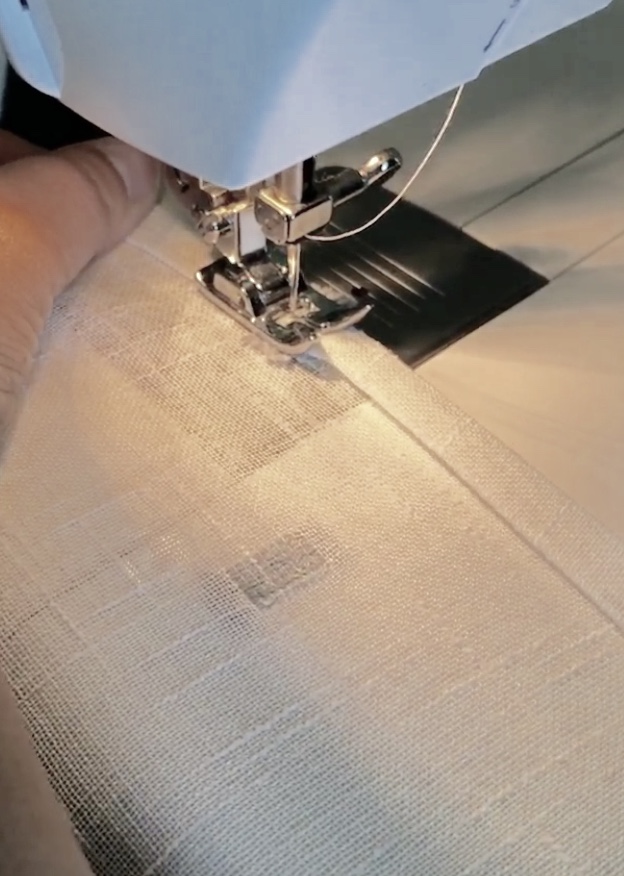
4) I then sewed this seam using my sewing machine. You can also use sewing tape if you do not have a sewing machine. Just put into the fold of the second fold and iron.
(For a soft look fold you can skip this step altogether and go to step 7)
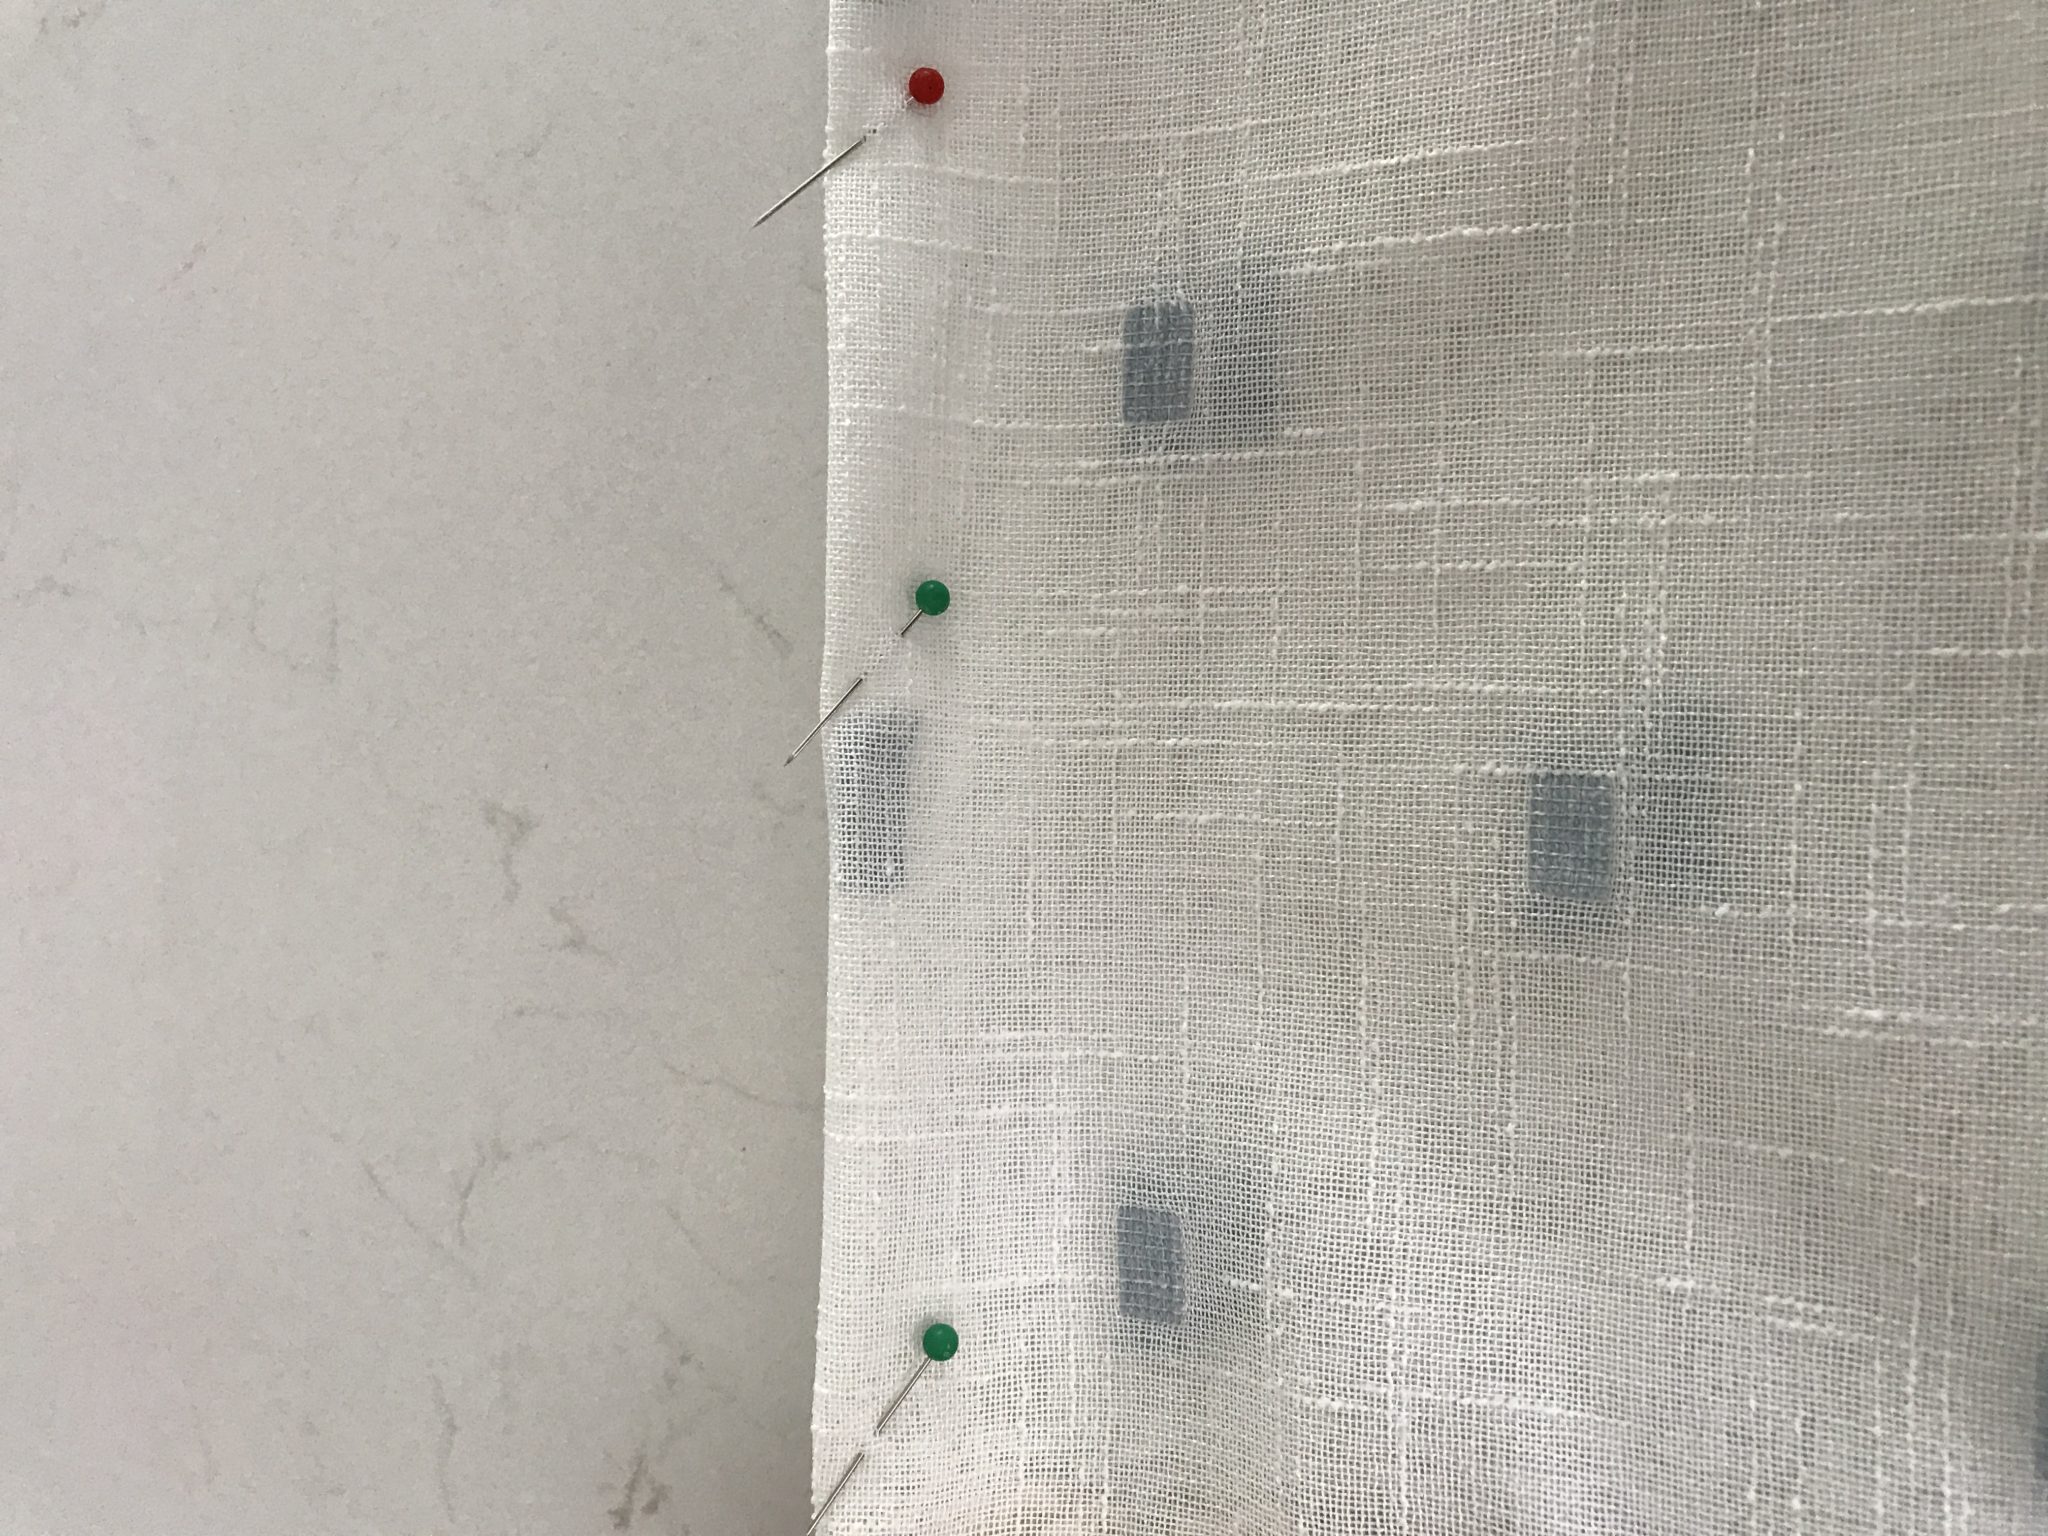
5) To create the pocket for the rods, I measure down the distance from the top to the first pocket. This varies according to the look you want – tight loop, large loop etc. For this blind I measured down 10”, then folded and pressed the seam.
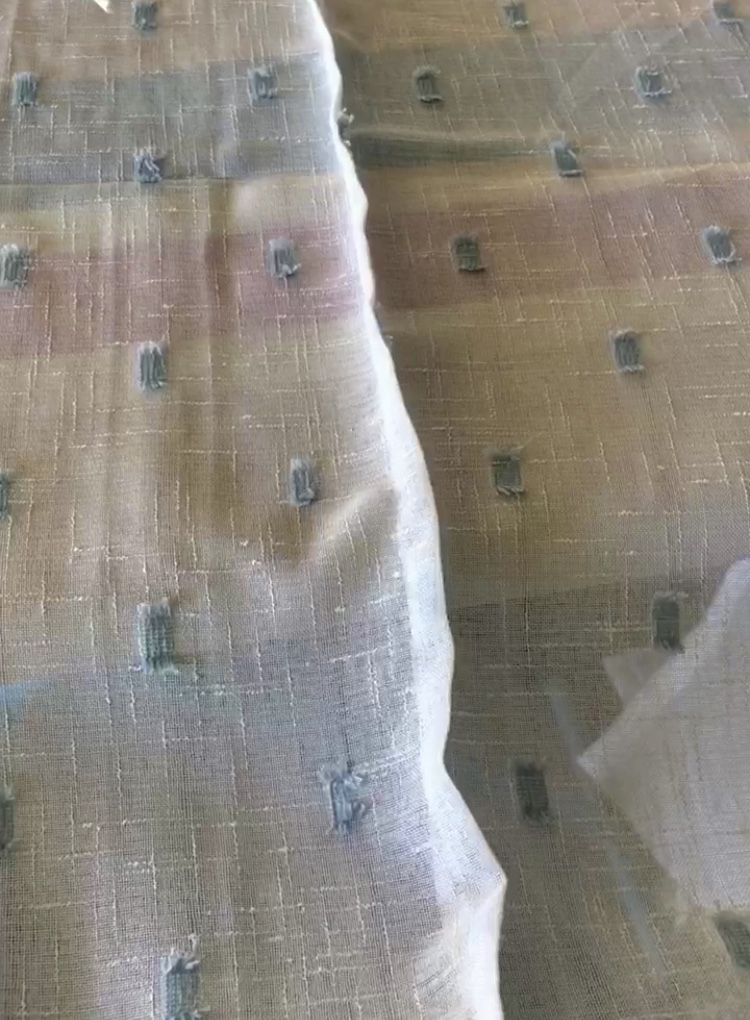
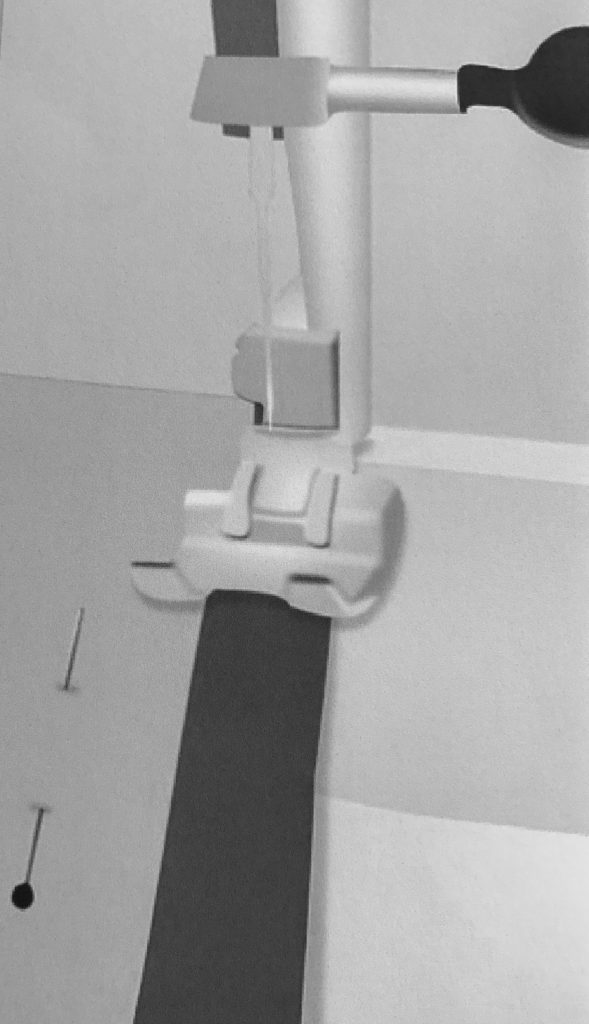
6) I then sewed a 1/4 pocket for the rod to sit in. Once this was completed, I measured down the same distance from that seem to create the next pocket. Repeat this process until you have enough pockets to fill 4/5 of the window frame.
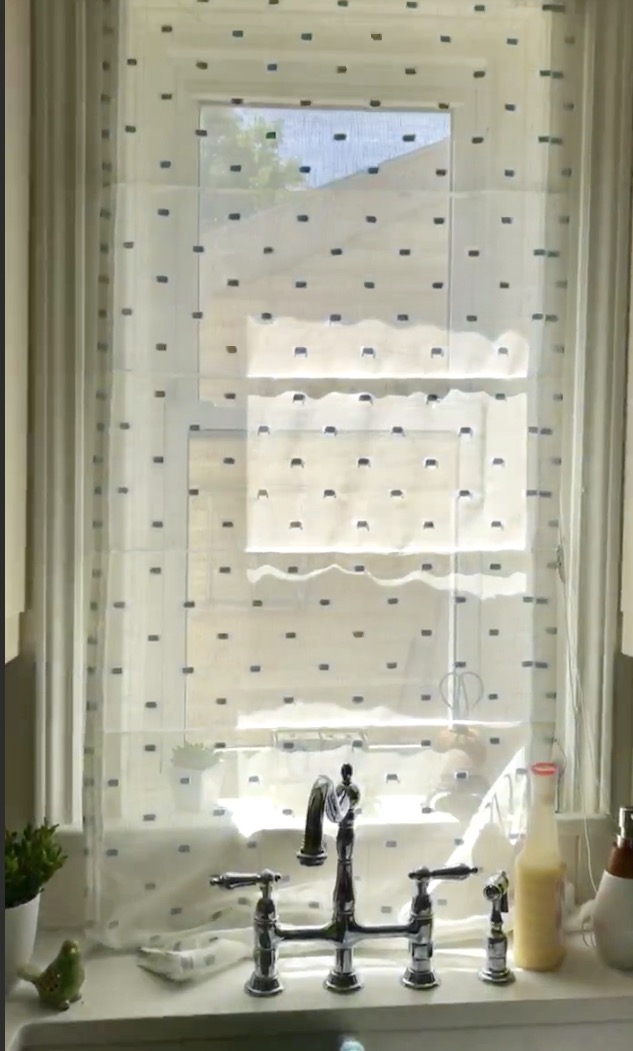
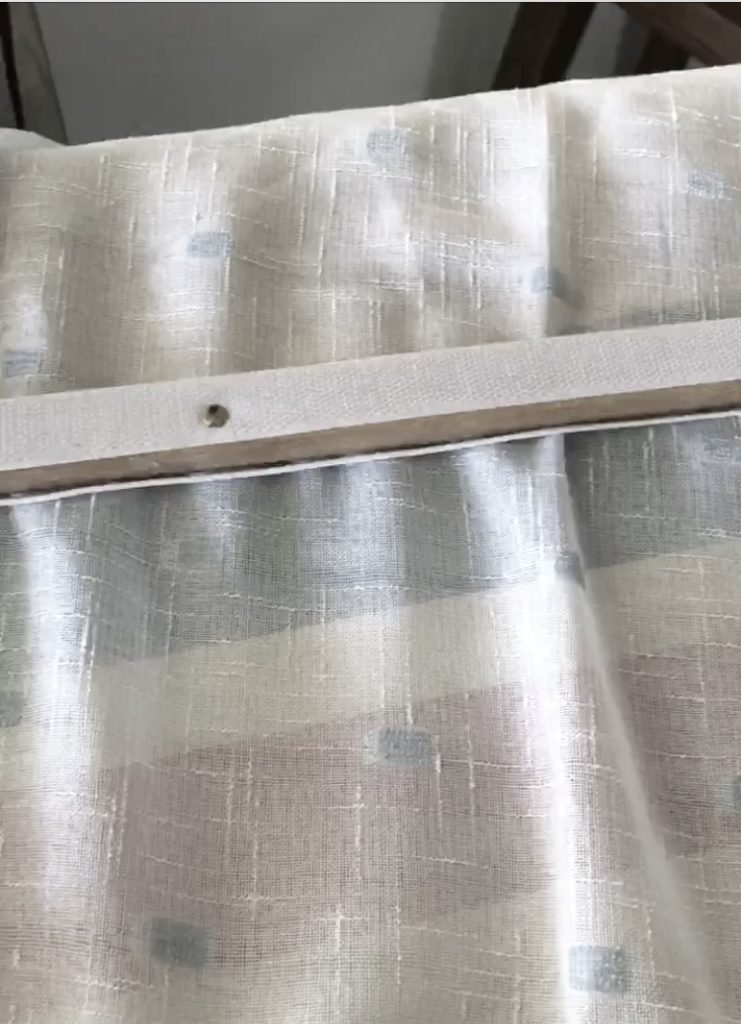
7) Take your pre-cut piece of wood and tac your velcro onto it, and sew the velcro to top of your blind. Insert your eyes into the wood and your hooks into your window frame. Hold your wood up to frame and mark your spot.
8) Hang your blind and measure it out to fit your opening. Next, pin it to create the bottom piece, leaving enough extra material to create the last pocket. This final panel is usually smaller than the rest of the panels in order to create that little bit of a skirt when the blind is pulled up.
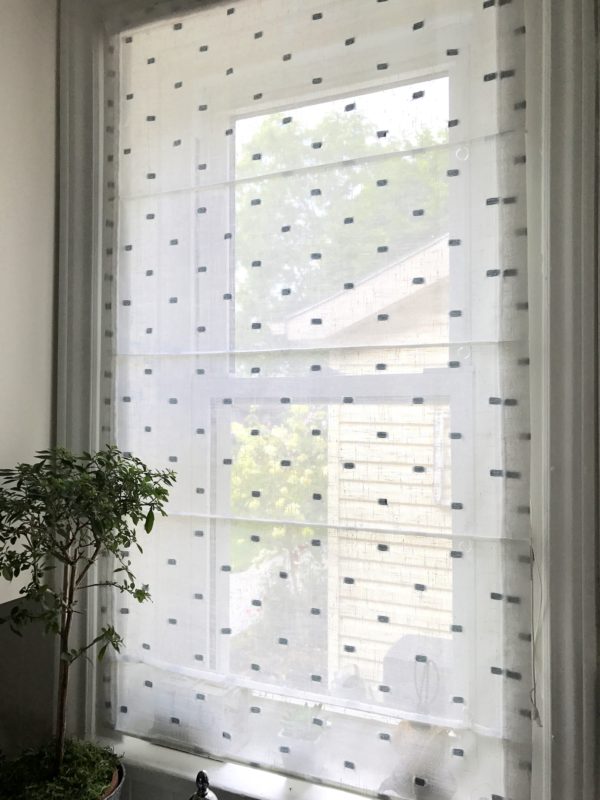
9) Sew your bottom seam, creating a 1” pocket for your second piece of wood if doing the rods (or just create your seam if doing a soft fold).
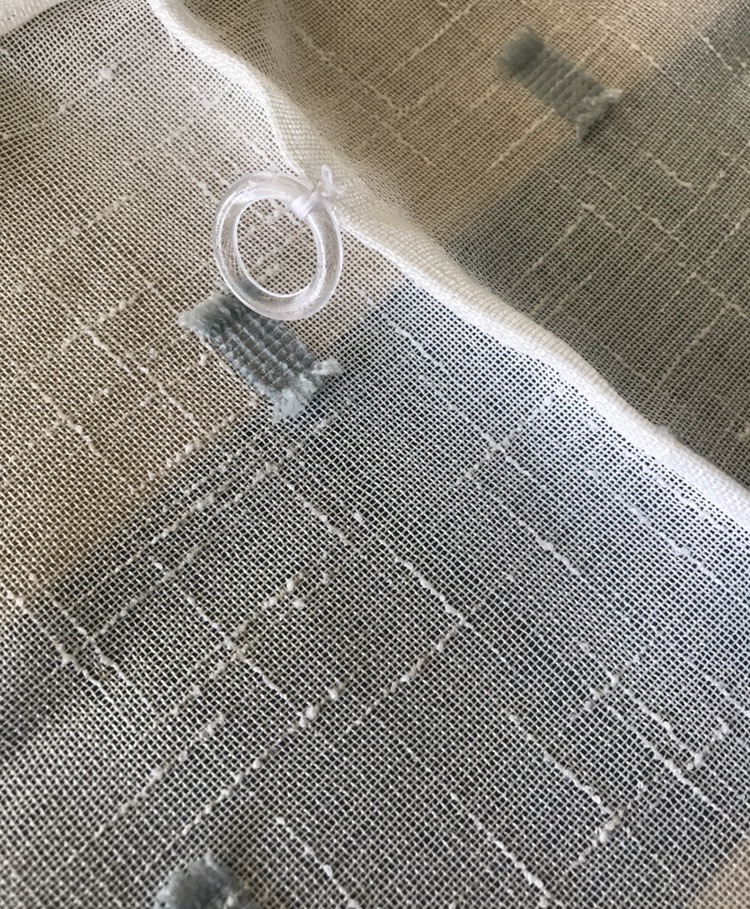
10) Sew your circles into place. You want them to sit about 6 inches in from the edge on either side, and if your window is larger, you’ll want them down the middle, as well. Ensure they are evenly spaced.
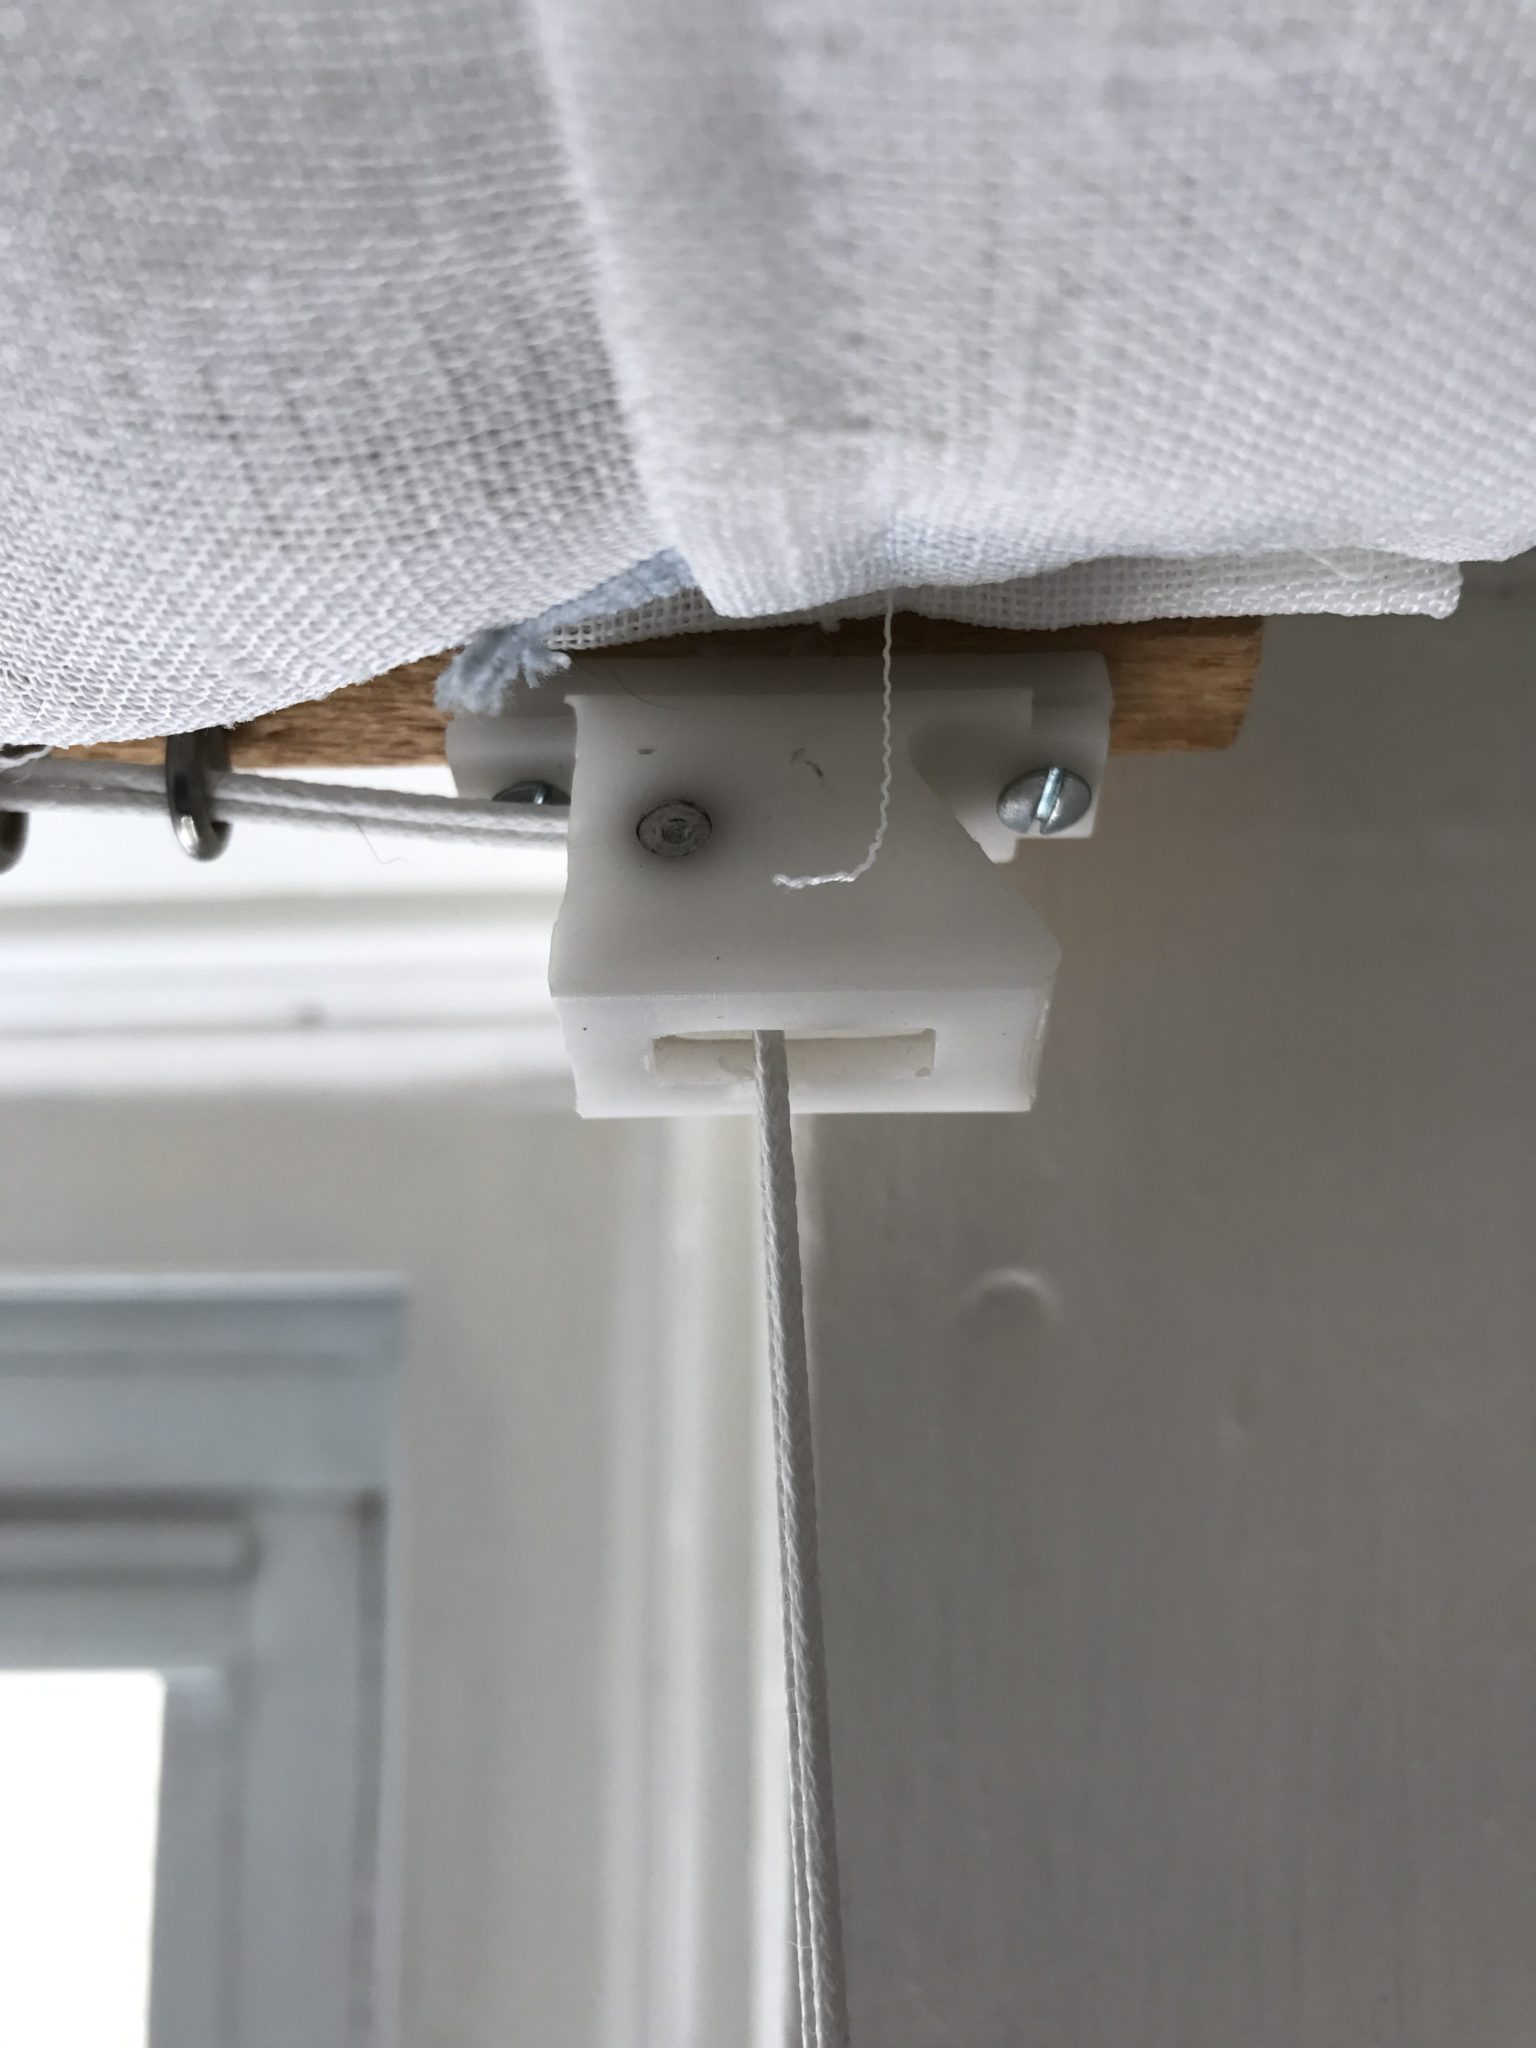
11) Mount your pulley device onto the wooden frame. If you want to pull up on the left mount on the left and if you want to pull up on the right mount on the right.
12) Lay your blind flat. Take your string and start at the bottom circle (if two rows, you will need two strings if three, then three etc)
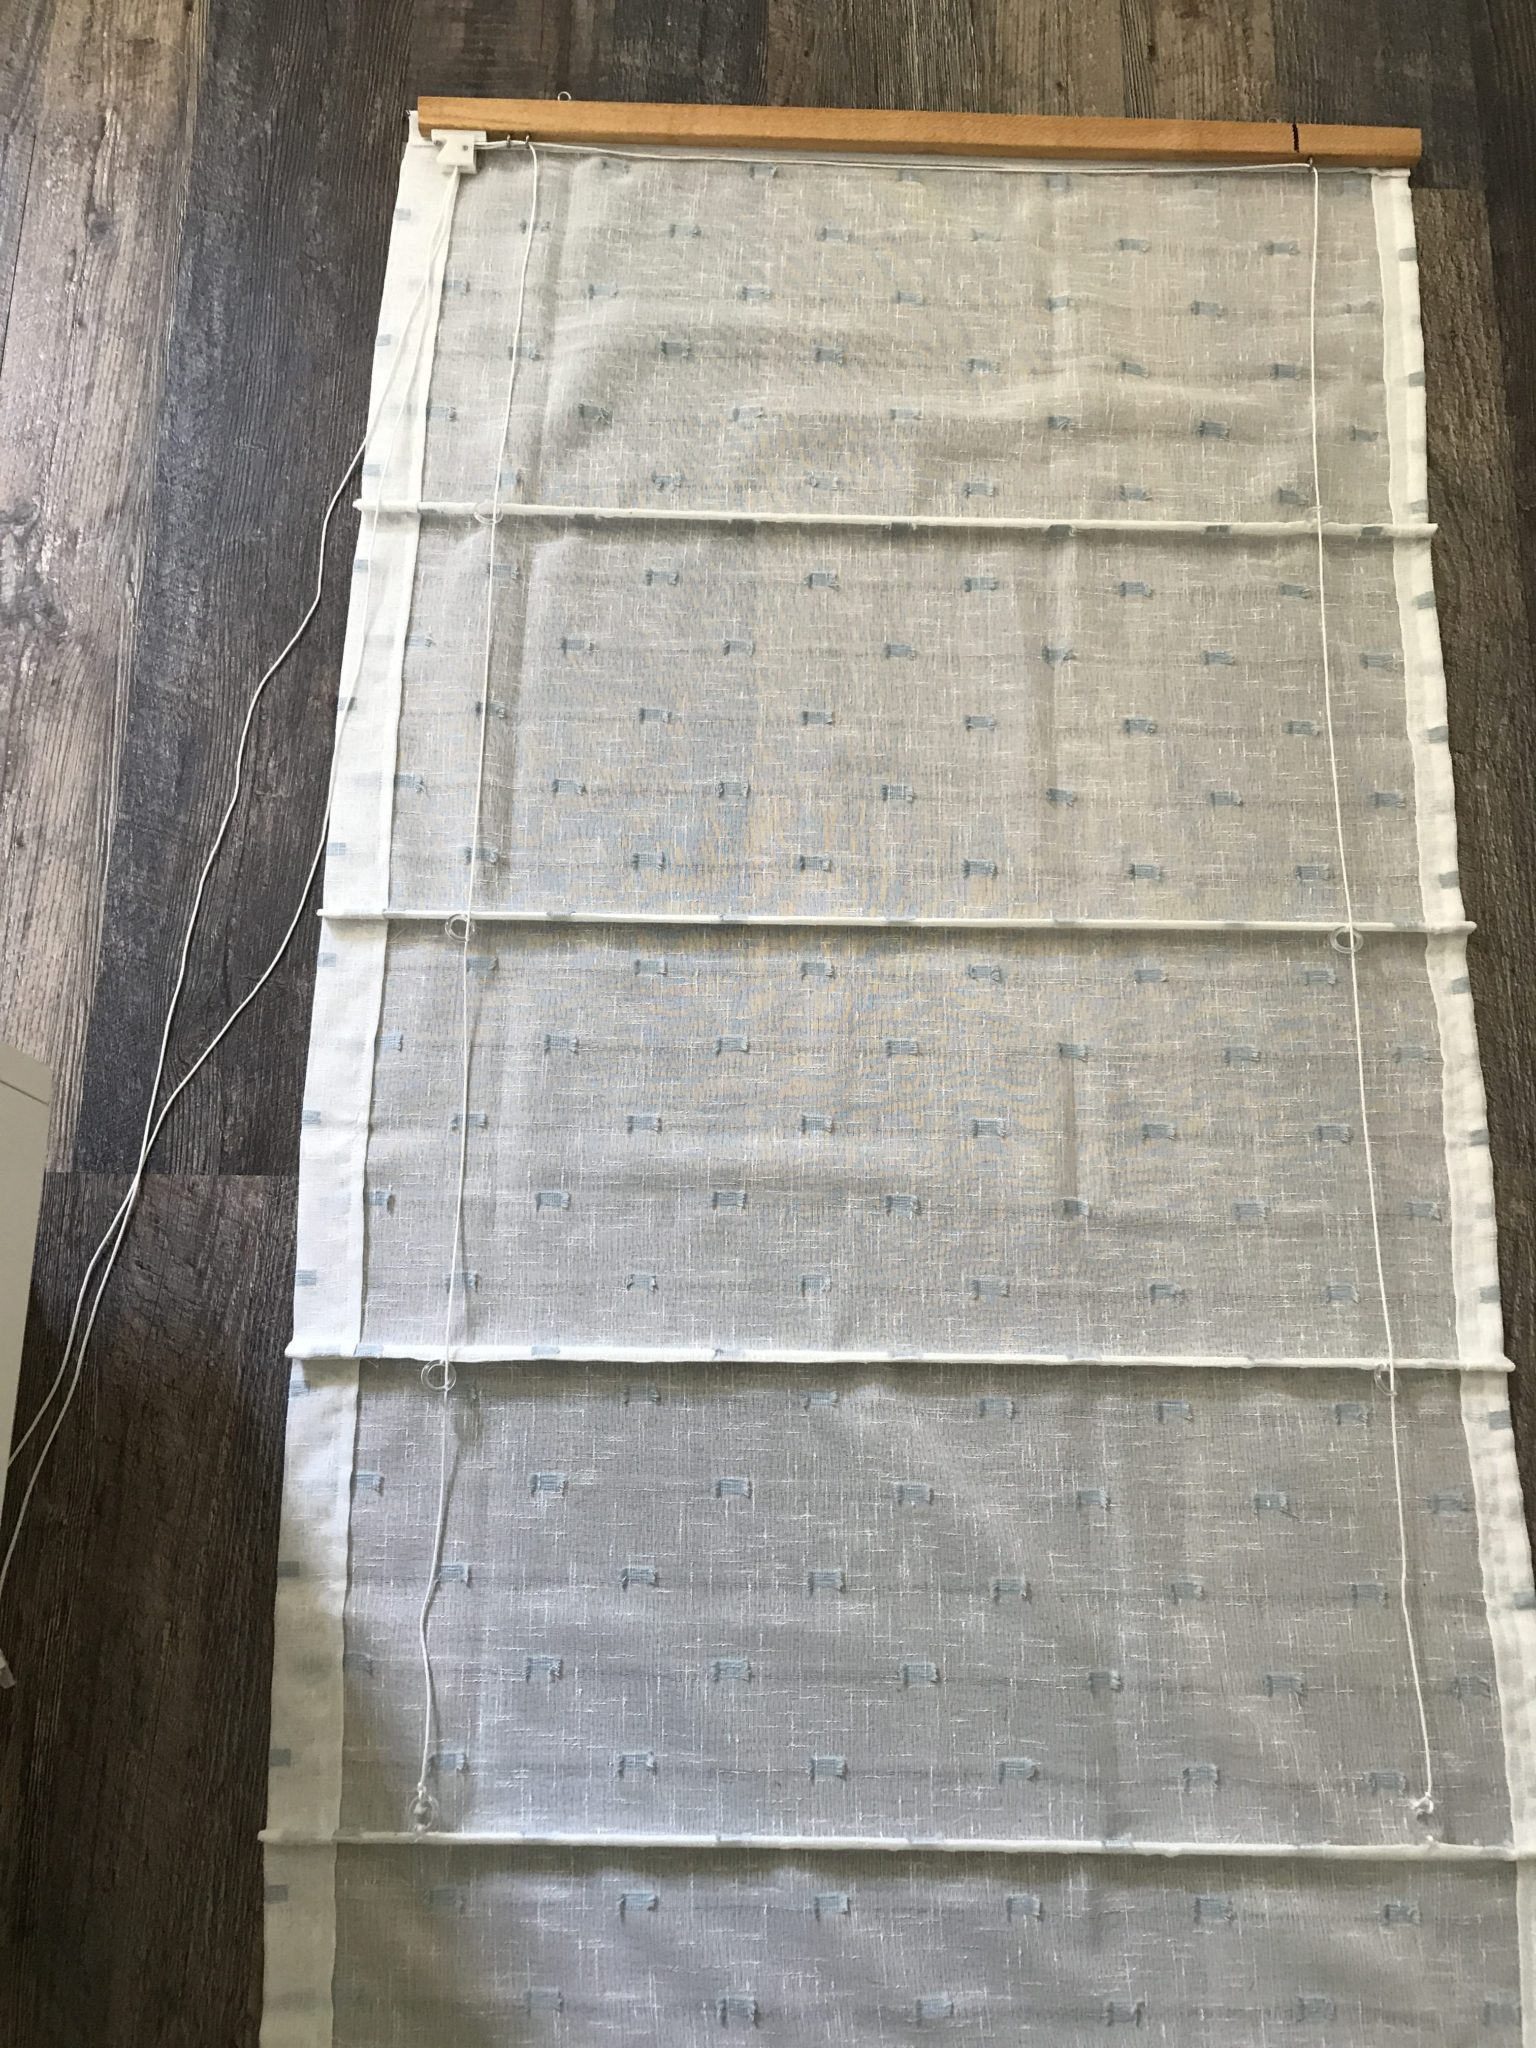
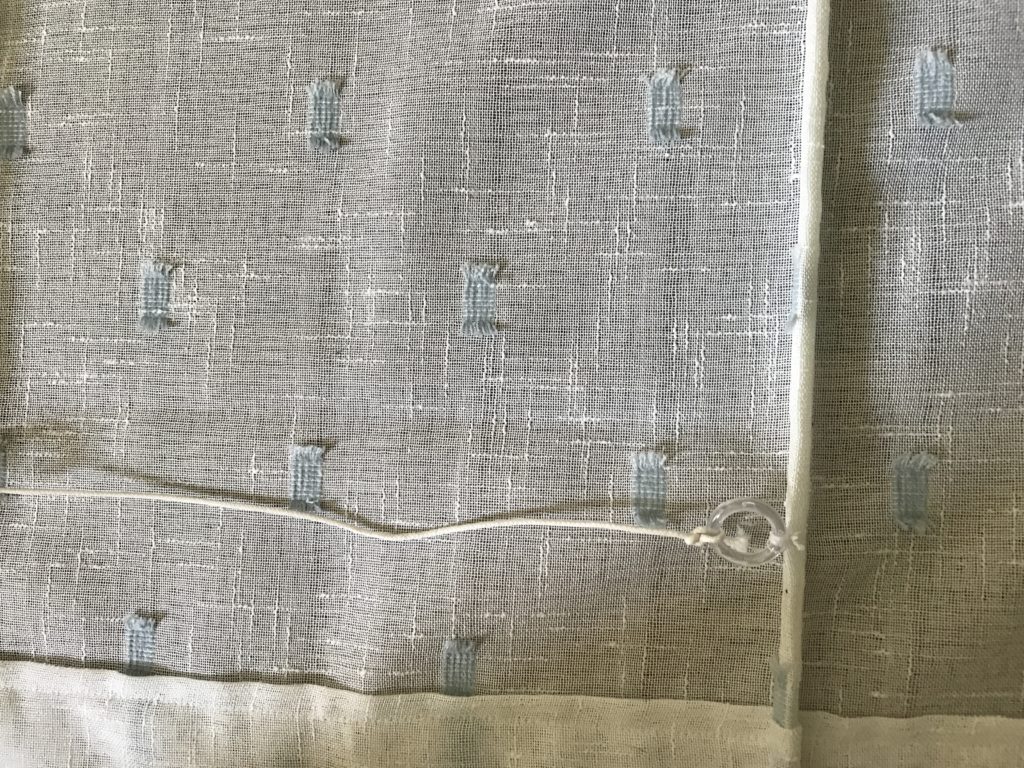
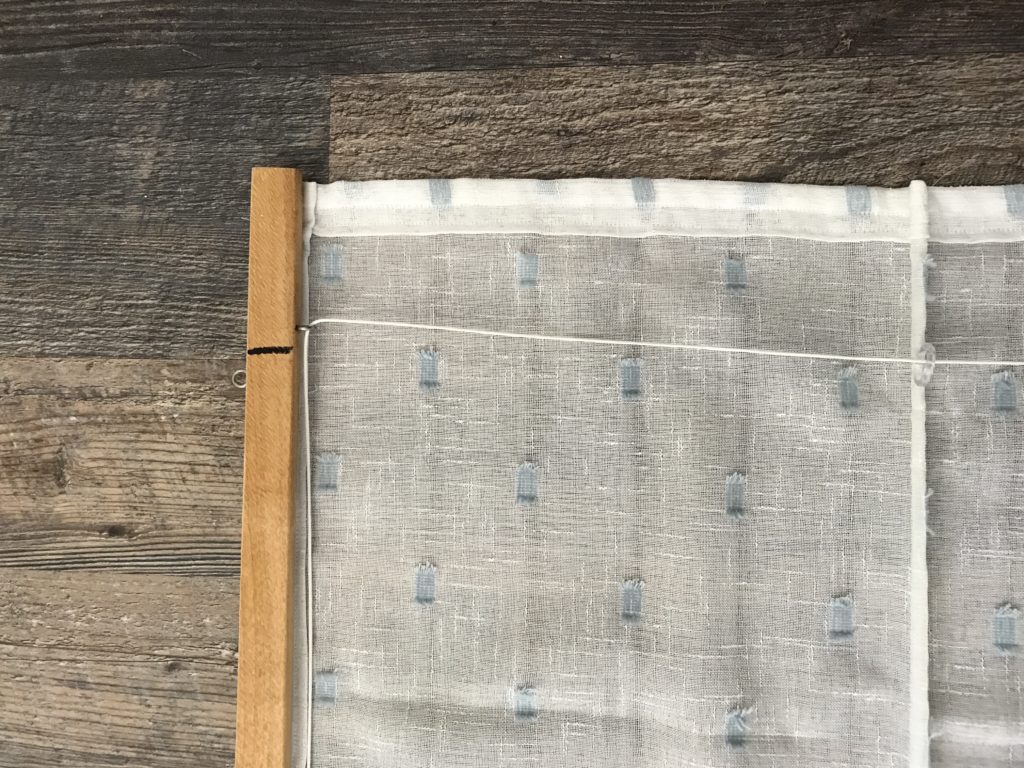
13) Loop your strings through your eye hooks and through your pulley. Re-hang your blind and cut the string at a comfortable length for you to easily open and close your new blind.
14) Attach the blind acorn at a comfortable height to wrap the string on when the blind is pulled open.
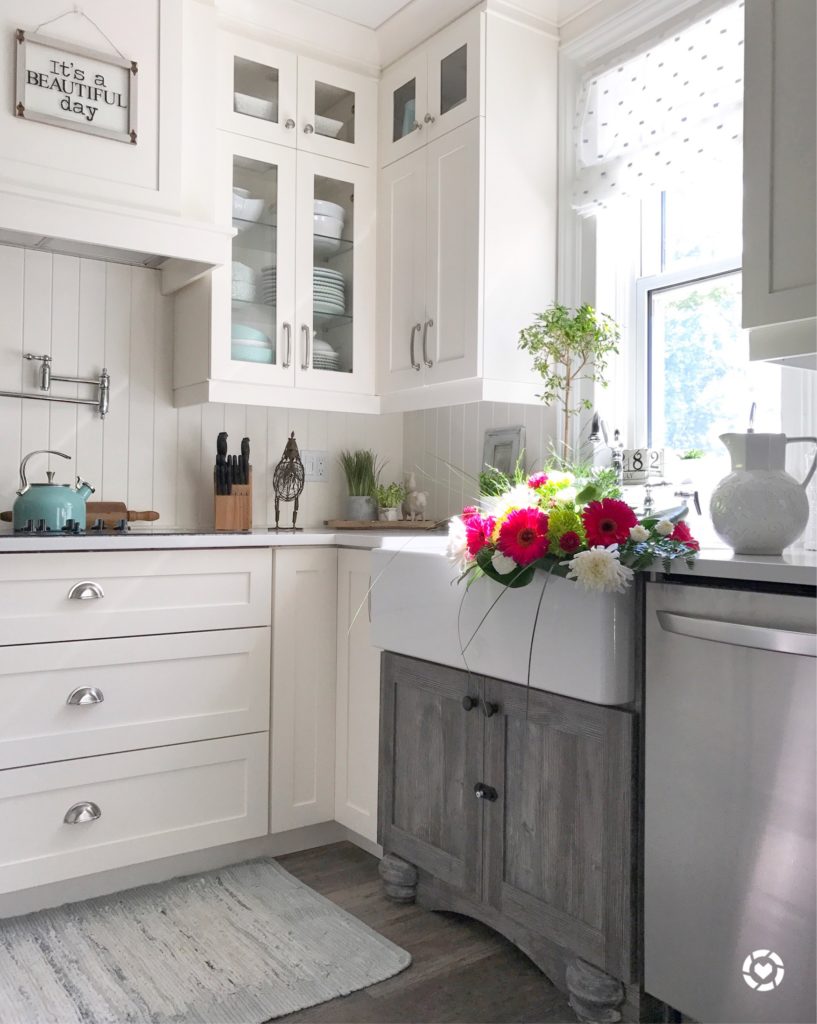
And there you have it – how to make an easy roman blind! If you have any further questions please let me know and I’d be happy to assist. Happy sewing…
Karan
xxox


So, do you make house calls!!! 😂😂😂
Hey Sandy,
If you’re local I most certainly do and if you are not I offer E-design!
I love your cabinet hardware. Can you share the source?
Thank you Daniela,
I bought the brushed nickel at home depot and the cast iron ones, on the rustic cabinet,are from a place called Lee Valley. Their website is http://www.leevalley.com
karan
Beautiful kitchen!! Where did you buy the rug? It’s so perfect!
Hi Sarah,
It is from Homesense.
Thank you so much for stopping by!
Karan
Hi! Your kitchen is beautiful! I was wondering if the cabinet under your sink is the same as all your other kitchen cabinets but just painted ? Could you tell me about it? Thank you !
Thank you so much. It is the same design but we used a rustic pine finish on it.
Thank you so much Carroll,
It the same design but a different finish. The carpentry had this style and I just had him combine the two.
Appreciate you stopping by.
karan
So fresh and lovely! I made Roman shades years ago for our bedroom in a little rented apartment. It was a feeling of accomplishment when completed as I am not a talented, nor patient seamstress. Highly recommend this DIY window treatment and 🌟🌟🌟🌟 for your easy to follow tutorial!
Ruth,
I’m so glad you enjoyed it! It is such a wonderful feeling when you do it yourself isn’t it!
Have a great day,
Karan
Hello Karan, I adore the fabric you chose for your kitchen Roman. I have a question about the metal rods…are they like the old cafe rods used back in the day and why didn’t you use wooden dowels instead? Thank you for the tutorial. Yours is the easiest one I’ve seen so far. I’m really wanting a shade that would be used as an outside mount and how would you “dress up” or hide the top wood, etc. Happy sewing, Brenda L.
Hi Brenda,
These are sold at our local fabric store for blinds. They are stronger then a wooden down and are really easy to work with. Either really would work well.
I’m glad you found my tutorial easy and I can’t wait to see yours! Please share.
Karan
This was so helpful as I restrung my blinds today! Thanks!
Yay, I’m so glad.
Sorry, I’m not really a sewer but I’m trying to figure this out. What is your piece of wood attached to? Is it nailed or screwed into the window frame?
Also, what’s an acorn?
I did.
How do you fixe the roman shade on the frame of the window ?