Stencilled and Painted Staggered Tile Floor
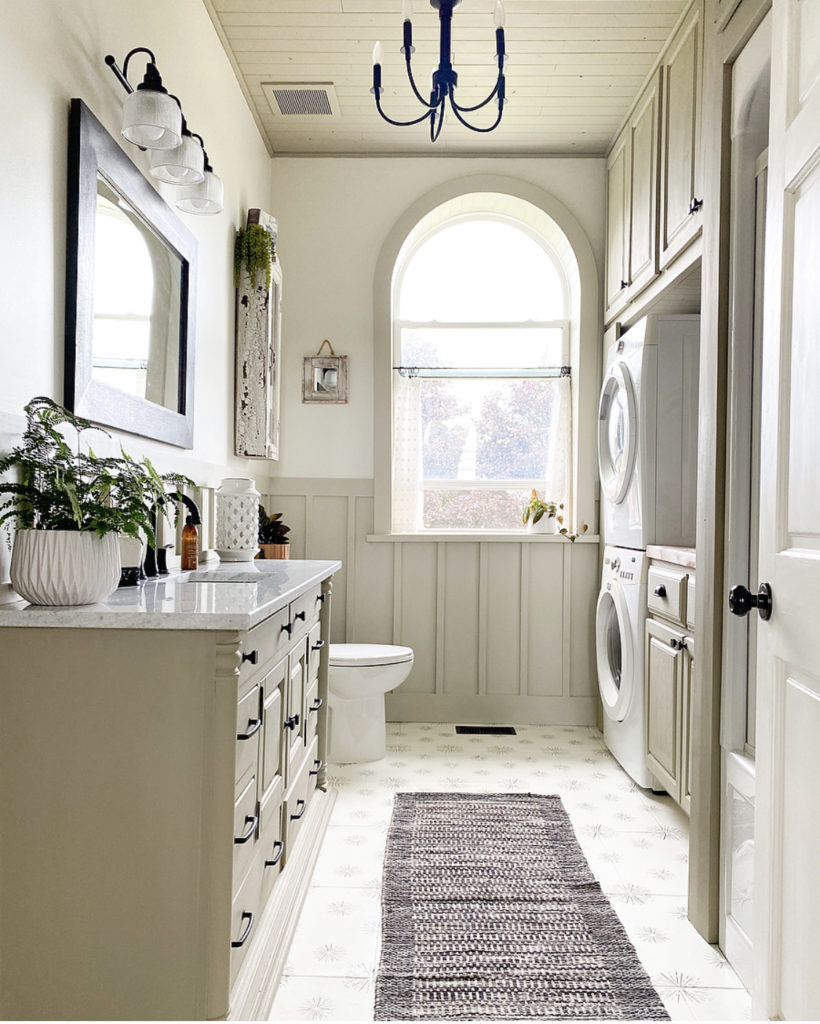
A stencilled or painted floor is a great way to update a floor on a tight budget. Stencilling a floor when the tiles are staggered is a little more challenging then when they are stacked. You can read all about this budget friendly Bathroom Update here.This post contains some affiliate links to the products I used in my bathroom update. I get a small commision on these products, which enables me to do what I love with every sale. I never share a product I do not love!
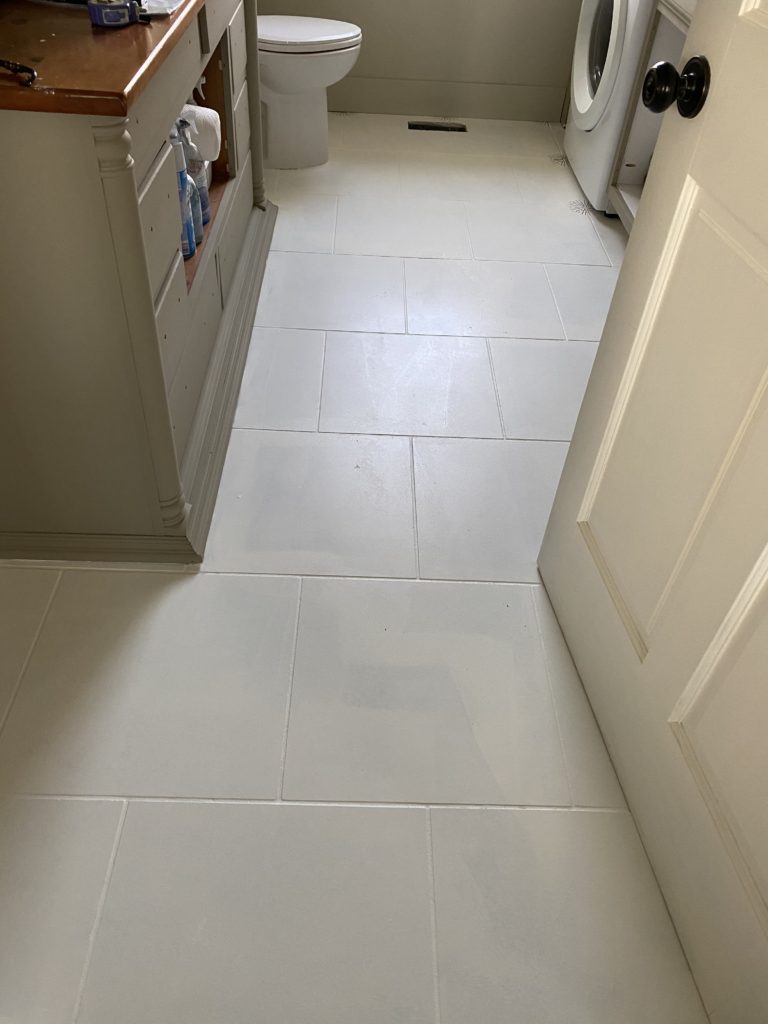
An example of a staggered tile:
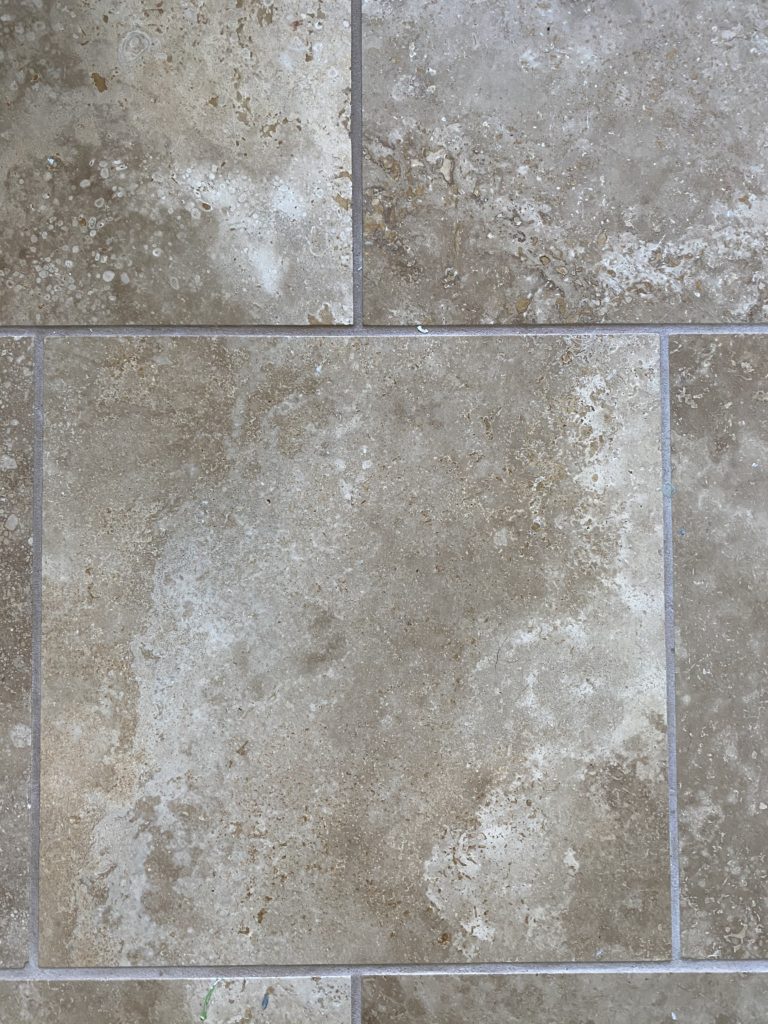
When I did my bathroom/laundry room update, my budget was tight and I really wanted to update this floor. New tile was not in the budget, so I decided to stencil it. I did not want a busy floor and was having a lot of trouble finding the style of stencil that I liked for this space that would also work on a staggered tile layout.
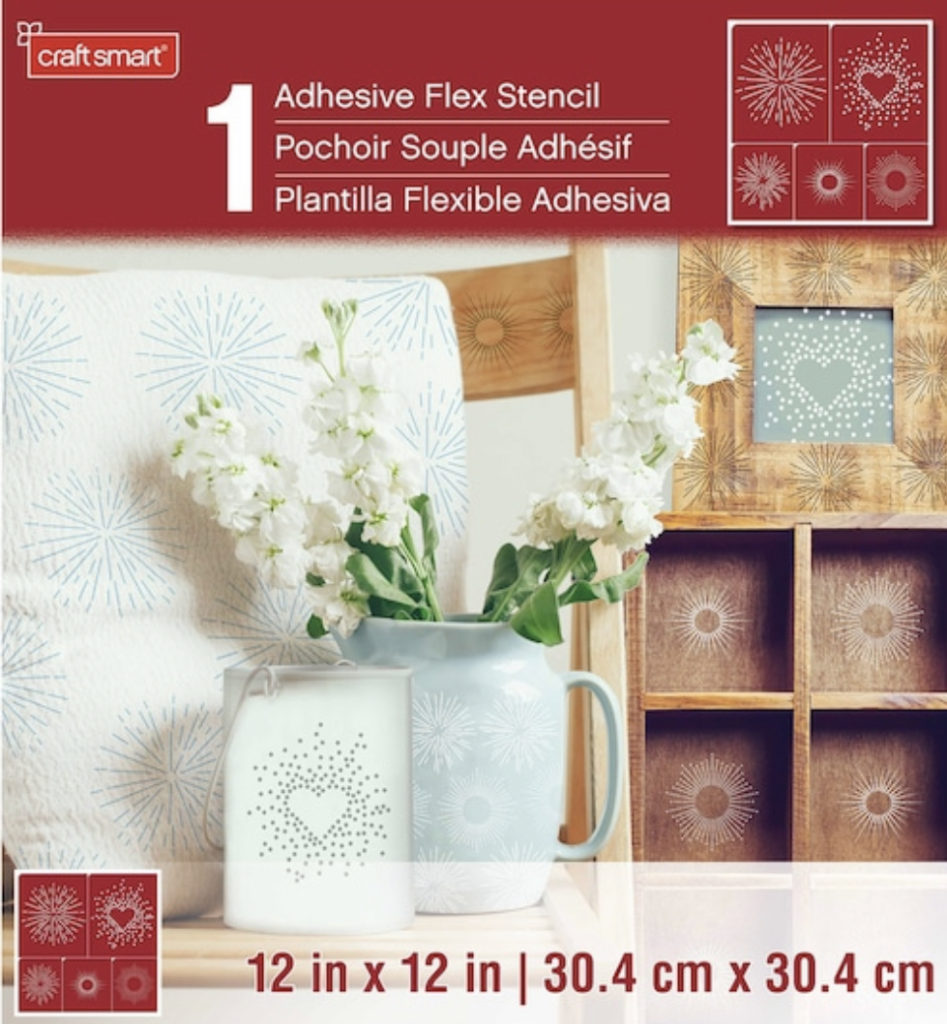
After some thought, I remembered that I had a set of stencils that I really liked and decided to try to create my own pattern on the floor with them.
You could use any stencil of your choice and follow the pattern below.
Here are the ones I used:
How to Stencil a tiled staggered floor
First thing you want to do is clean the floor really well. I just used vinegar and water and some good old elbow grease.
Once the floor is clean you are ready to start the painting and stencilling.
Here are the steps I took:
- Prime floor – I used a brush on edges and rolled the rest.

Prime floor for stencil - Paint floor – I used a brush on the edges and then rolled the rest including the grout lines. My floor took three coats of paint.

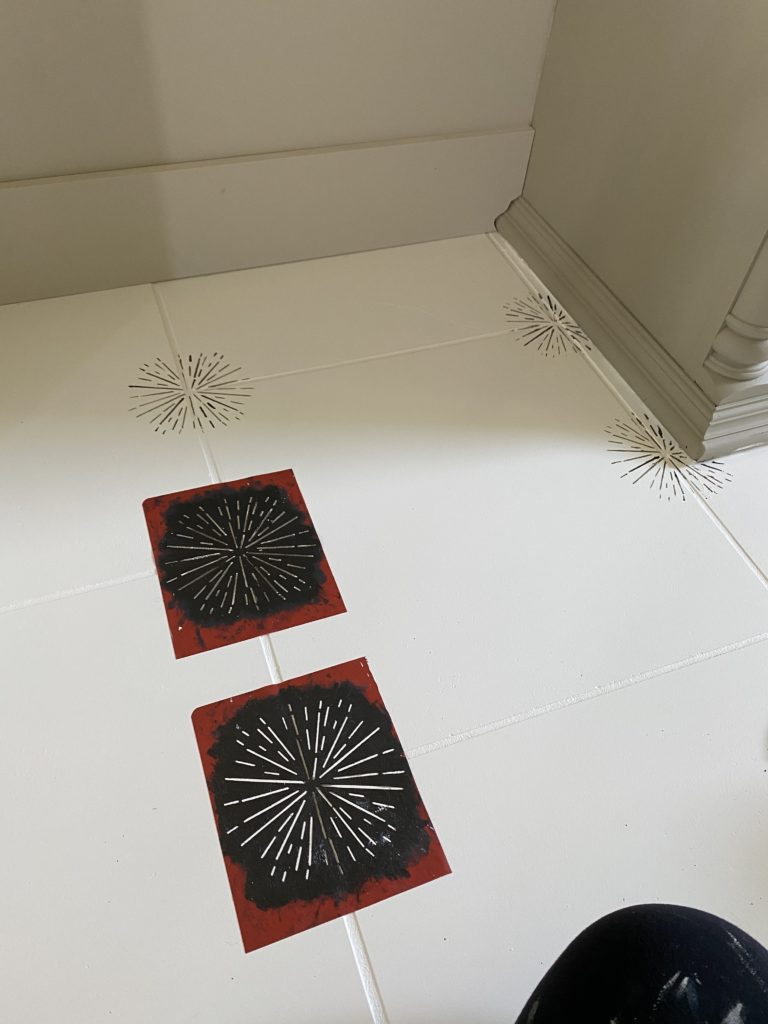
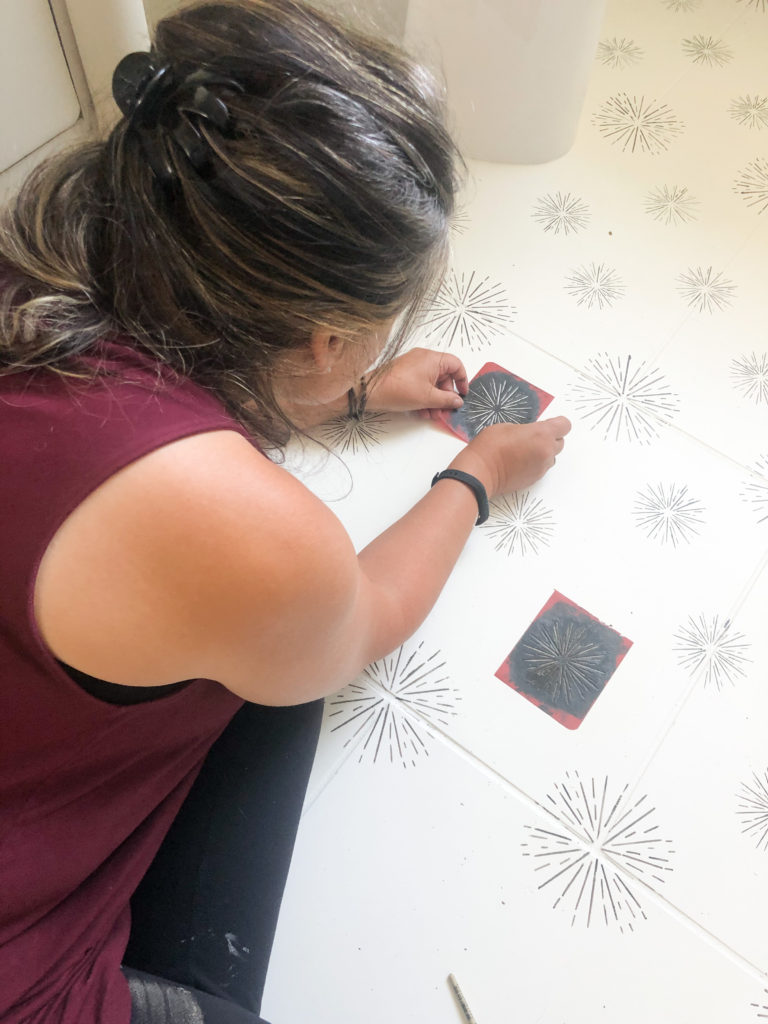
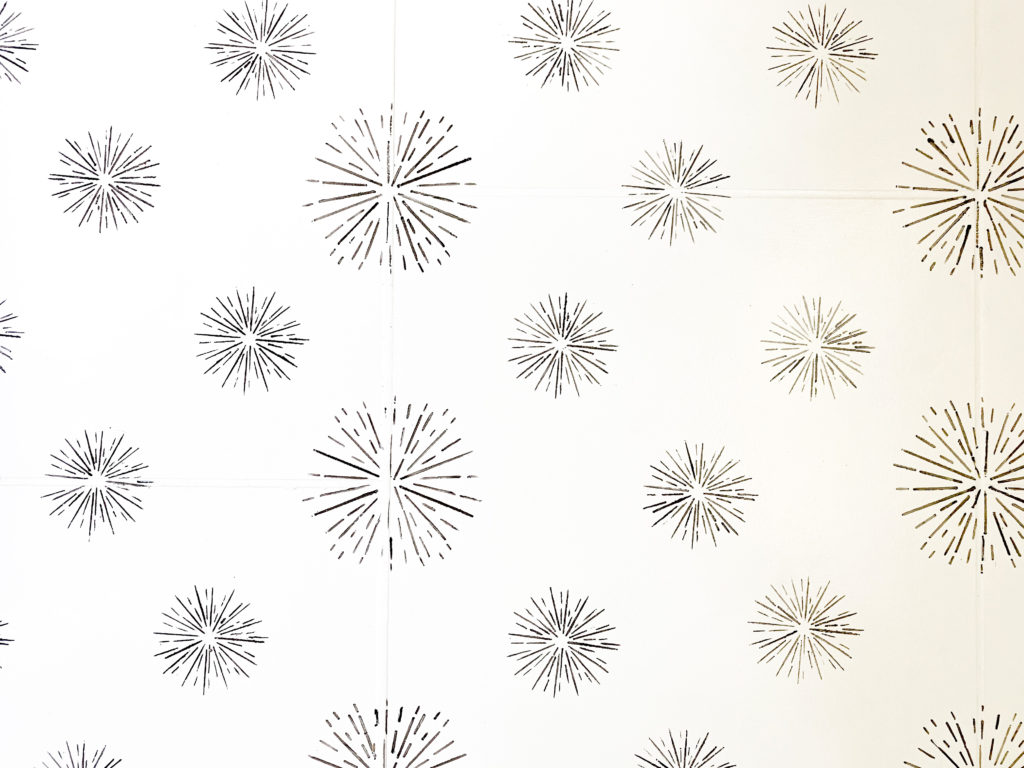
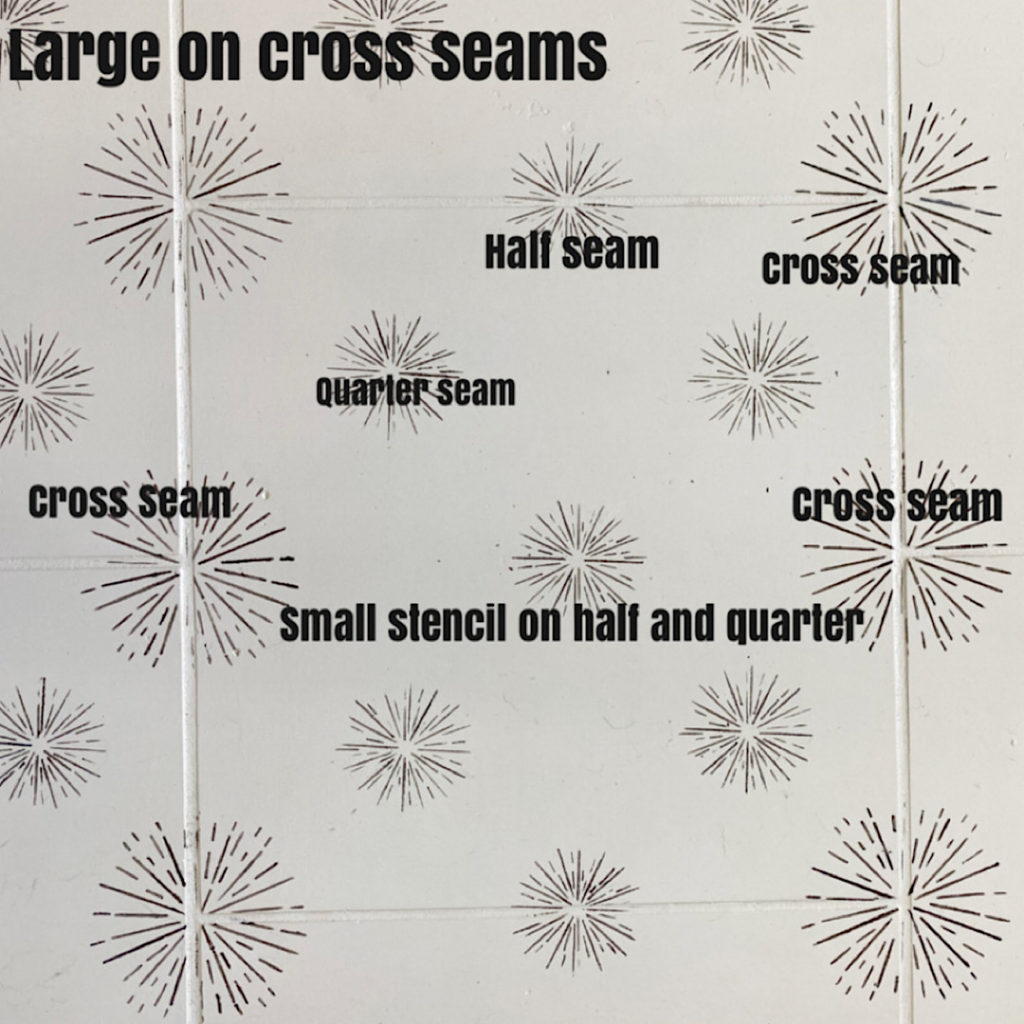
Paint floor -this is coat 2. - It is time for stencilling the floor – to create my pattern I used the large stencil on every cross seam. I then used the smaller stencil on the half mark and quarter mark.

Creating the pattern. 
Creating the stencilled pattern on painted staggered tile with the little stencil. 
Creating the stencilled pattern on staggered tile. 
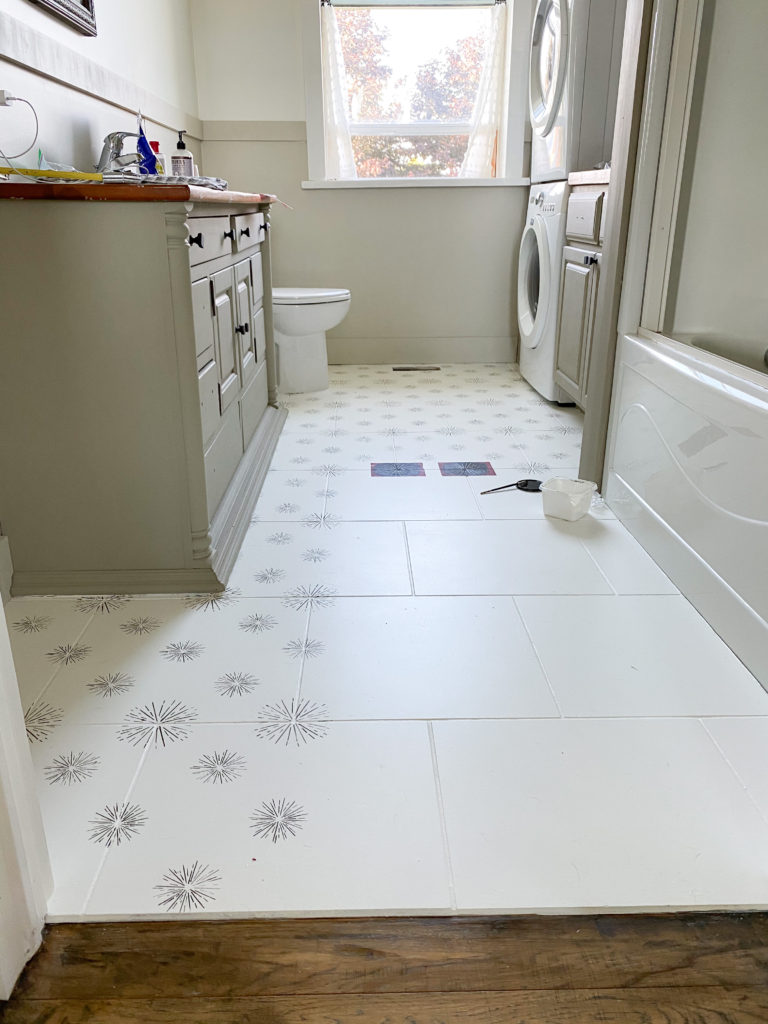
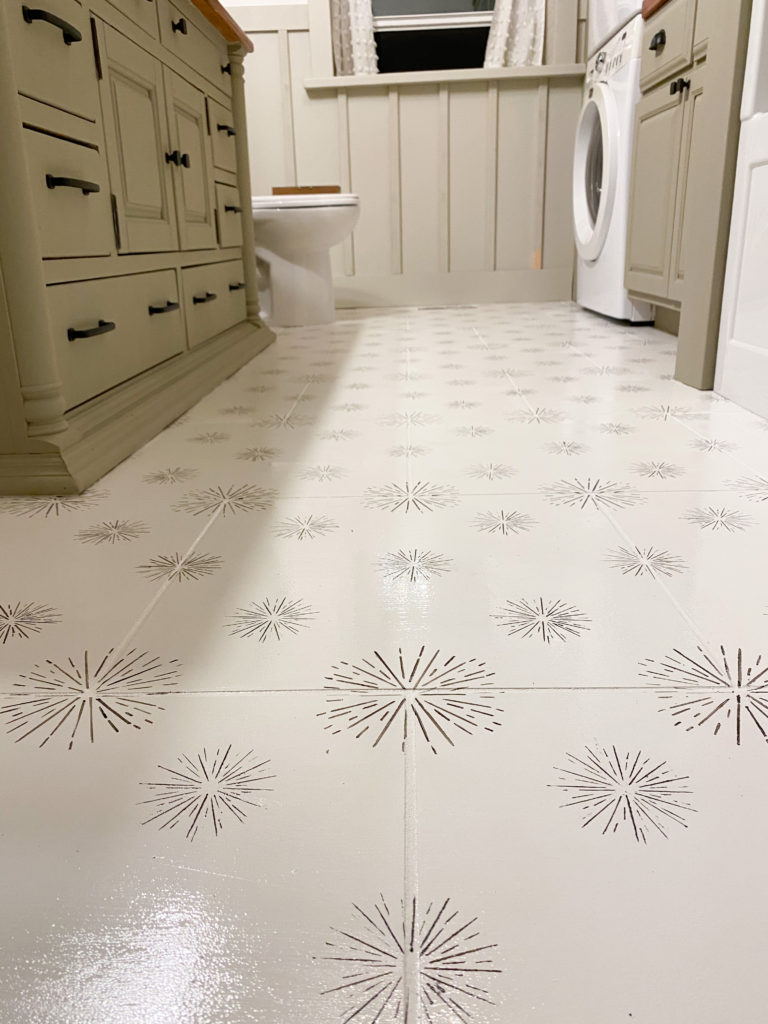
Stencilled floor on staggered tiles 
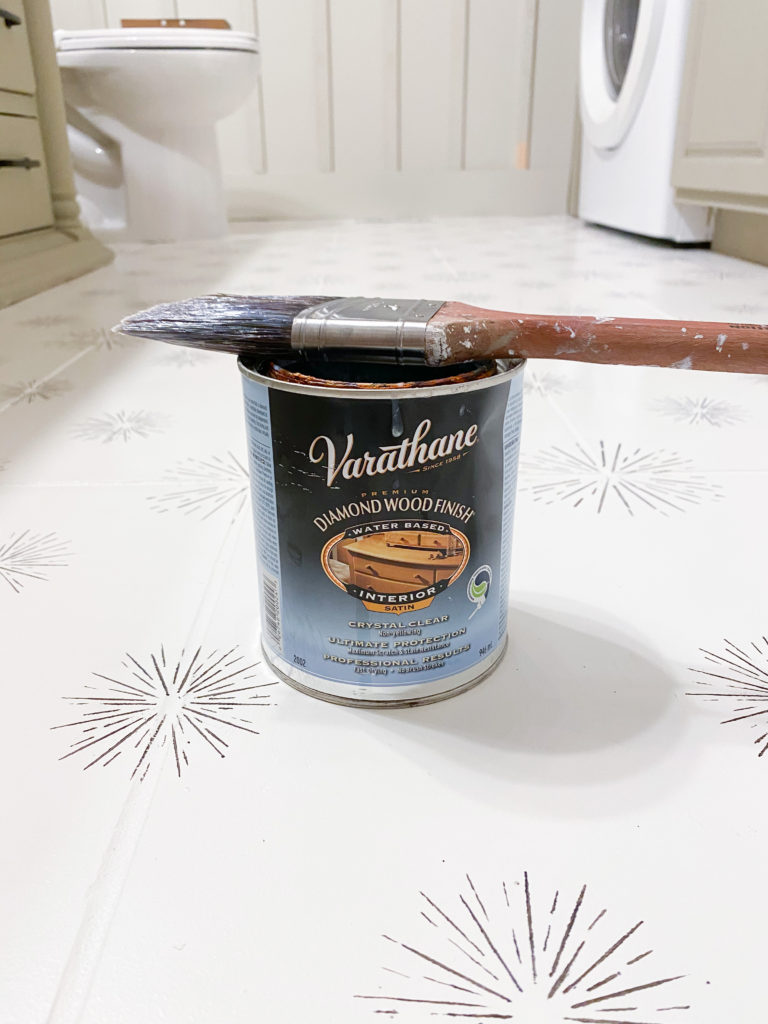
Stencil pattern for staggered tile - Top coat floor x 3 – you will need to lightly hand sand between each coat. Follow instructions on can for drying time. I used a brush to apply it, as I felt like I had more control.

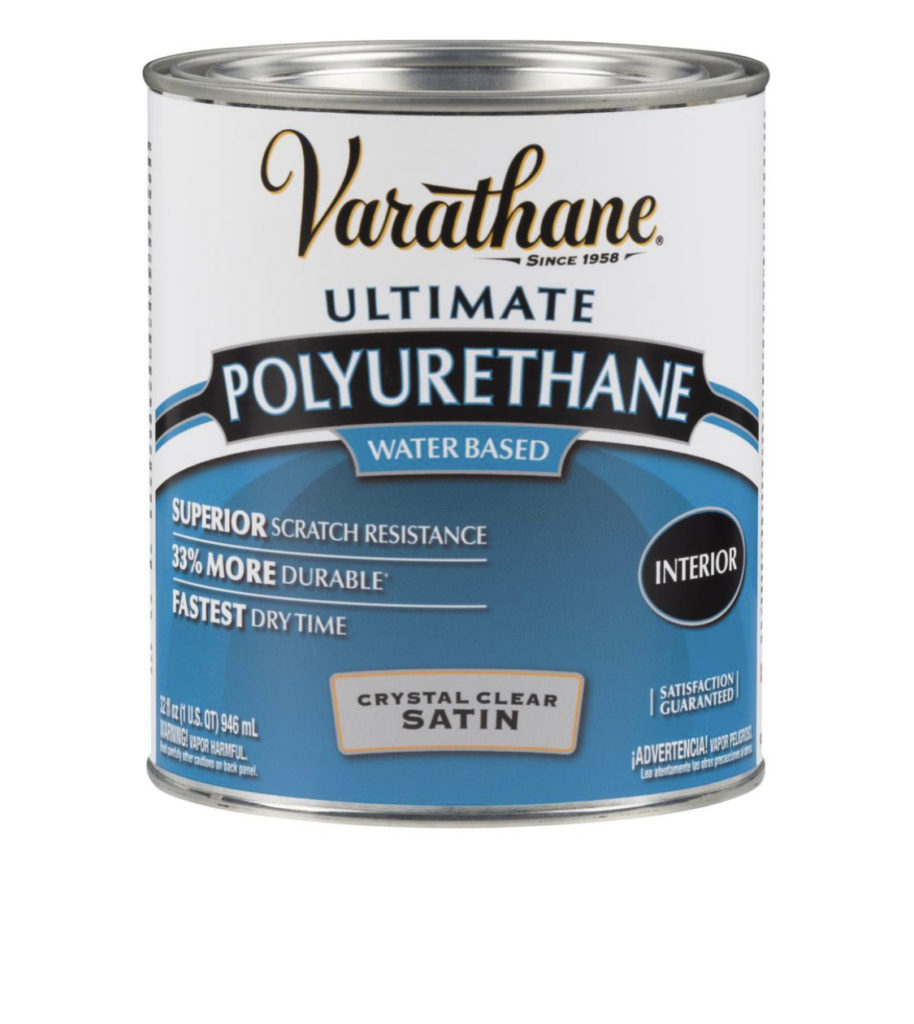
Top coat for the stencilled floor – I used a satin finish. 
Stencil pattern for staggered tile – top coat
Here are the products I used to stencil and paint my floor:
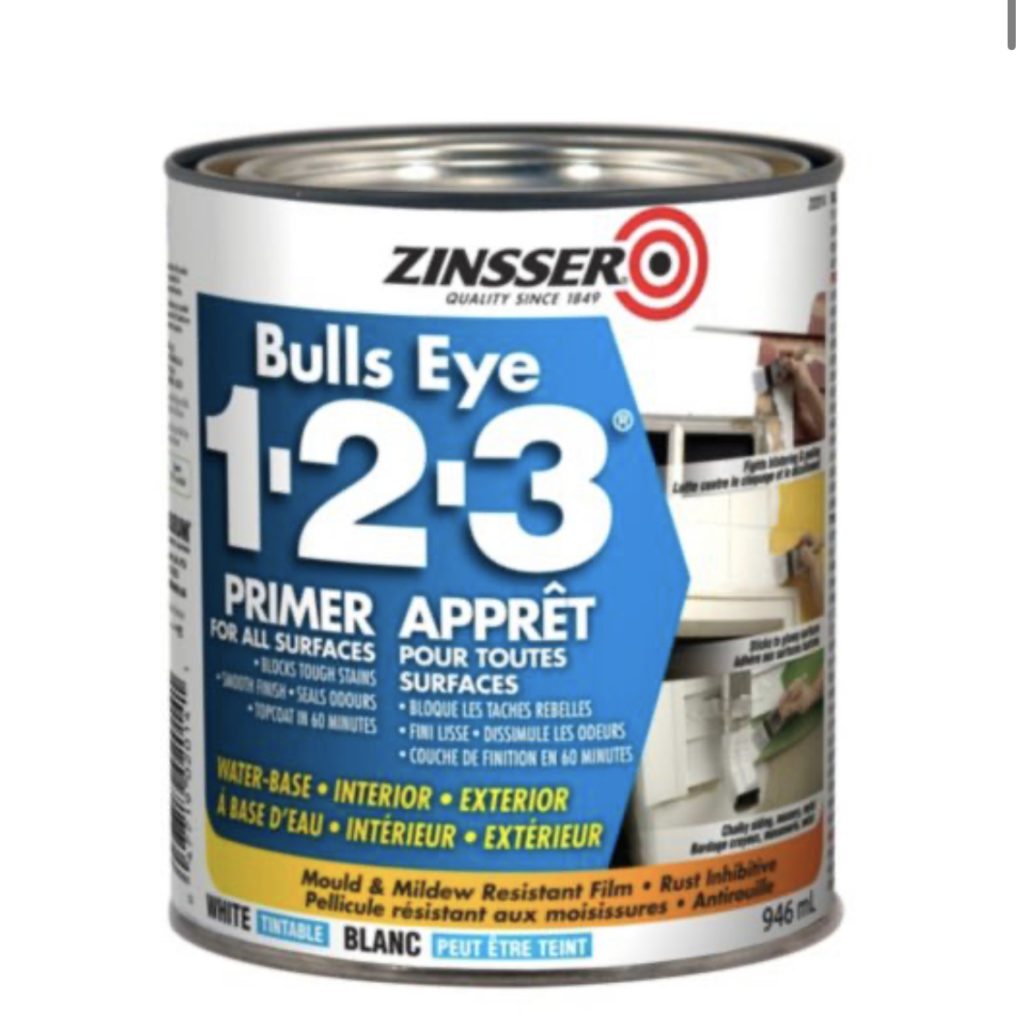
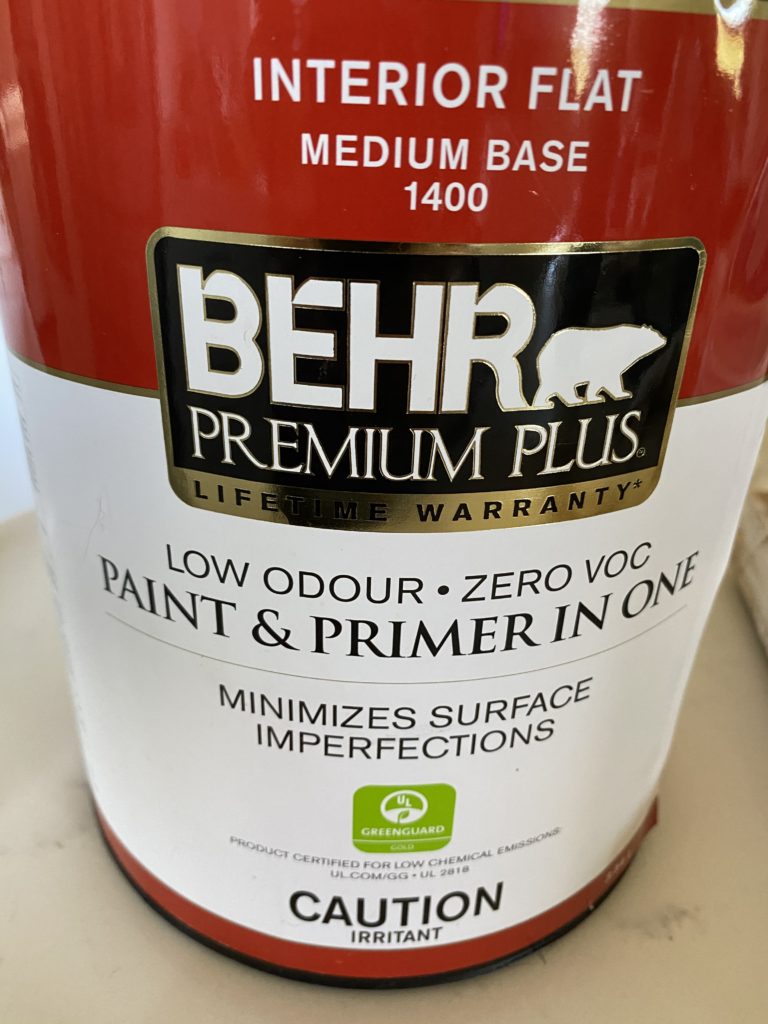
Top Coat
The hardest part, with having a house full of pets was keeping the animal hair (and human) off of the floor while painting and top coating. I found a shop vac and a damp dust rag worked best. I vacuumed and wiped each tile as I moved along the floor.
My review on the durability of a stencilled/painted floor.
The first couple of days as the top coat cured traffic should be minimal. Once it hardens the floor is set. It has only been a couple of weeks since I painted and stencilled my floor, but we are very happy with it. I will do an update later to let you know how the stencilling and paint holds up over time.
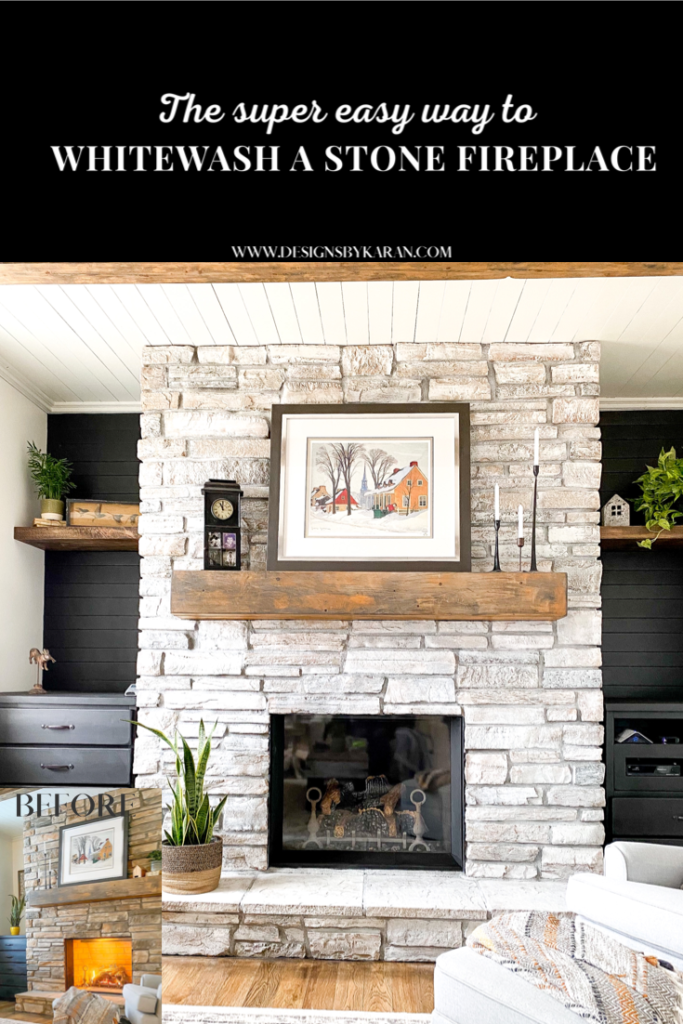
For another amazing before and after check my post on how to White Wash a Fireplace.
Thanks for stopping by!
Karan
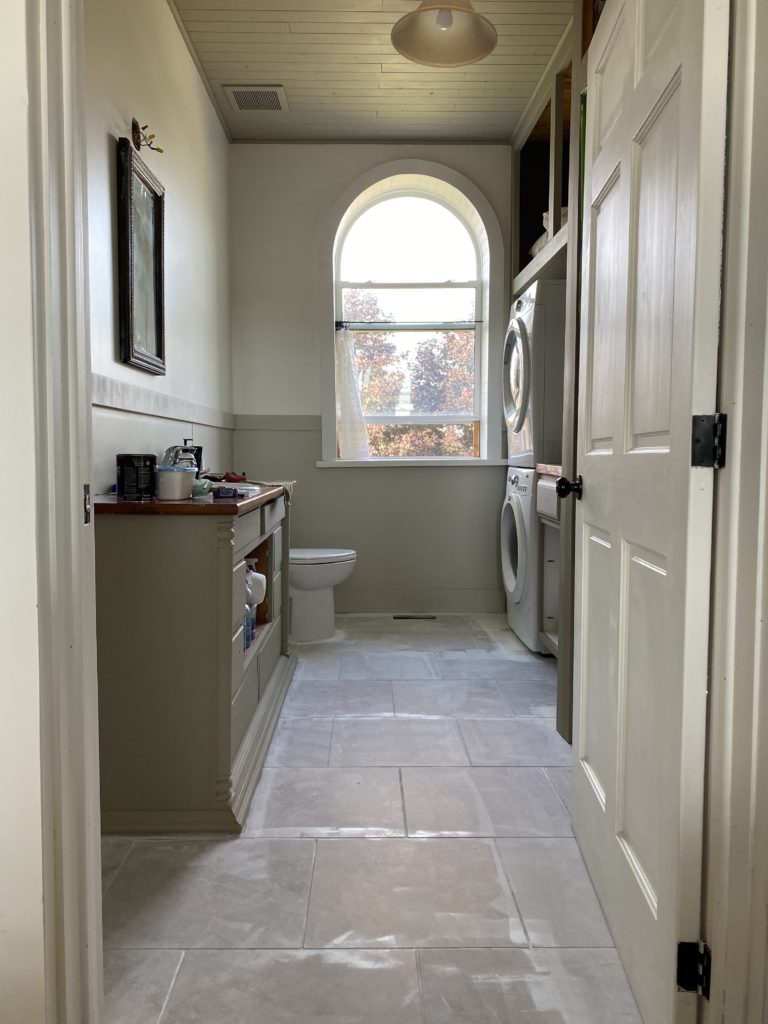


Would you mind sharing the paint colors you used on the walls and cabinets? It’s absolutely beautiful.
Kim
Found it! Thanks-
Great, let me know if you have any other questions.
karan
This is exactly what I was looking for! Thank you for sharing each step.
I’m so glad I could help!
Karan
Your stenciled tile is gorgeous! Can you come and do mine?😂 XOXO Karen
Wouldn’t that be fun!!
can you tell me where you got your stencil? It looks great. I’d like to try something similar on a walk-in closet floor.
It is from Michael’s. There should be a direct link in the post as well. ❤️
I would love to know the paint colors used on the walls and trim. Thank you
Hi sandy,
Which area of my home. Sorry it doesn’t show me the post or picture you were looking at.
I absolutely love this- I am having a hard time finding the stencils though. I see similar designs but I really love this one
There is a link in the post to this one
Guten Tag
Sieht wirklich toll aus!!
Bitte ,woher sind die Schablonen ??
Danke für eine kleine Rückantwort
LG. Karl
Guten Tag Karl,
Links sind im Blog. Klicken Sie auf das Bild oder den blauen Link. Diese waren von einem Geschäft namens Michaels.
Danke
Karan
Hi. did you use regular latex paint for the bathroom floor stenciling?
For the fireplace, you mentioned you used a flat paint but later mentioned eggshell. I see you also mentioned either will work. Which one do you prefer? I have stacked stone – small to med size stones. Mainly darker colors